
The Ultimate Guide to Deciding on Your Next Furniture Makeover
Are you eyeing your first-ever furniture flip project, but feeling intimidated about the process and wondering where to start? Make your way through our starter pack. This content was created independently by our editorial team and generously underwritten by the Toyota Corolla Cross.
It’s easy to think that you can’t recreate a beautiful Instagram post of a cheery saffron buffet or a dresser with wallpaper on the center panels. But you, too, can make a stunning transformation to any piece of secondhand furniture you find at the local thrift store (or along the curb).
Of course, the process of deciding just how to redo each piece is a bit more complicated than double-tapping on an image. Should you stain it? Paint it? What’s it even made of? Does that change what you can do with the piece? To help you along, here’s the ultimate guide to knowing what finish to choose for your piece so that it can be transformed without damage.
First, find out what it’s made of.
The first thing you need to do with any piece of furniture is figure out its material. Solid wood will give you more options than wood veneer, which will give you more options than laminate. So, take a good look at the piece from all angles.
You should be able to distinguish solid wood fairly easily — it will be quite heavy, for starters. If you look at the underside of the piece, you’ll be able to see a grain pattern that looks the same as the top of the piece, which indicates it’s the same material all the way through (and not one material topped with another). If the piece has drawers, you’ll find that solid wood ones are usually dove-tailed.
Wood veneer will look a little different. With these pieces, a thin layer of wood is applied over another material, often particle board or MDF. It will likely be a bit lighter than solid wood, and if you look underneath the piece, you’ll find that the material’s grain pattern doesn’t match the top. In secondhand pieces, you’re also likely to see some chips in the veneer that will give you a peek into the underlayer.
Laminate is a common finish for many flat-pack furniture pieces produced in the last couple of decades. While veneer feels like wood — because it is, just sliced extra thin — laminate is a slicker synthetic material that can come in any color or pattern, including wood-look finishes. If you look underneath laminate pieces, you’ll usually find MDF. Like veneer, laminate is liable to chip, but in old laminate pieces, you might also see peeling at the seams or bubbles under the surface.
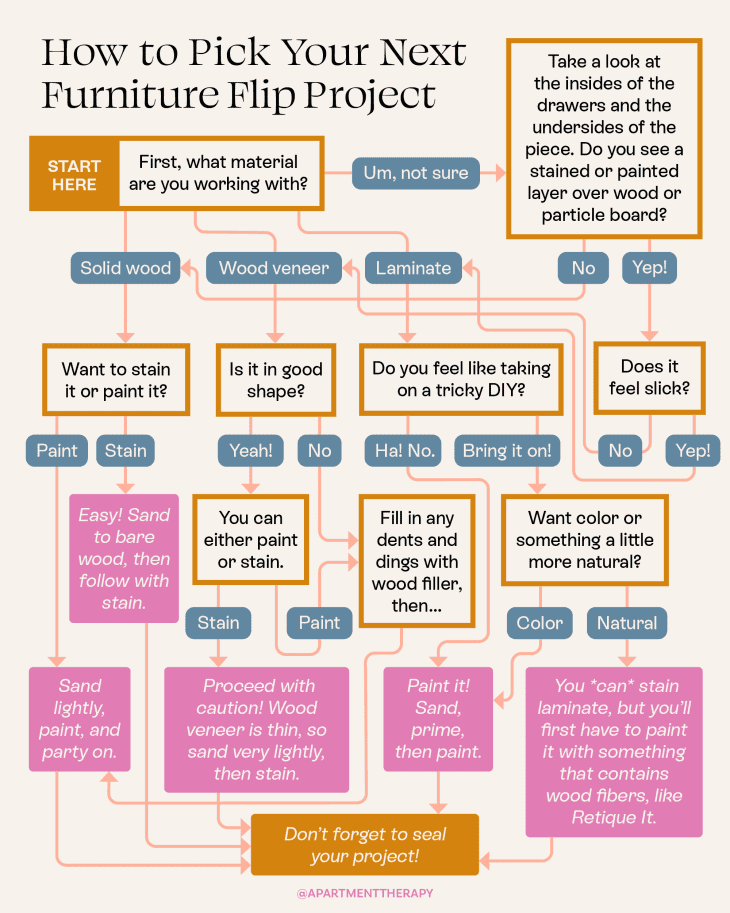
Move on to determining the finish.
Once you figure out what kind of piece you’re working with, you can suss out what kind of finish you can use.
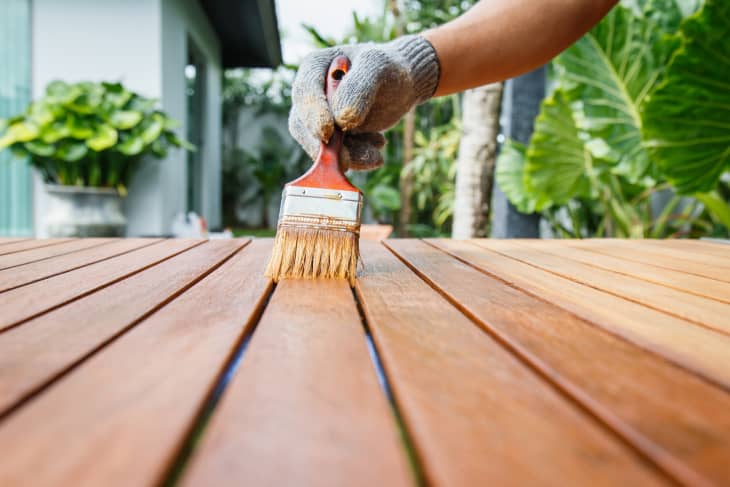
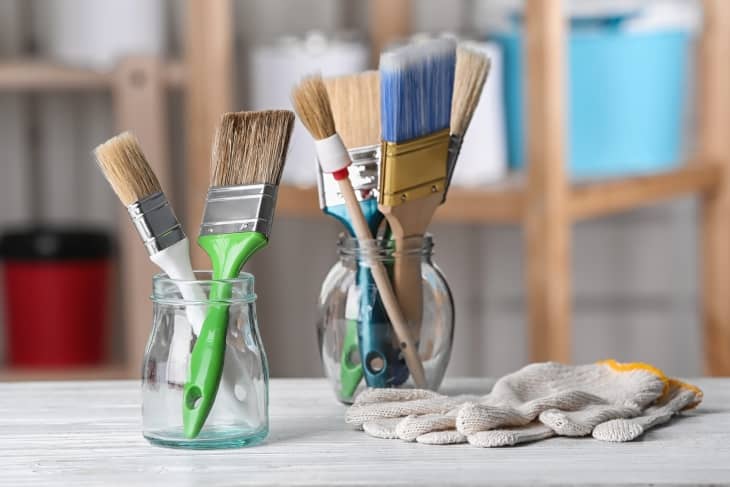
Solid wood is the easiest. You can either sand it lightly and then paint, or sand the finish down to bare wood to apply stain. “If you are going to stain or leave natural wood finish, then you must sand all the way to the bare wood,” says Brian Kelsey, a licensed home contractor and host of the podcast “Kelsey on the House.” He notes that you’ll usually start with a tougher grit sandpaper, like 100- or 120-grit, to remove the material before moving to a final sanding with a finer 220-grit. “Wipe it clean, apply an oil-based stain, let it dry 24 hours, and then apply two to three coats of an oil-based polyurethane, lightly sanding with 320-grit sandpaper (and cleaning) in between coats,” he says. “You can use a water-based stain or polyurethane instead of oil, just don’t mix and match oil with water.” After, it’s best to add a sealant. Polyurethane is your best bet for stained and heavy-use painted furniture, while light-use furniture can often be sufficiently sealed with wax.
Veneer, like solid wood, is easy to paint. The primary difference is that you might need to apply wood filler in any areas that are chipped before lightly sanding and painting. Paint is a particularly great option for veneer furniture that has a lot of damage, since blending in those repairs with a natural-wood stain is tricky. For veneer that’s in good shape, though, you can stain it. Just be careful: Veneer is so thin that it’s easy to sand it all away. Sand carefully to remove the stained layer on top before staining. Whether you paint or stain, you should always seal your veneer projects with a durable polyurethane.
As for laminate, you still have a couple of options, but one is easier and likely to be more successful than the other. The easiest way to transform a laminate piece is with paint. You’ll first need to scuff up the surface to de-slick it and allow the paint to adhere. Then, follow with a primer made for laminate surfaces, and allow it to fully dry before painting. Staining laminate is possible, but it’s a bit trickier. You’ll need to scuff up the piece before applying a paint made with wood fibers, like Retique It. This will give your laminate surface a wood finish that you can stain with a color of your choice. You might need to do some patch testing before settling on a final stain color, because these can look a bit different on a wood-fiber painted finish than they would on solid wood or veneer.
Once you’ve determined what finish the piece will have, you can get into the creative details — also known as the fun stuff.
If you’re painting, make a choice.
Marian Parson, who covers all things DIY home at Miss Mustard Seed and in her book “Feels Like Home,” notes that, even when it comes to paint, you have plenty of options these days. “Popular choices for furniture include latex, acrylic, enamel, milk paint, and chalk-type paints,” she says. “The paint you select has everything to do with the final look you hope to achieve.”
While latex, acrylic, and enamel paints will give you a more polished and modern look, milk paint and chalky finish paint are both great if you’re hoping to instill some antique vibes into your piece.

Grab power tools to go the extra mile.
If you’re comfortable with power tools, you might decide to remove a door’s center panels to replace with metal sheeting or to even turn two pieces into one. If you are not keen on sawing your piece apart, it’s okay to stick with aesthetic changes instead.
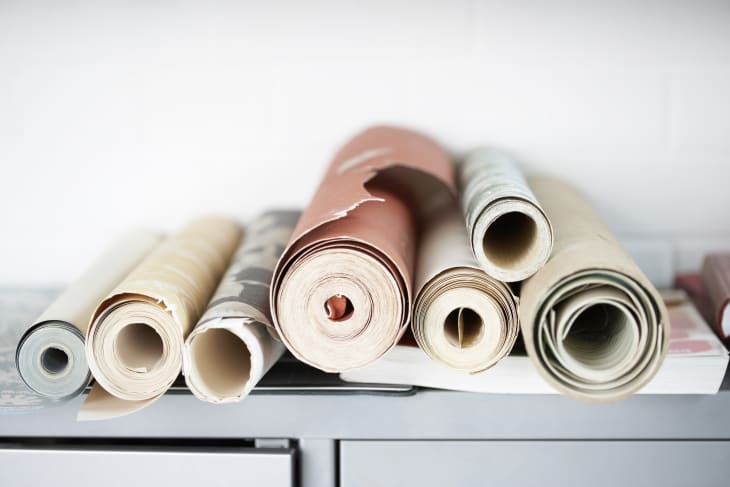
Use wallpaper or contact paper to dress up surfaces.
Contact paper or removable wallpaper are great ways to dress up a piece. One can be applied to the center panel of doors, behind the shelves of a bookcase, or even to the top itself. For high-traffic surfaces, you can add a coat of epoxy over the top for extra protection. Make sure to practice on a test board, as it can be tricky to figure out the first time.
Get creative with fun patterns and hardware.
Ombre paint, stencils, and even freehanding a few fun details are some more options for customizing your piece. And don’t forget the hardware! Whether you are soaking and wire-brushing the original hardware or purchasing something new, a set of handles can make or break any piece.
Whatever process you decide for your furniture redo — stain or paint, wallpaper or stencils, power tools or freehand — the best part is knowing there will not be another piece of furniture exactly like yours anywhere in the world.