
Before and After: An “Eyesore” 1950s Laundry Room Gets a $3000 Total Overhaul
Sometimes room makeovers consist of “would-like-to-do” renovations, and sometimes property issues create the need for “must-do” renovations.
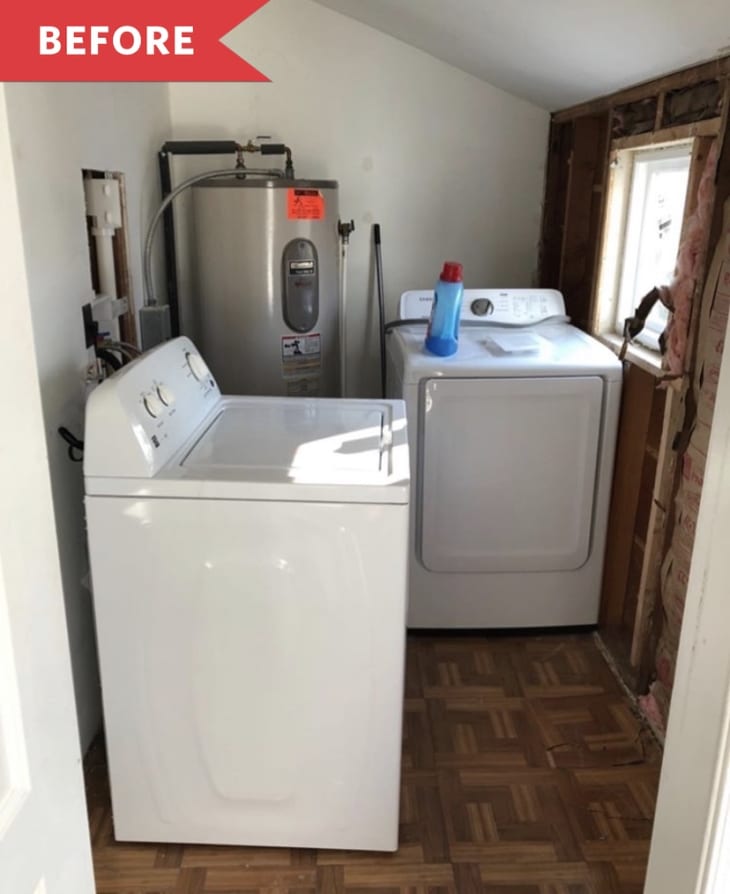
When Josalyn Coleman (Hey There Toots) and her partner, Josh, moved into their 1954 home in 2018, they figured they’d test out their DIY abilities in their small “eyesore” of a laundry room, with its water heater tank, exposed plumbing lines, and rotted subfloor. “But we didn’t necessarily have a planned start date,” Josalyn says.
Essentially, the laundry room was a “would-like-to-do” reno situation—but it became a “must-do” when the couple discovered a leak along the exterior wall. “A proper overhang wasn’t added to the roof’s edge, so throughout the years, rain had been slowly seeping behind the wall instead of over and into the gutter,” Josalyn explains. “This left us with soggy and rotted wood siding that felt like a wet sponge to the touch. We knew we had to address this issue immediately and decided to take that opportunity to completely gut the laundry room, make repairs, then rebuild.”
In order to keep costs down, the couple opted to maintain the room’s existing layout. They also stuck with the already-there water heater, building a closet around it to hide it rather than springing for a tankless option.
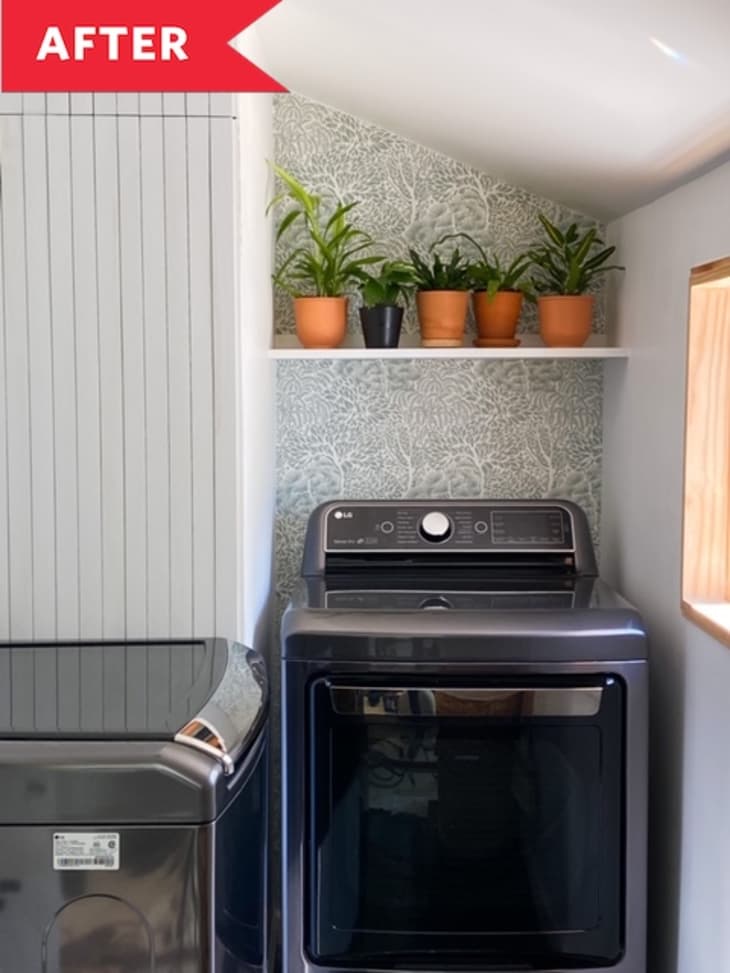
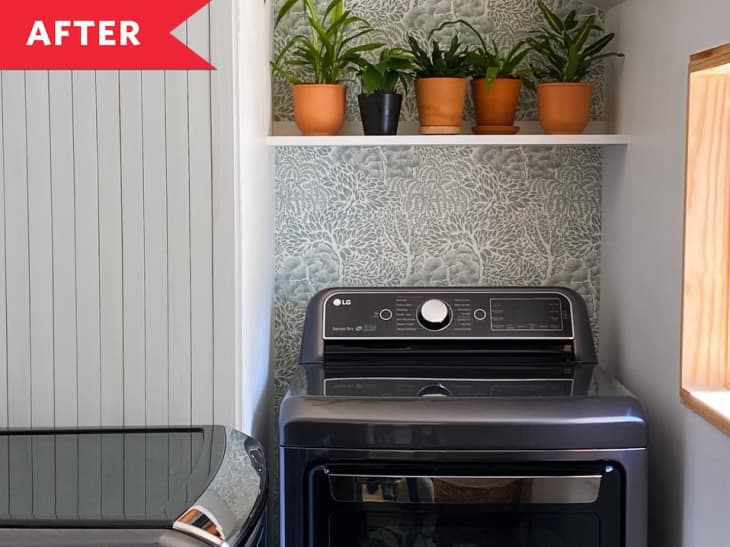
Josalyn and Josh hired a plumber and a handyman to rebuild the rotting wall, but DIYed the rest of the work. This marked Josh’s first time installing drywall and tile floors and Josalyn’s first time installing wallpaper (and OMG, that Miyuki Wallpaper she picked!). “My advice for DIYing renovation projects is to not worry too much about making mistakes,” Josalyn says. “It’s your home, which is the perfect place to make them because they can always be fixed.”
The couple also added a plant shelf on the wallpapered wall, which makes the room feel so much more livable. “Yes, it’s a laundry room, but since it gets such amazing natural light, we decided to use this room as sort of a plant station as well,” Josalyn says. “If a plant in our home isn’t doing too well or if we’re propagating cut pieces, we house them in the laundry room, where they thrive!”
Overall, Josalyn and Josh spent a little under $3,000—including the price of hiring pros for the damaged exterior wall and purchasing a new washer and dryer—and about eight months on the renovation. “Josh is in the Navy and got orders for a three-month deployment, so that set us back some,” Josalyn explains. She adds that they’re still considering making a few additional changes to the space, such as painting and adding in some vintage pieces.
Now, though, Josalyn loves how much brighter and spacious the room feels. “Our laundry room used to be so dark and cramped that simple tasks like removing clothes from the dryer would turn into contortionist acts where we had to bend and maneuver our bodies around just to get in and out of the room,” she says. “Now, it’s just a more comfortable and enjoyable space to walk into.”
Inspired? Submit your own project here.