
This 1960s Kitchen’s No-Demo Reno Is Completely Stunning (No More Brown Cabinets!)
DIYer Carrie Waller (@dreamgreenDIY) and her husband have given almost every room in their 1960s fixer-upper ranch home a makeover, but the room that has made the most dramatic transformation, Carrie says, is the kitchen.
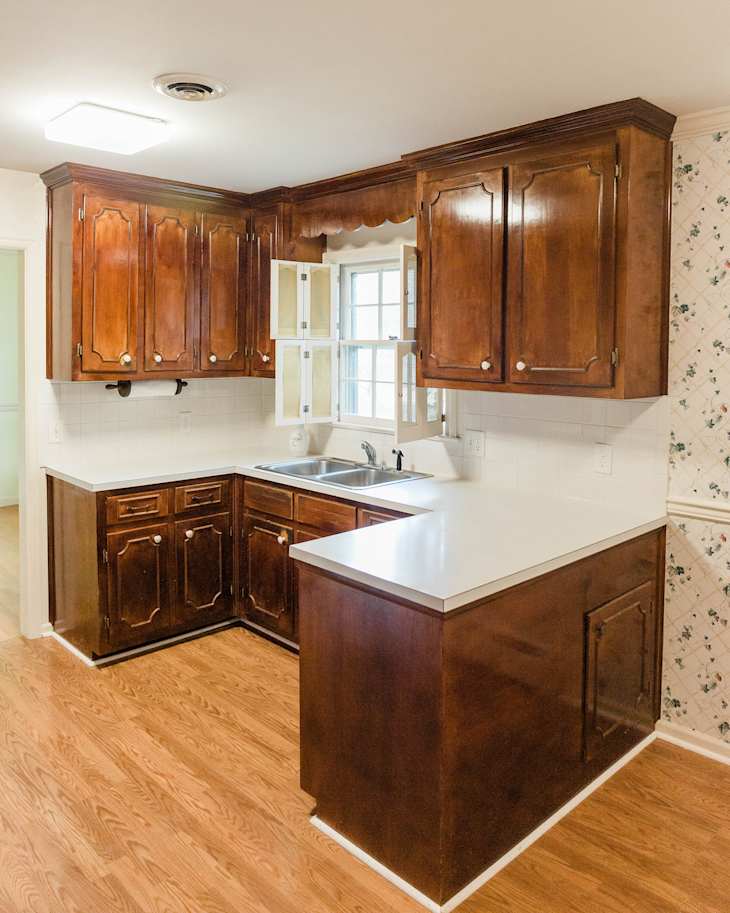
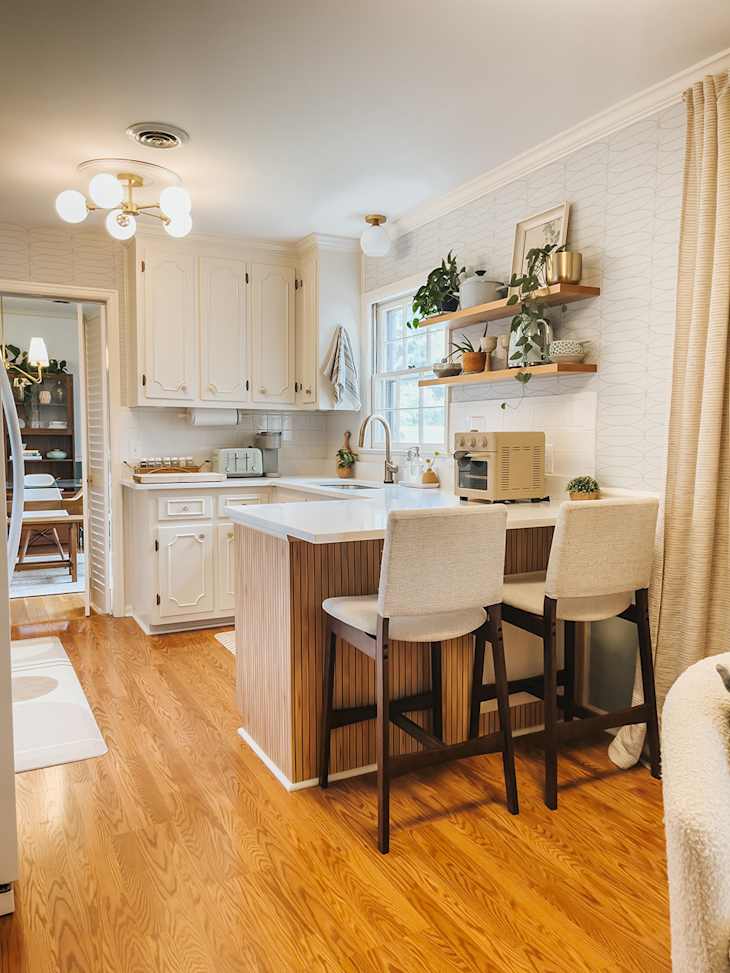
“We removed the old busy wallpaper, replaced the countertops with new quartz, installed a deeper sink and gold touch faucet, put up new lighting, painted the cabinets, swapped out a bulky cabinet for more modern floating shelves, put up retro-inspired wallpaper that’s more to our taste, and replaced the knobs and drawer pulls on the cabinetry,” Carrie explains.
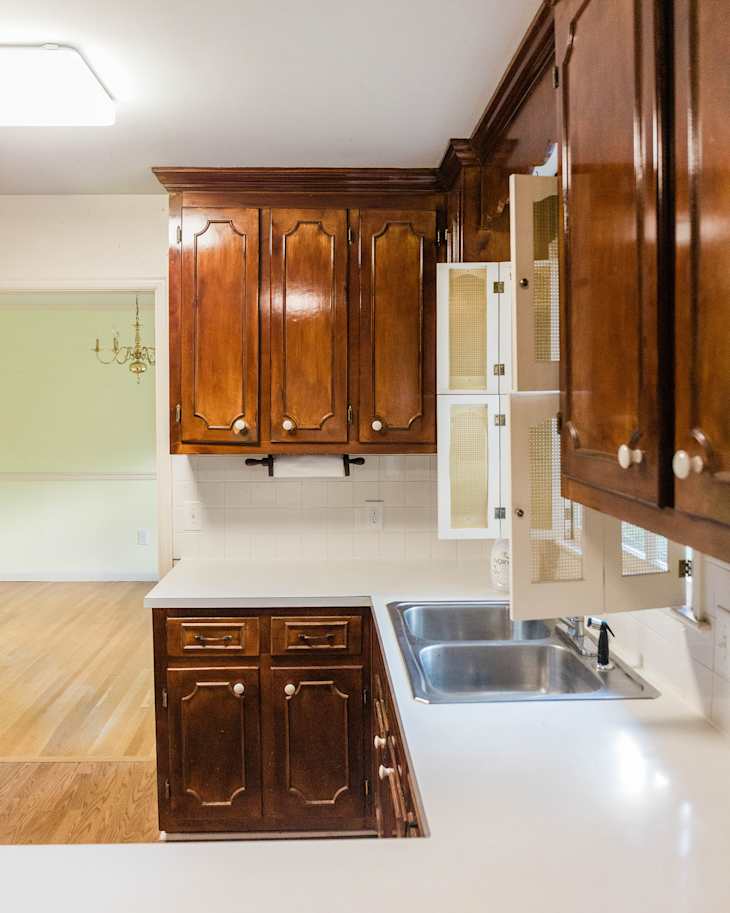
The kitchen cabinets “were in desperate need of refinishing.”
One of the main elements Carrie and her husband wanted to update was the brown cabinetry. Most of the features in the 1960s home, including the cabinets, “had been meticulously cared for by the previous owners,” Carrie says, but “still looking pretty dated.”
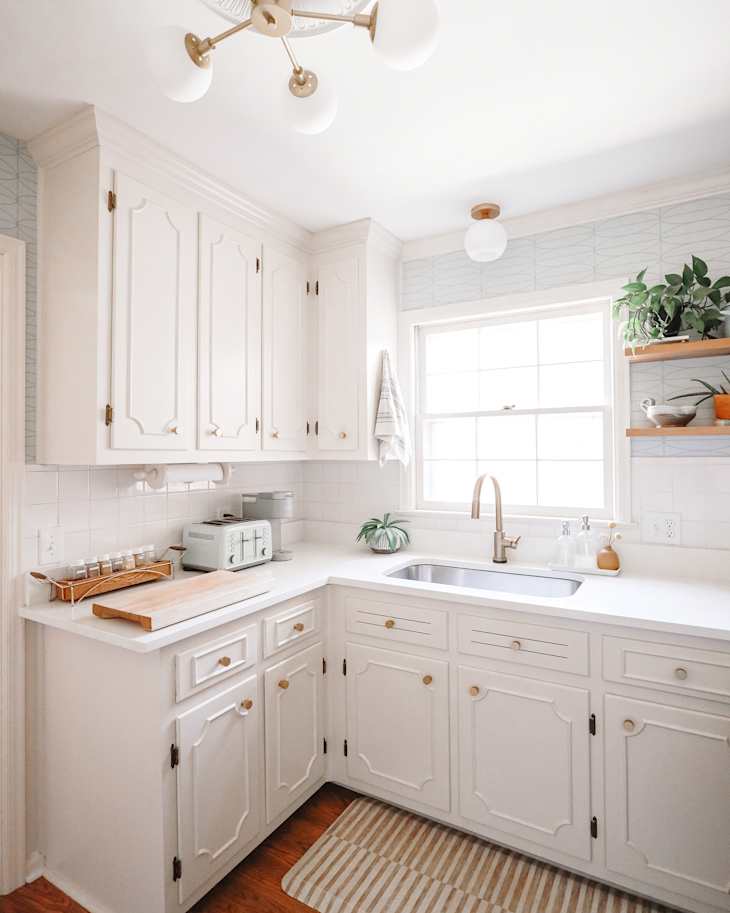
She and her husband and her parents saved money by sanding and repainting the cabinets themselves, and they painted them in a creamy beige Clare Paint’s No Filter, which makes the kitchen look much brighter.
Because they saved money refinishing the cabinetry themselves, Carrie and company decided to hire professionals to install new countertops and plumbing fixtures. “I NEVER could have pulled that before/after transformation off without help,” Carrie says.

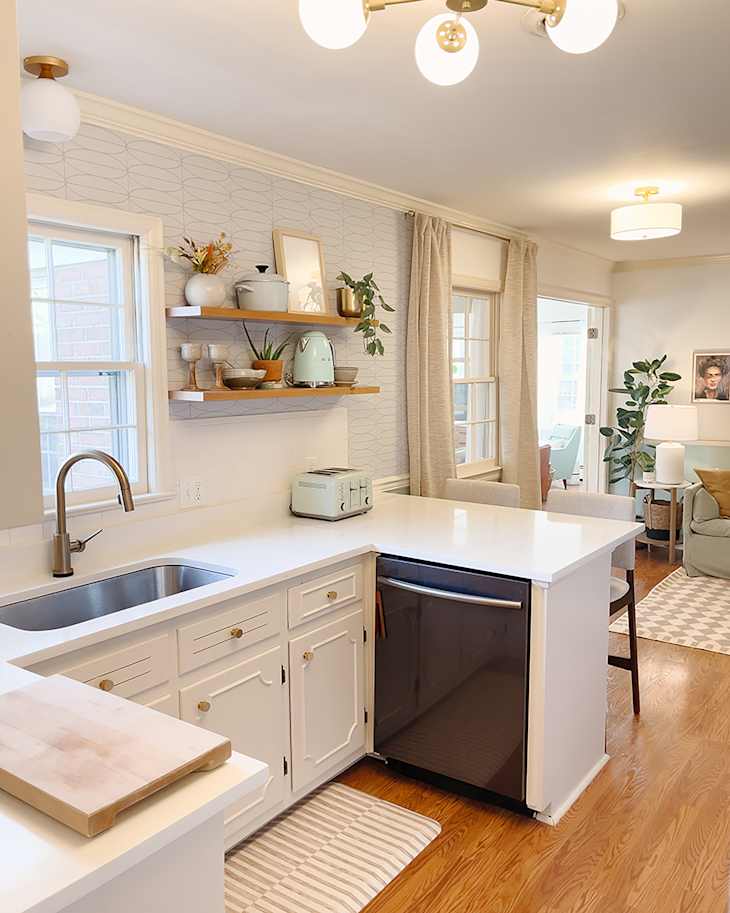
Adding floating cabinetry lightened up the kitchen
Carrie says she learned two important lessons in the makeover: First, rely on help from others, and second, you don’t have to replace one thing in your kitchen with a more modern version, even in a no-demo transformation. You can add something completely new. For instance, floating shelves can live in the same spot where cabinetry once was, even though they aren’t a 1-to-1 match, and this is exactly what Carrie decided to do in her kitchen to take away a bit of bulkiness; she used wood shelving from UltraShelf.
Peel-and-stick features give the kitchen personality.
To add a bit of patterns and texture, Carrie added a peel-and-stick wallpaper to the walls (Fancy Walls’ Candice Wallpaper) that’s white to complement the white tiles from before, and most recently, she added peel-and-stick fluted wood wallpaper around her kitchen island.
“I love how much character the wood grain adds to our mostly white kitchen,” Carrie writes on her blog. “It helps the wood floating shelves look more intentional, and also breaks up all of the white tones in the cabinetry color, countertops, and backsplash.”
In the future, Carrie would like to hire an electrician to add canned lighting to the kitchen — she already made a couple fixture swaps — “to help brighten this veryyyyyyy dark room,” she says on her blog.
Still, her DIY, no-demo swaps have certainly made the kitchen feel much brighter. For more kitchen redos that feel twice as bright as the before, check out this 2008 kitchen’s makeover and this kitchen in Seattle.
Inspired? Submit your own project here.