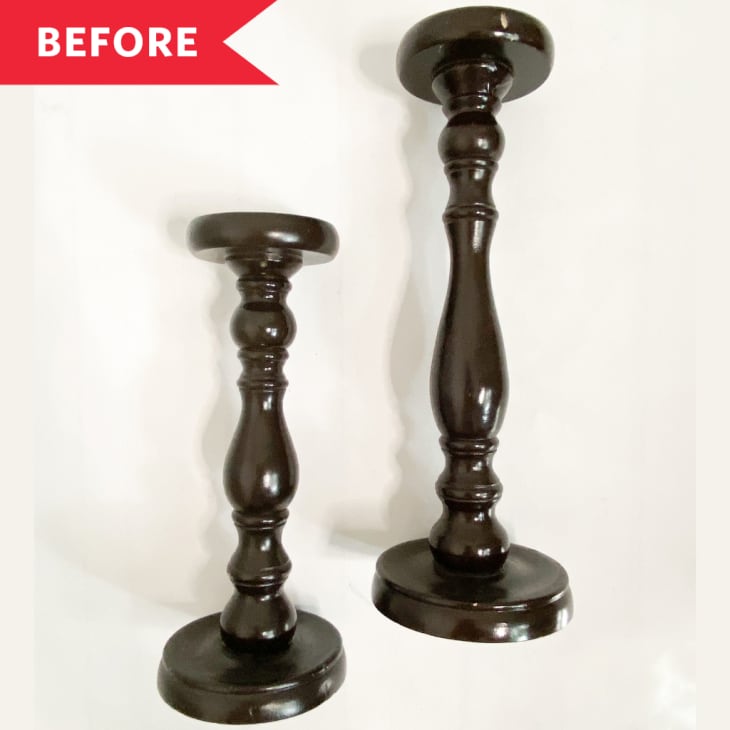
Before and After: An Under-$10 DIY Instantly Modernizes These Dated Candlesticks

Sure, make-unders are pretty—but stripping away paint and varnish also takes a lot of work and time. For an easier, cheaper way, look to Katie Taylor (Thrifted & Taylor’d).
Katie found these dated candlesticks for just $2.99 and $3.99 at a local thrift store. “They were really sturdy, well-made candle holders, but I wasn’t a fan of their super dark stain, and they were a little bit beat up,” Katie says.
Katie hoped for more of a light, bleached wood or whitewashed wood effect, which she says would be a better fit for her home decor. But rather than go through the whole process of stripping, sanding, bleaching, staining, and sealing, Katie turned to paint to aid in the transformation.
Katie started the transformation by giving her candlesticks a light sanding so the paint could adhere. She sprayed them with a couple of coats of spray paint, then followed with two shades of tan-colored acrylic paint that mimicked the color of wood and a little cream-colored acrylic paint to get a whitewashed effect.
“I painted with an angled, synthetic fiber paint brush, using light strokes and a small amount of paint at a time,” Katie says. She also used multiple layers of the paint to add depth—and was able to achieve a remarkably convincing wood look. “The key to this is allowing the brush strokes to show so it takes on the appearance of wood grain,” she says.
The acrylic paints cost less than $2 a bottle, and Katie already had the white spray paint. That brought her total cost to under $10—and under $20 if you include both the candlesticks.
“I love how it looks so similar to other candle holders I have, which truly are a light, whitewashed wood,” Katie says. “They blend in perfectly with my home decor. Unless you really stare at them, they totally look like I went through the whole stripping, sanding, bleaching, whitewashing process when I really spent a fraction of the cost and nowhere near as much time on this project!”
