
Before and After: This $250 Pantry Redo Is Peak Organization Goals
The dream: Being able to walk up to your pantry any time of day to find a storage spot that’s organized, well-lit, and clearly labeled. But the reality is often more likely to be a catchall for half-opened bags and scattered packages in mismatched bins. Jessica Norman’s pantry fell into the “reality” category.
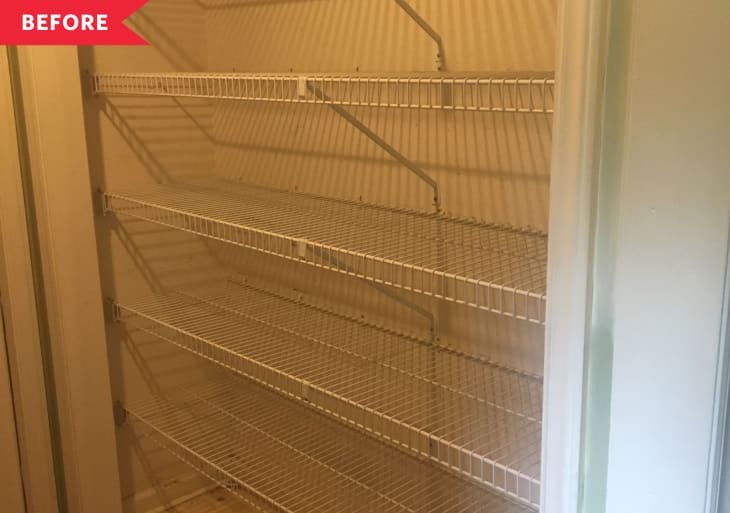
Her 1989 home’s pantry had never been updated, which meant there was plenty of wire shelving to go around. “It made the entire space feel cramped and dark,” Jessica says. “Food and dust would drop between the spaces in the shelves and get caught in the supports. It was gross.”
Shelf liner was a temporary solution, but even those, Jessica says, started to detach with frequent use. It was time for a new fix.
To start, Jessica removed the pantry’s bifold doors to open up more space for walking through.
“Since we used the area so much and it wasn’t serving our family well, I came up with a plan to make it work better for us,” Jessica says. “First I took stock of all the food containers we had and what we used the most and the least. Then I created a layout that put the most-used items in the easiest reach.”
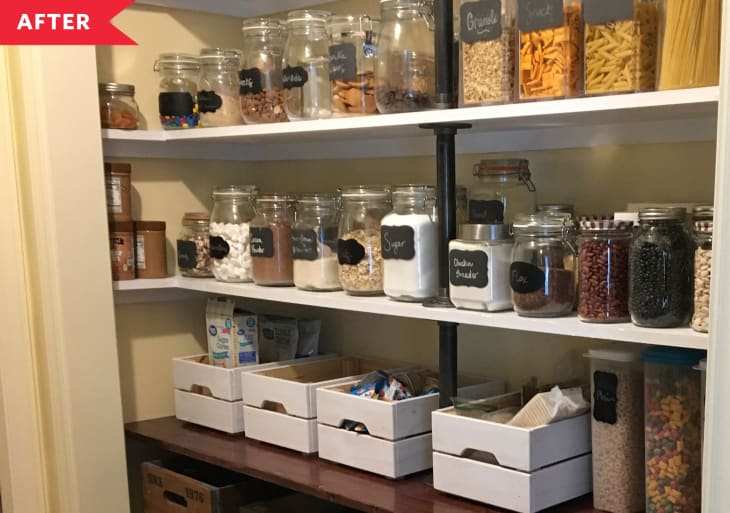
Jessica also built her own shelving with whitewood boards from Lowe’s. She also upgraded crates from IKEA by staining them darker and installing wheels to the bottom to make them easy to pull in and out. Their dark wood look is a perfect fit for Jessica’s farmhouse style. They’re complimented by the counter-height wood shelf, which Jessica stained in a red oak tone and sealed with polyurethane.
Once her shelving unit was installed, Jessica turned to the task of organizing. “All the cooking supplies and food I couldn’t repackage in glass jars are stored in the large crates at the bottom,” she says, while sauces, broths, canned goods, and potato chips are hidden in the crates. The jars hold beans, pastas, and flour, and the small crates on the top shelf hold things that aren’t frequently used, like cookie cutters and icing tips.

The new arrangement makes it easier for her kids to grab what they need. “Our kids have easy access to all the snacks and cereals in the smaller white crates that sit at counter level,” Jessica says.
In the end, the project cost $250, and the results are befitting of a Pinterest dreamland—plus, much more functional for Jessica and her family.
Inspired? Submit your own project here.