
Before and After: A $500 Closet Redo Packed with Smart Storage Ideas
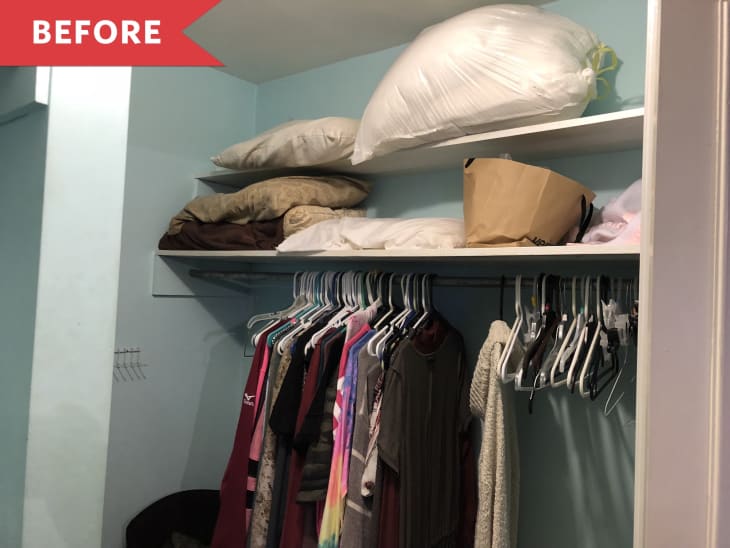
Who doesn’t love some spring cleaning inspo, especially a perfectly organized closet? That’s what Zoe Bleak has now, but that’s definitely not what she started with. “Our home was built in the late 1970s,” Zoe explains. “The master closet was one of the only downsides to the home—not only was it small, but where it was located in the home made it impossible for us to expand its footprint at all.”

The previous owner had painted the closet walls and installed some makeshift shelves and rods, but it was not attractive and it certainly wasn’t functional. “It was obviously dated, and the sloppy finish job made it completely uninviting,” Zoe says. “We had to make the most out of the L-shape configuration, but I knew we were going to have to really improve the built-ins in order to utilize every square inch of the space.”

So, Zoe and her husband gave the closet a makeover during their full home renovation. First, Zoe took inventory of all of the clothes that would need a home in the closet. Then, “after ripping out the existing shelves and rods during our initial demo phase, we hired a handyman to come in and custom build shelves based on our personal needs,” Zoe says. She opted for small shelves and mixed-height hanging space for tops, bottoms, and dresses, while her husband chose two hanging sections.
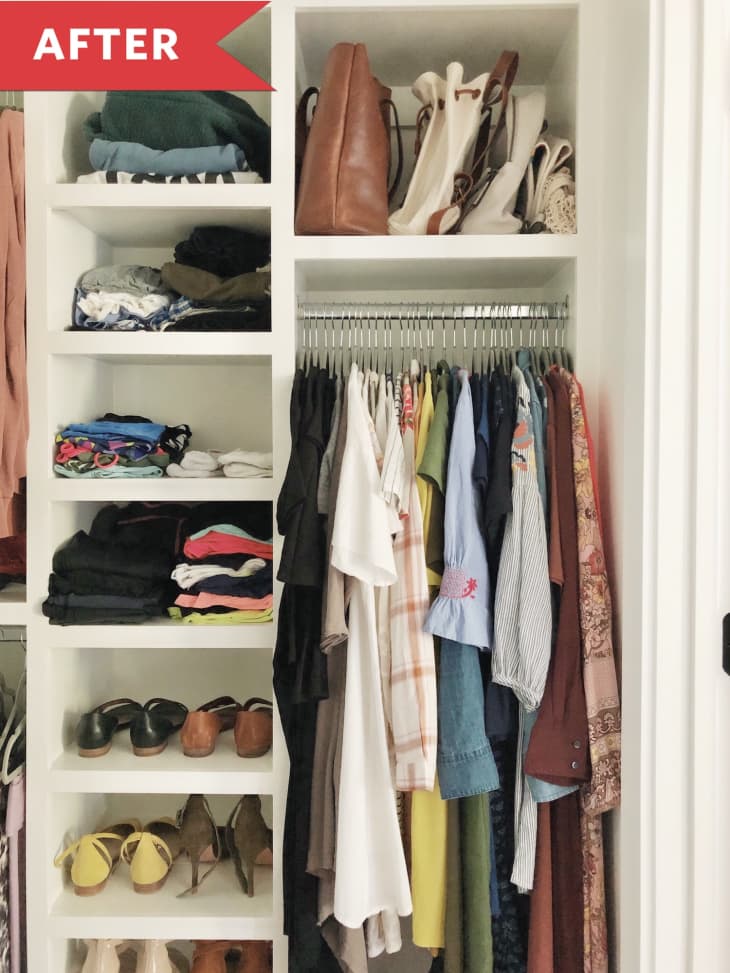
Smart trick here: Zoe says the handyman mostly used thick MDF board to build the shelves, but then added a thick piece of wood on the face of each one. The result: high-end looks for a lower price! In fact, the custom closet cost about $500, including labor, paint, and the hanging rods Zoe and her husband installed themselves.
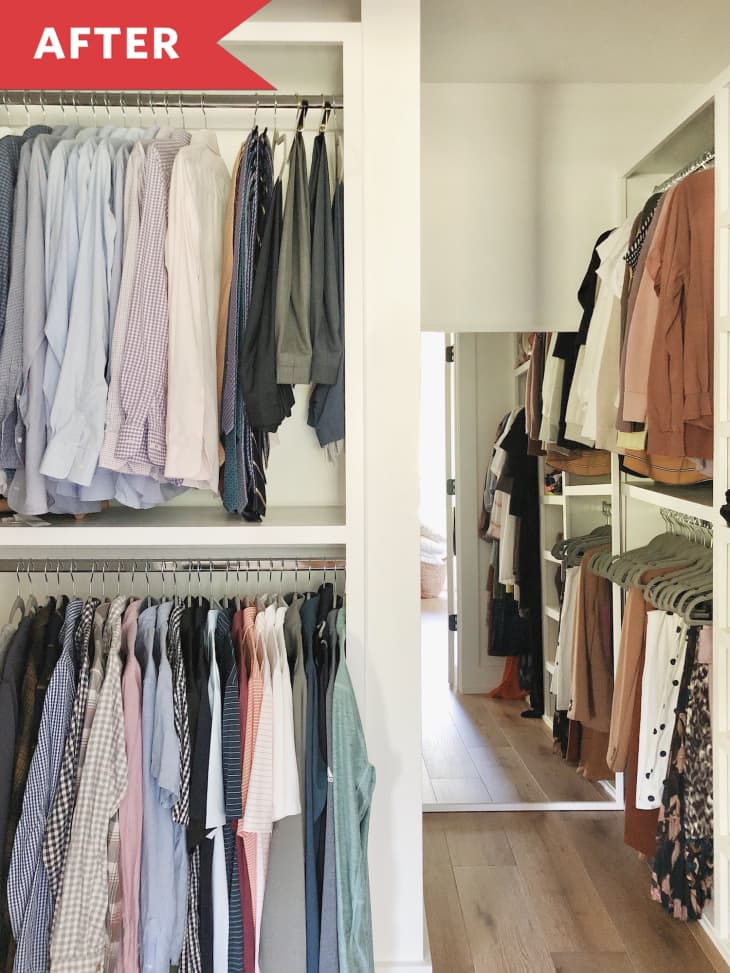
Now the space is both pretty and functional. Win-win!
Zoe’s advice for your own organizational endeavors: “Think about what you have, how you use those items, any previous pet peeves you’ve encountered in past homes you’ve lived in, and strategize on how you can avoid those annoyances in this new space,” she says. “You will be so much happier with a functional space!”
Inspired? Submit your own project here.