
Before and After: A Bright & Budget-Friendly Hallway Refresh
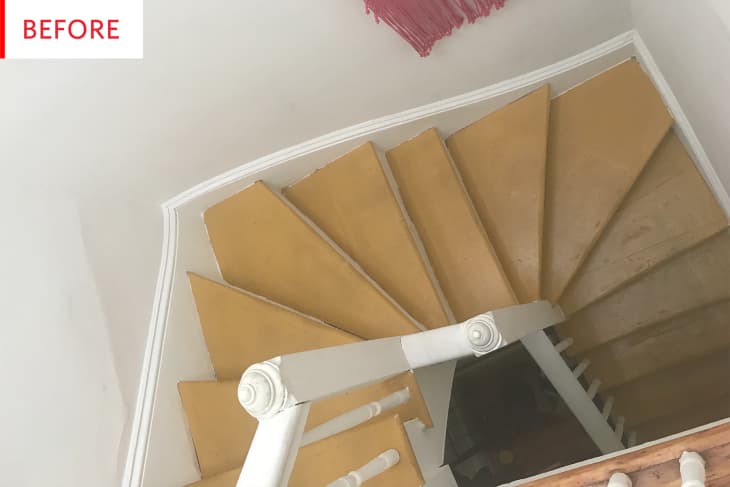
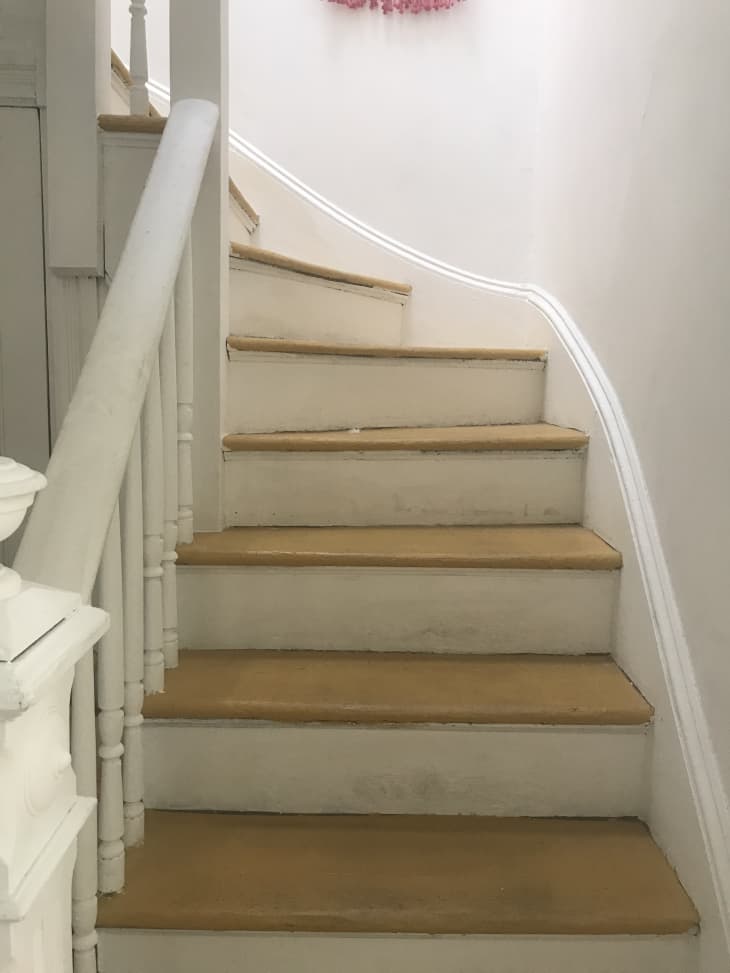
We don’t often see hallway/stairway renovations—especially ones as fun as this one. These dingy, mustard stairs — and the dark landing spot at the stairs’ base — are about to get the makeover of a lifetime…
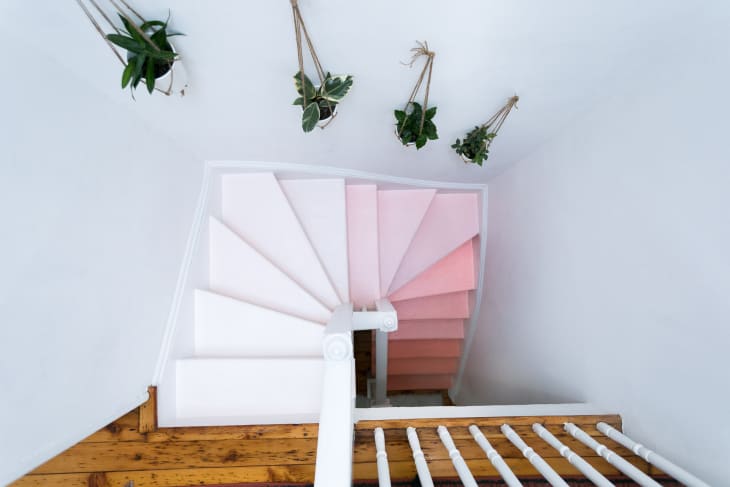
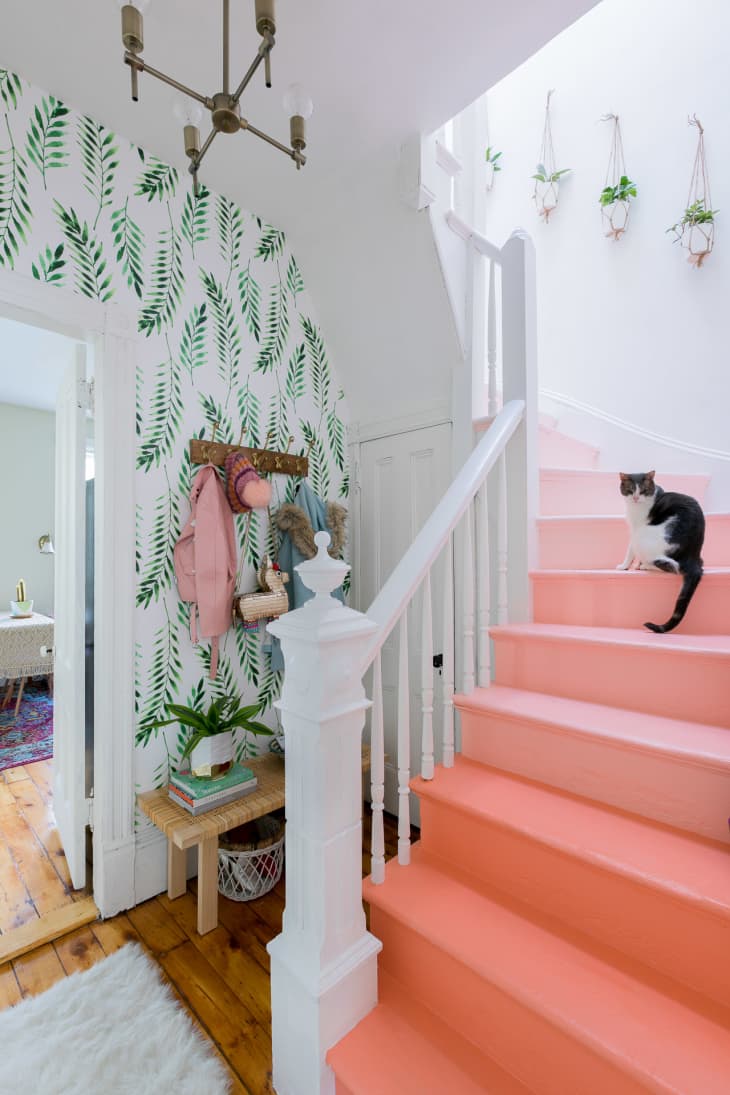
WOW! That is so incredibly fun and unique! Natalie Jacob of Arsenic Lace has turned a stairway from a functional necessity to a stunning part of her home. I love the juxtaposition of the pink hues against the rich wood and bright white, and the way the plants move up the stairway towards the light.
Here are Natalie’s tips:
If you’re painting your staircase, it is not a quick project. Have the time, patience, and go slow. I painted every other stair so that I could still go up and down them while they were in process of being painted. I let those dry for a few hours and then I painted the rest. Make sure you use painters tape for the side molding and banister. From beginning to end this was a 15-hour project, plus complete drying overnight but was well worth the work and wait.
That is incredibly clever, and something I certainly didn’t think of when I had to paint a stairway!
Natalie was kind enough to provide budget details, and she obviously got an amazing amount of style from not a lot of dollars!
I did the project over the course of 6 weeks. My original order list for my budget and design plan was $833. By DIYing some elements, like the plant hangers and art, and by using items I already owned, like the baskets and rug, I brought my budget down to $524. A lot of elements in this project are renter-friendly updates, like the paint and removable wallpaper. There was a minor set back with . . . changing the light fixture. Although swapping out a light fixture is usually an easy and renter-friendly update, the wires were old underneath the existing fixture and I had to have an electrician come in to help me get the new light fixture up.

This is an excellent spot to take photos! The light bounces around so flatteringly, and the stairs themselves create such a poppy backdrop.
The wallpaper and stairs are definitely my favorite part of the “after”. It has completely transformed the space into a bright, colorful, and happy space. Is it weird that I want to hang out on the staircase? The only thing I would have done differently is add one more shade of light pink to the top of the stairs. I had an uneven number of stairs so I wound up painting a few stairs white at the top. It still creates a nice ombre effect and didn’t take away from the impact.
Not weird at all! I like to hang out in my pantry—take joy wherever you can find it.
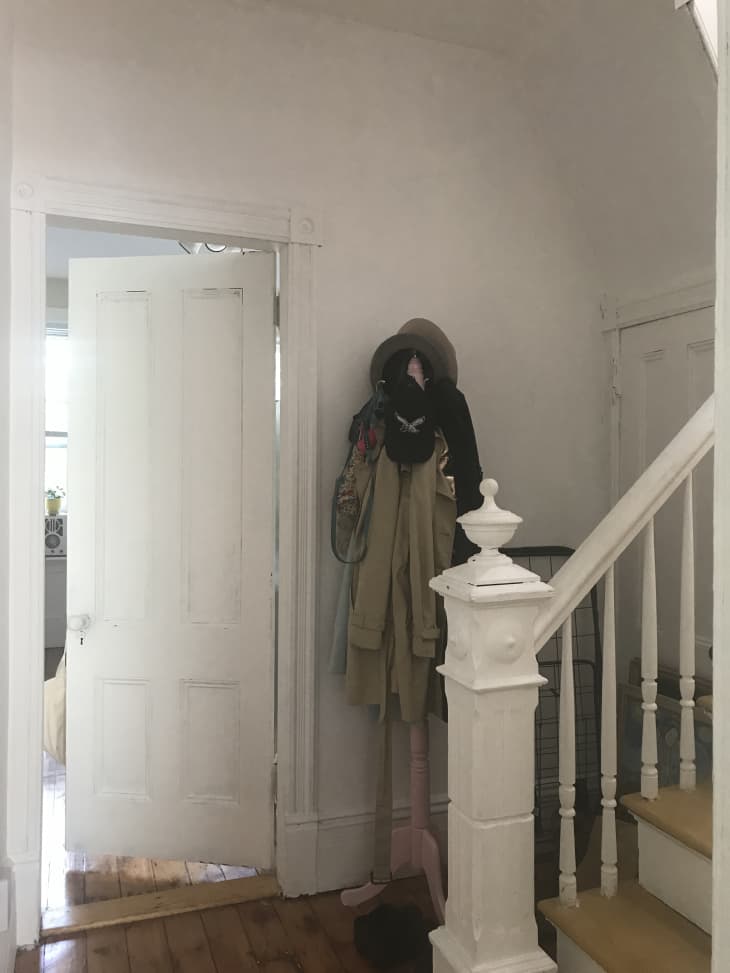
This “before” shot shows one of those spots that does the trick, and nothing more. It provides a space for coats, which is a wonderful thing to have, but it’s nothing special.
The hallway is the darkest place in the house and I wanted to brighten it up, plus make a functional and organized landing area. It was dark, messy, and the staircase was dingy. No matter how much I cleaned it the stairs always looked dirty because of the old paint job and brown/yellow color of the stairs.
I have definitely lived in places that never felt clean, no matter how much I cleaned them; it was incredibly frustrating and discouraging. I’m so happy Natalie has a spot that’s so fresh and bright!
Now that is special! In the same amount of space, there’s now a bench for storage and putting on shoes, hooks for coats and such, and a ton of beauty.
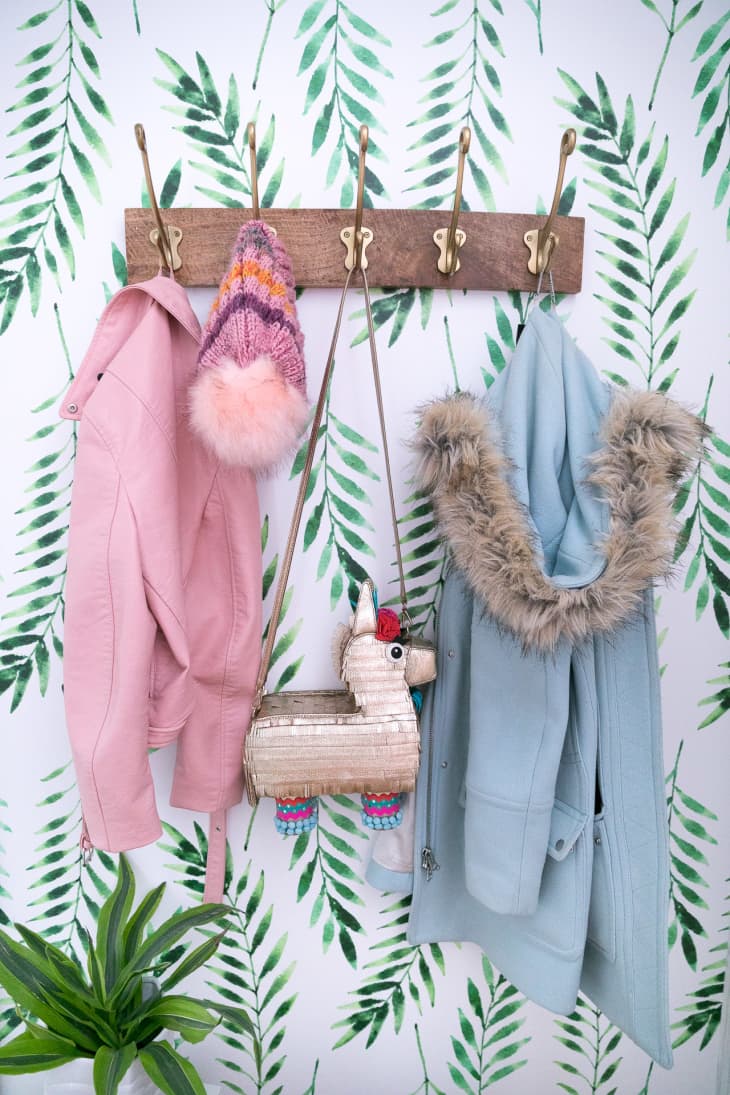
Every renovation should include a piñata purse!
Thank you Natalie! Be sure to check out her renovation post, which includes resource information, in-progress links, and additional photos!