
Before & After: An Incredible DIY, Use-What-You-Can Garage to Guest Room Remodel
If you have an old basement or other unused space in your home, you might dream about remodeling that space into something beautiful and useful. For Suzanne and Peter, that dreaming started the moment they bought their San Francisco home three years ago. The dark and dank basement room that came with the house no longer exists and has been replaced with a bright, open and welcoming space.
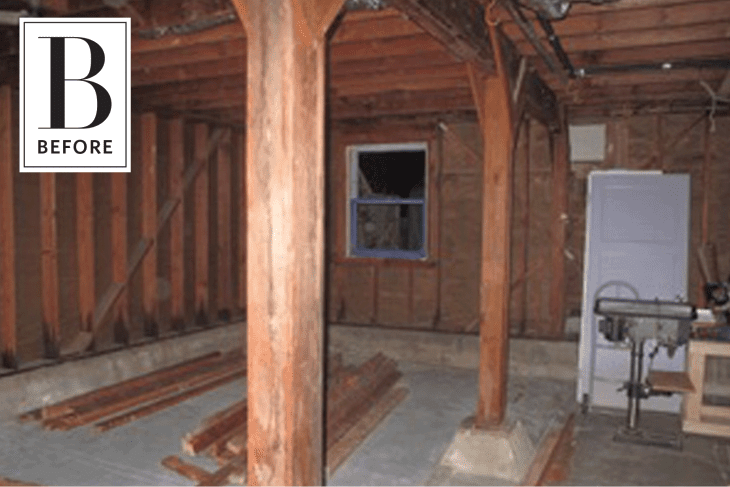
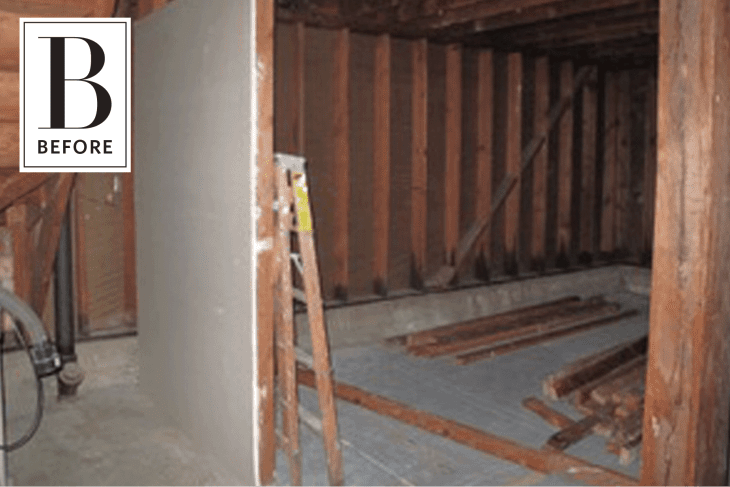
Located on the basement level, this tiny existing room in their garage wasn’t in great shape to start with. Wrote Suzanne: “There was a room there when we bought the house but it had been leaked on by the shower above for many years. The ceiling had collapsed in places, the carpet was mildewed, the walls were water damaged — there really wasn’t anything to salvage. And, the walls had been built forward of the foundation, losing about 18″ of living space all around (and giving the cat a place to hide). The floor was concrete and sloped towards the side and back of the house.”
What they dreamed of using this space for was three-fold: They needed a cool and casual family room they could hang out in. They needed a proper guest room for parents, friends, and their daughter’s sleepovers. And they were hoping to generate some income from their home.
“In planning for this suite, we knew we wanted it bigger so it could be a comfortable living space, not just a guest room. We definitely wanted another bathroom. Our daughter wanted a place for sleepovers. Peter envisioned a big screen, beer fridge, and a place for his amp and guitars. We also needed to maintain space in the garage for a car, washer/dryer, bikes and storage, garbage bins and access to the backyard.”
At just over 250 square feet, they were going to have to utilize every possible inch of this basement room. On a tight budget, they impressively (and almost exclusively) used things they already had or materials sourced from salvage yards and Craigslist. The total cost? The 258 square feet studio remodel cost about $100/square foot; a reasonable price considering the condition of the space when they started.

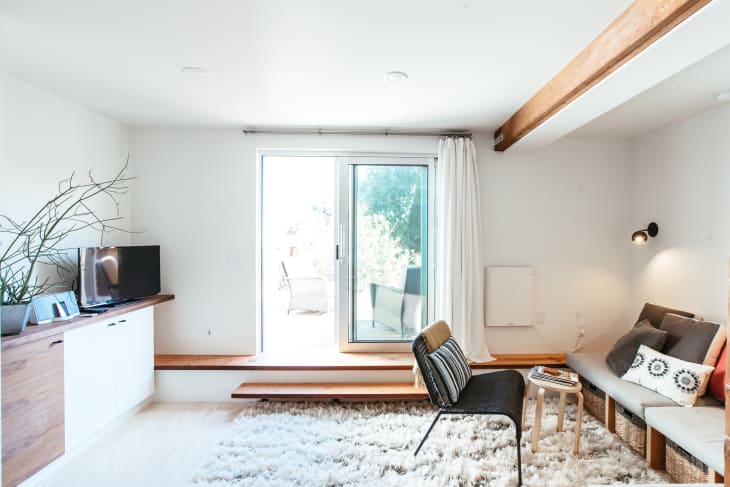
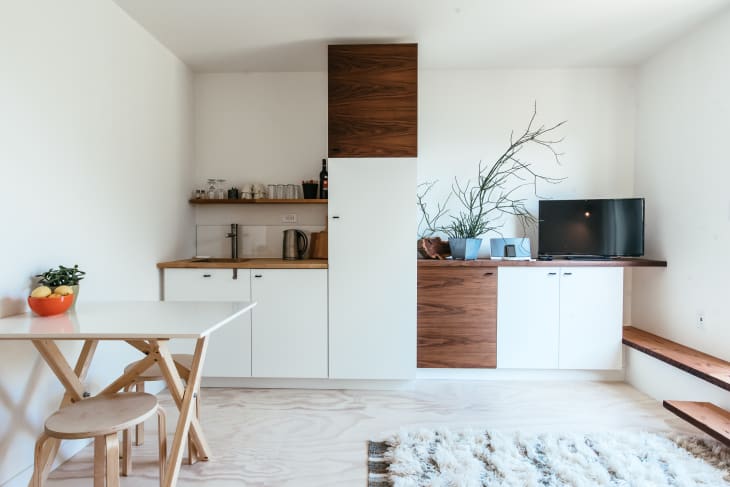
The new basement suite is a bright and airy studio with a small bathroom, a kitchenette and enough room for a queen bed and sitting area. Suzanne and Peter kept the interior modern and simple with white walls, and by working with wood elements for a cozy feeling. The result is the ultimate small space inspiration!
On plumbing, electric, walls and floors:
“We didn’t have a lot of money to spend and wanted to re-use as much as we could from ours and other sources. Sometimes we had to wait for what we needed to show up on Craigslist or at the salvage yards (or on the curb!). Limited budget also forced us to deal with the existing sloping foundation curb, four 6 x 10 support posts, and all of our ducts, plumbing, electrical, furnace and water heater — none of it could move. We had to work around it.
That meant taking our time to figure out each detail. We started by measuring our queen bed (60″) to decide on how many inches to steal from the garage and add to the room. That was the basis of our floor pan.
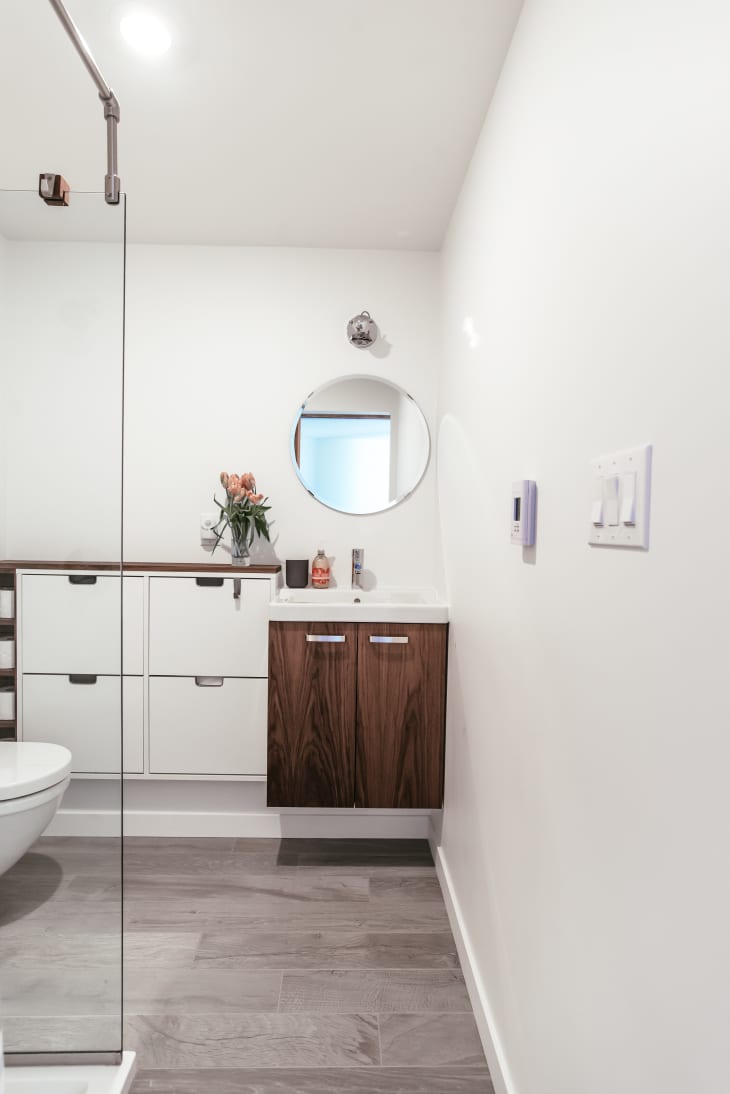
The existing plumbing upstairs dictated the location of the bathroom and potential kitchenette. In order to maximize living space, we made the bathroom as small as we possibly could while still meeting code. It’s not a bathroom for lounging!
We enlisted the help of my dad and brother (both engineers) to help Peter with the electrical, and now have a very elaborate electric scheme that covers every possible need — present and future. We are big fans of LED lights for the quality and brightness as well as energy savings.
The sloping concrete floor was a mathematical and carpentry challenge — perfect for Peter who is a master of both! To create an even floor, we had to make a raised platform of joists that had to be leveled in two directions and covered with clear pine plywood. If we have the funds to put hardwood down later, we left room for that. But so far everyone loves the floors and they are holding up well considering they are soft wood.
From there it was a matter of figuring out how to incorporate the existing foundation walls and beams into the design so that they were assets instead of barriers. We located cabinetry along the north wall to cover the foundation. The cover on the east wall foundation took the form of a step to exit the “window” and a bench to sit on. The platform bed and couch cover the concrete base of posts on either side. Having the bed there allowed us to drop the ceiling to accommodate both existing ductwork and a new duct for the bath vent.
We spent nearly two months insulating. Next to laying tile, it’s the next messiest job.
For the exterior walls we used standard fiberglass insulation to code — using leftovers from two different neighbors’ projects along with new. We used Roxul Safe and Sound (sort of like dense cotton candy but made out of volcanic rock) in the interior walls and ceiling for its sound dampening and fireproof qualities.
The ceiling soundproofing required a layer of drywall up in between each joist, sealed with a drippy, sticky, messy “Green Glue” sound sealant all around every seam and hole. It was a messy job with a lot of swearing and promises of “never again!” Insulation went below that, then resilient channels run perpendicular to the joists to “uncouple” the floor above from the ceiling below. Then a final layer of drywall. The Roxul is surprisingly easy to work with as it slices quite literally like bread with a bread knife and although it is dirty work, it isn’t itchy like fiberglass.
The suite is certainly much more soundproof than it was without anything, but not as much as we had hoped. We rarely hear our guests, but I am pretty sure they can hear us walking around. From an energy use standpoint the suite IS enviably cozy. No leaks anywhere!”