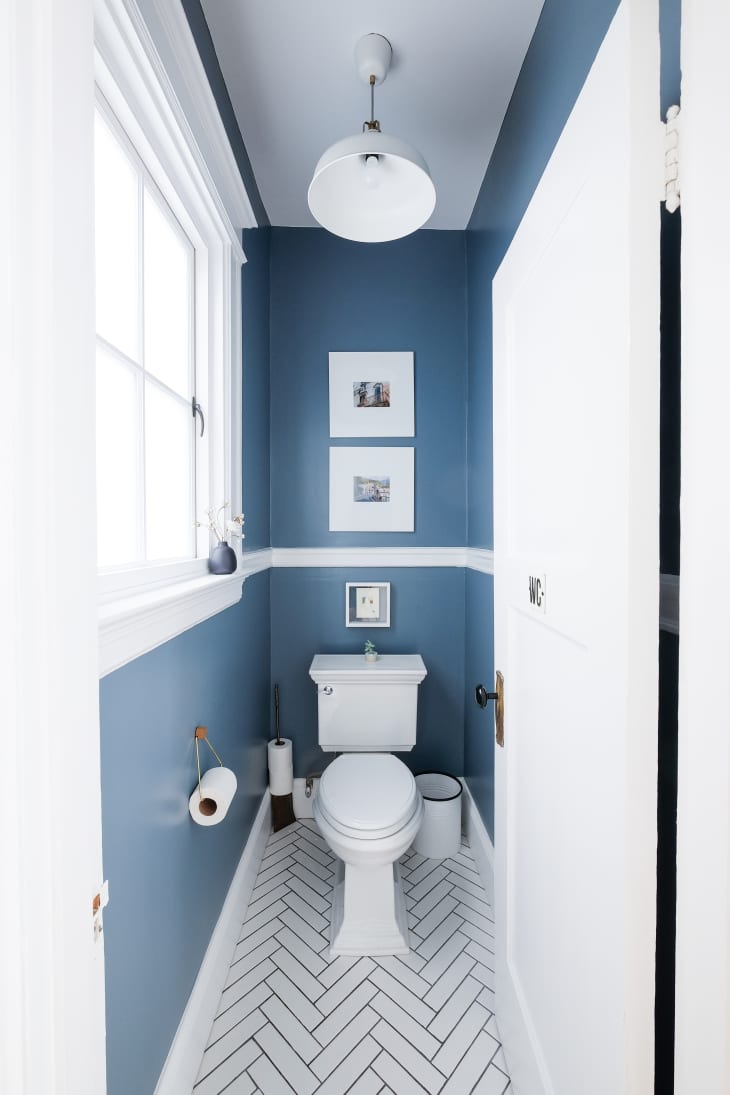
How to Paint Your Bathroom and Not Screw it Up

Painting the bathroom is just like painting any other room, right? Not so much, it turns out. I’ve painted my share over the years and never treated them any differently than any other room, but I’ve been doing it wrong.
When it comes to bathrooms, there are a few things that make painting a little trickier than the rest of the house. Sam Ross of Nailed It Contracting was nice enough to pepper him with painting questions when he painted my bathroom recently.
Do you really need a special paint in bathrooms?
I sort of knew the answer to this already, because I used a regular, high quality paint in several rooms in the house. It still looks great everywhere, except the bathroom, where it’s all splattered with water marks behind the sink.
So for this, our main bathroom, we opted for a fancy special bathroom paint by Benjamin Moore, called Aura Bath and Spa, that’s supposed to repel those water stains and streaking. Before going this route (this stuff isn’t cheap), Ross and I did some reading online on some pro painter’s forums, and the paint gets high marks on that count. Better still, it has a matte finish—not the typical glossier paint finish that’s supposedly easier to clean.
Even though it cost about $20 more a gallon than average paint, it will be worth it if it saves me from repainting in a year.
It’s about more than looks
But it’s not just about aesthetics or repainting. “Mold and mildew love moist environments,” Ross said. Specially formulated bath paints come with mold and mildew preventatives built-in (although you can also buy additives to go in your regular paint). And, whether you’re starting from scratch in a new remodel, or painting over old paint, it’s always a good idea to seal the walls with a good primer that also contains mold and mildew preventatives. There’s no such thing as overkill when it comes to keeping funky growth out of your bathroom.
Pro tip: Have your primer tinted to a shade similar to your topcoat. But don’t make it the exact same color; if the paint shop gets overzealous, it could be too dark and bleed through your top coat. Instead, ask for it to be half to three- quarters “book formula,” or the color makeup, of your actual wall color. That’ll be dark enough to help with coverage, but light enough to see what you’ve already primed.
Paint alone can’t save you
If you don’t have a bathroom fan, moisture will sit on the surface of the paint. Ross explained. And guess what’s next: Your paint is going to blister and bubble no matter what kind of paint or sealer you use. “It can help, but no amount of paint is going to save you if you don’t use a fan.”
If you’re doing a major remodel, now’s your chance to start from the ground up and use the right materials on your walls. We went with a drywall product called “purple board” which resists resists moisture, mold and mildew. Keep in mind that, if you use something like this and you’re testing out paint samples, you’ll need to prime your test area first in order to get a true read on the final color.
But first, prep
Sixty to seventy percent of paint jobs is prep work, and that’s especially the case in a bathroom. If you get paint on your tile grout, for example, it’ll take a lot of scraping to get it off (if you’re lucky), so it’s more important than usual to tape it off. And you need really good, strong tape to adhere to tile: no cheap stuff. Look for a 3M or FrogTape multi-surface tape at any big box home improvement store, Ross says.
If you’re painting over existing color, start with a thorough cleaner, Ross said. He likes M-1 Paint Deglosser from Sherwin Williams, “for a nice clean surface without sanding,” or granulated Dirtex that you can sponge on and not rinse off.
Bathrooms come with some tricky spots. Take the toilet tank lid off for some extra wiggle room, drape it (and the tub and sink in plastic) and use a mini-roller to get into those tight areas.
And then? Enjoy that beautiful new bathroom worry-free!
