Before & After: A Basic Buffet Gets an Elegant Upgrade

When I first walked into Thomas’ home, I was struck by the amazing number of creative and personal touches that filled every room. As I got to know Thomas, I quickly learned that most, if not all, of my very favorite parts were designed and/or handmade by him! Against the living room wall, on the far end of a long room, sat an elegant buffet. I never considered that this piece was also the handiwork of Thomas himself; it looked like an expensive and professionally crafted addition to his home.

Can't-Miss House Tours Straight to Your Inbox
Keep up with our latest house tours each weekday with our House Tour of the Day newsletter
House Tour → Thomas’ Cozy & Creative DIY Minneapolis Retreat
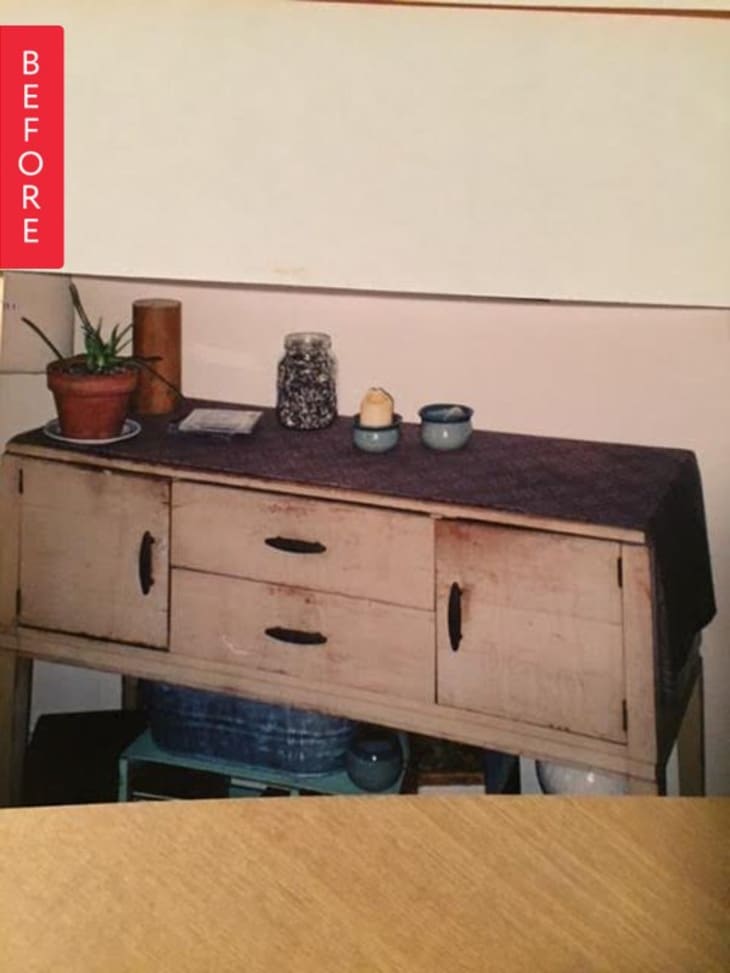
As you can see from the before photo, this buffet started off as a beat-up blonde cabinet with a bit of a Haywood-Wakefield look to it. Nothing stands out as exceptionally exciting, and the top was always draped in one textile or another to hide the unsightly water stains and major flaws. With a vision, elbow grease and a palm sander, this little flea market find from Berkeley, California received a major upgrade.
From Thomas:
I bought a palm sander and sanded off all of the old yellow-ish stain and finish. I got the piece sanded down to where it would accept a new finish. I bought a dark mahogany-colored stain and applied it. I’m not very good at applying stain evenly but that was okay for this project, as I’m fine with it looking a bit imperfect, a bit wabi-sabi. I applied the stain with old rags and then wiped it off again. I did this over and over until I reached the darkness and color I was after. It’s a bit varied in areas and that is fine with me, too.
For some of the trim details and for the bottom of the legs, which were in even worse condition, I simply brushed on gray paint. I think it adds a nice touch to have a different accent color.
I’m lucky enough to have a friend who works as a granite countertop installer. He was able to find me a piece of granite that was the perfect size to fit the top. In his industry, the piece of granite was just a scrap chunk, so I got it for free. I simply attached the granite to the top of my cabinet with industrial strength double-sided tape. Plus the granite is so heavy there is little concern of it shifting.
For the drawer/cabinet pulls, I once again had a very specific idea in mind which I could not find anywhere, so I made them. They were simple. I bought copper fittings from a plumbing department (mine are 1/4″, 90 degree angle, elbows) and also bought a 1/4″ wooden dowel rod. I cut short pieces of the dowel wood with a small coping saw (fine-toothed handsaw) and glued them into the the copper elbows with 2-part epoxy glue. The portion of the wood that stuck out simply got sanded off with my palm sander.
To attach the pulls to the drawer/cabinet fronts, I just drilled into the back side of the dowel rods and screwed them in place with the old screws that had been part of the original pulls.
