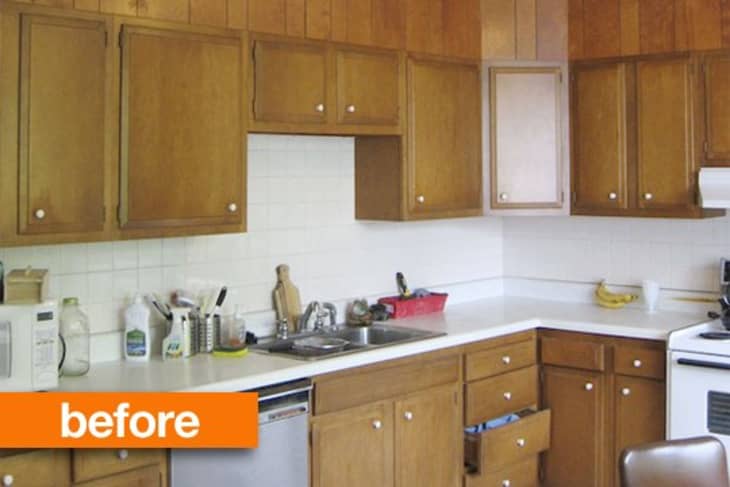
Before & After: 1966 Cabinets Get a Two-Toned Transformation

When they first thought about how to renovate their kitchen, Tonja and Jon debated for years about how to update their original 1966 cabinets. They finally decided to take on the job of refinishing them themselves. Just wait until you see the stellar results.
They learned a valuable lesson about renovating: nothing ever turns out exactly how you think it will. In their case, it turned out better. That beautiful two-toned design? A happy accident!
From Tonja:
We started by removing the doors and drawers applying an eco-friendly stripper to the cabinet bases. We scraped and sanded for hours. Next came a brown-mahogany gel stain. When I got to the polyurethane, my dad thankfully came to the rescue and applied a flawless finish! He actually rubbed on oil-based polyurethane with his fingers (while wearing Nitrile gloves).
One of the most time-consuming jobs was preparing the doors and drawers. Initially, we stripped, lightly sanded and began to stain them in the same brown-mahogany color. When the wood did not accept the stain, we learned that it was hard maple, which has a tight grain that resists absorption. I realized that I might as well sand deeply—all the way through the original stain to reach the raw blond wood. My dad finished the doors and drawers by meticulously applying six layers of polyurethane over a couple days. I think that the cabinets may last for another 46 years!
-
Thank you Tonja!
- SEE MORE BEFORE & AFTER PROJECTS
- SUBMIT YOUR OWN BEFORE & AFTER PROJECT
