
Before & After: Wall Goes From the Woods to Wood
We independently select these products—if you buy from one of our links, we may earn a commission. All prices were accurate at the time of publishing.
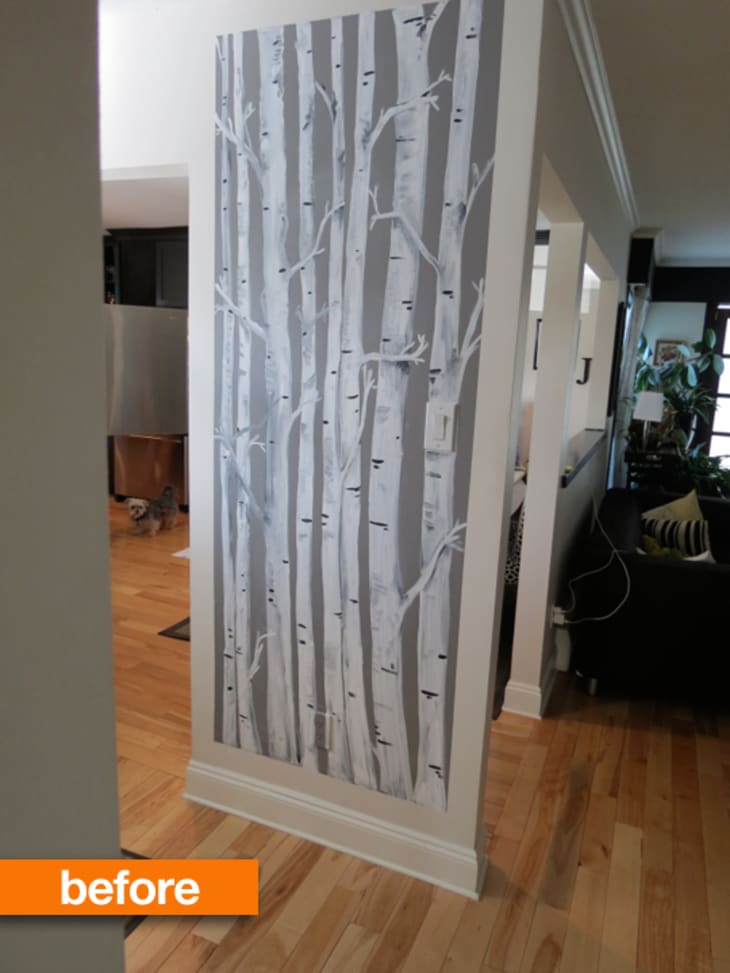
(Image credit: Found This Painted That)
Sandy grew tired of her painted birch tree entryway, and needed to switch it up. A quick trip to the hardware store and $28 later, she created a completely new look. Check out what she did and see what you think…
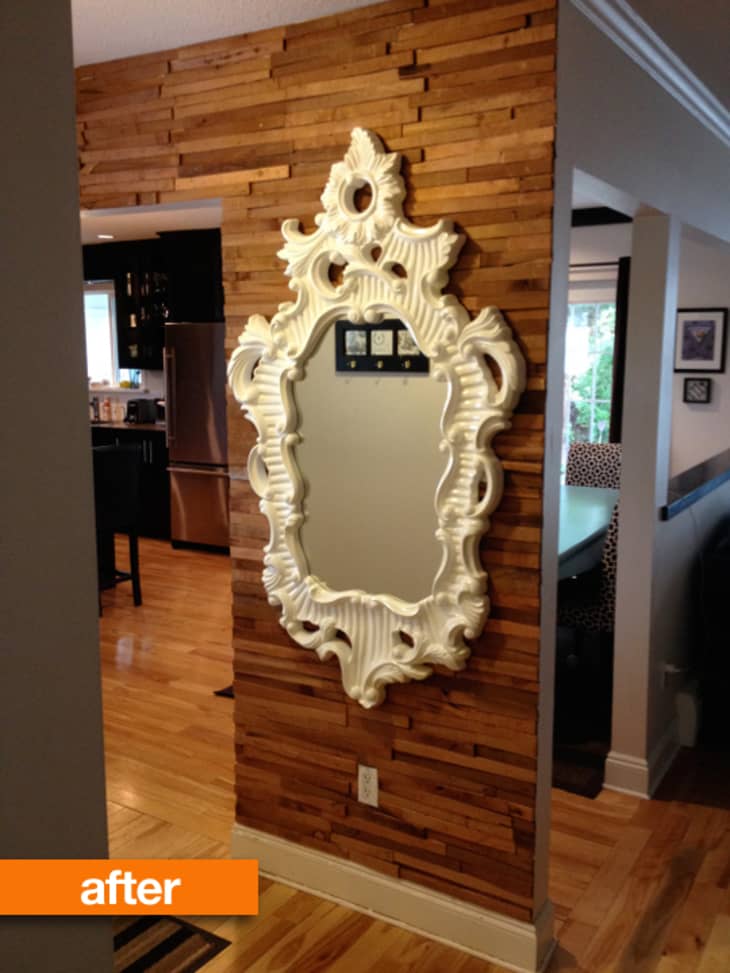
(Image credit: Found This Painted That)
Sandy bought four packs of shims and covered the wall from floor to ceiling with cedar. Here’s Sandy with the details on how she did it:
Start at the top left hand corner of your wall. Using the straightest shims you can find for the first row, hold the horizontal shim tight to the corner and ceiling. Nail one nail in the thickest part of the shim, then continue on in a random pattern, and going back to fill in the empty spaces or continue them how you want (thin end butting up against the fat end or visa versa, or all the same direction). You can overlap or not, allow the flaws to show or not, go vertical instead of horizontal — it’s totally a personal preference. If the shim protrudes past the wall edge, either use a hand saw or, in most cases, you can snap the extruding piece with your (gloved) hand….
You can see more of the process over on Sandy’s blog, Found This Painted That.
Thanks Sandy!