Before & After: A Plain Chair Slips Into Something More Polished
comments
We independently select these products—if you buy from one of our links, we may earn a commission. All prices were accurate at the time of publishing.

(Image credit: Jill)
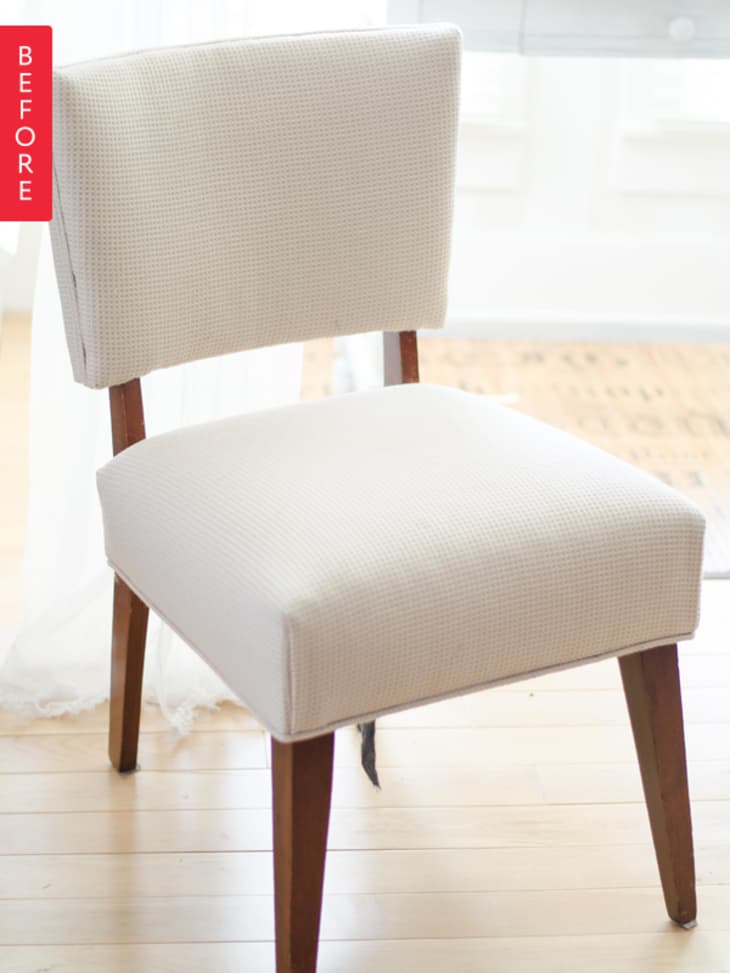
Jill snagged this basic chair for a buck, and decided it could use some style. Instead of reupholstering, however, she made it a custom slipcover instead:
(Image credit: Jill)
From Jill:
Comfy and functional but nondescript in style, this chair was the perfect piece for a makeover project. I picked the chair up at an auction for $1, my hubby fixed the one spring that had ‘sprung’ and I used it as my sewing chair for a few months.
Deciding it was time for its makeover, I consulted my stash of fabric and pulled out a black and white stripe — a purchase from the as-is section of IKEA for $5, and already used on a previous project. There was plenty left for my chair to get a slip cover and spiff it up.
From my stash of paint I pulled a can of white paint and gave the legs of the chair a couple coats, and then decided some gold bling would be amazing with the black and white of the fabric. Frog tape created a crisp line for my gold dipping of the legs and the chair began to take on the shine of a new life.
I make all my slipcovers for symmetrical pieces with the right side of the fabric against the piece and pin right where I want the seams to go. I sew along my pinned line, taking pins out as I sew. It’s an easy process this way and gives a fitted, custom look when finished.
The sides of the cover were left open below the first seven inches which was stitched by machine. The open edges were finished, pressed, and ribbons added to each side so the slip cover could be snugly tied in place. I used some gold grosgrain ribbon that was in my stash for most of the ties. The bottom ties were created with another ribbon I had in my stash – a black and white stripe.
The gold bling, the bold black and white, the fun of the ribbons, all came together to create a stunning piece from a nondescript one.
For more photos and details, check out Jill’s blog, Sew a Fine Seam.
Thank you Jill!
