
Before & After: A Subtle and Sophisticated Storage Fix
We independently select these products—if you buy from one of our links, we may earn a commission. All prices were accurate at the time of publishing.
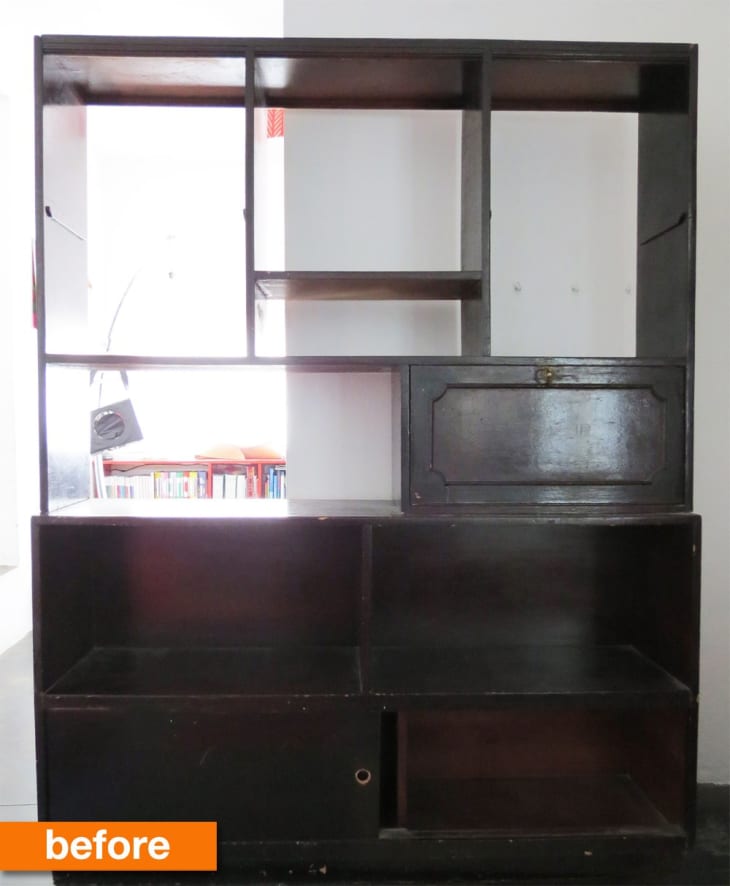
(Image credit: Ama Ryllis)
Ama had found this piece of furniture at a garage sale but wasn’t quite sure what to do with it for a few years. It had great bones, but the finish was in pretty rough shape. Though not a drastic change, the finished product came out stylish and sophisticated and is now the perfect storage piece for her dining room!
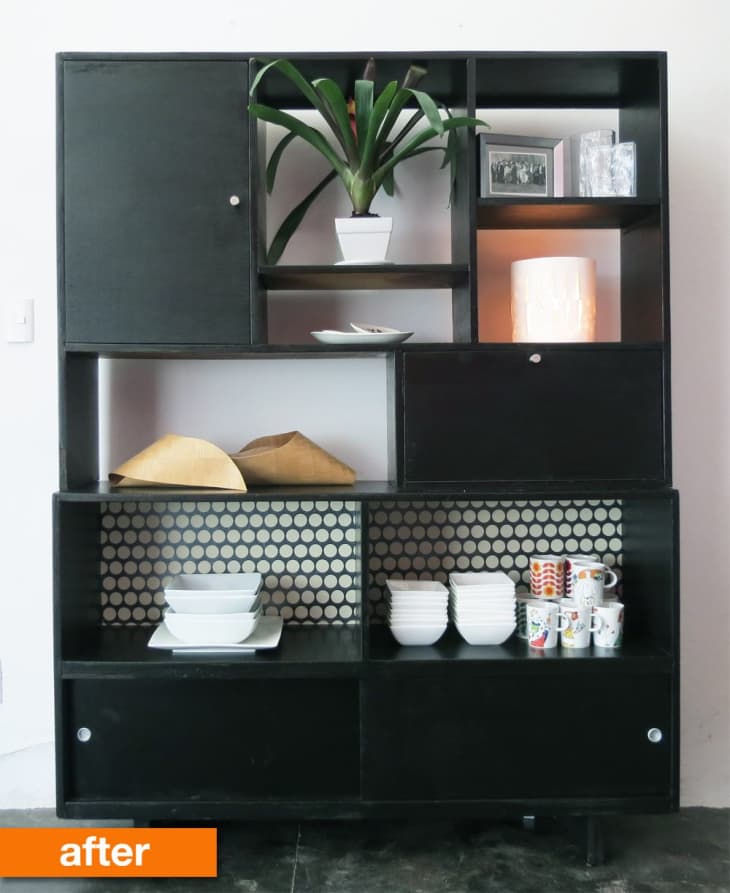
(Image credit: Ama Ryllis)
From Ama:
I removed all the moldings (door and above), I also removed the base and put new feet. I sanded it lightly; it’s veneer so I had to be careful. Then I dyed dark brown, and I finished with an transparent acrylic varnish. I added the missing shelves, made a door, changed the handles and put a nice paper as background.The cabinet cost me $50, dyeing, varnish and handles about $35, plywood for shelves, new door and feet cost me $23 and paper for background about $12. This makes a total cost of $120. It took me one week to restore it working two – three hours a day
Great job! You don’t always need a bold color to make a big impact on a furniture piece, and the playful patterned paper is a nice contrasting touch. See more on Ama’s blog.
Thank you Ama!