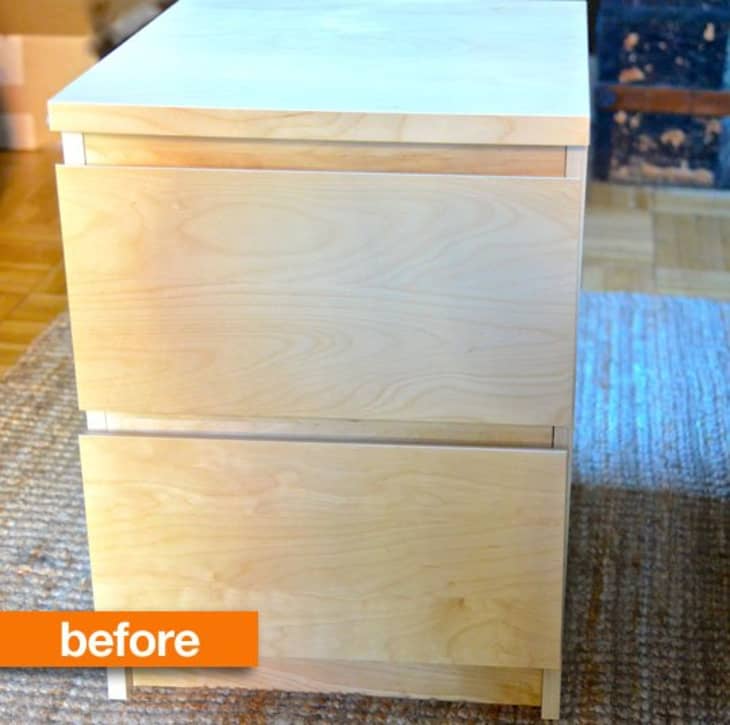
Before & After: An IKEA Nightstand Gets An Influx of Texture

Connie picked up this IKEA nightstand only to decide a month later that it wasn’t her cup of tea. But rather than send it to the landfill, she found an easy and cheap way to customize this piece and make it work for her space.
This nightstand was just too plain and too low for Connie’s bed, so she added some legs to boost the height and jazzed up the drawer fronts with some grasscloth for texture and interest.
Connie says:
I know I’m not the only one who bought a piece of furniture, and a month later, wondered why it appealed to me in the first place. Rather than getting rid of this nightstand, I turned it into a DIY furniture project that suited the bedroom much better. I think of my grandkids and how waste will affect their world every time I take something to the dumpster, so I didn’t want to toss this mistake onto the heap.
• Cost: $7 for plywood and a few screws
• Time: 1-1/2-2 hours
• Materials:
Screwdriver
Drill, or large nail to start hole
4 small nails
Staple gun/staples
Scissors
4 Legs
Screws for legs
Spray adhesive or glue, depending the covering you use
Ruler
Grasscloth or whatever type of paper or fabric for drawer fronts
Fabric to cover plywood (mine was a 4″ x 72″ leftover)
1/2″ plywood the same size as the bottom of furniture (not needed if the piece you are transforming has solid wood to screw legs into)
See the whole project at A Peek at Paradise.
Thank you Connie!
