
Before & After: A Converted Garage To $20K Studio Apartment
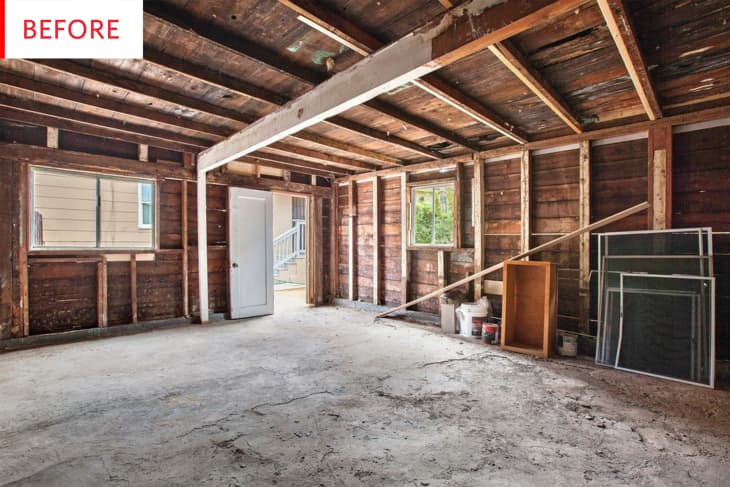
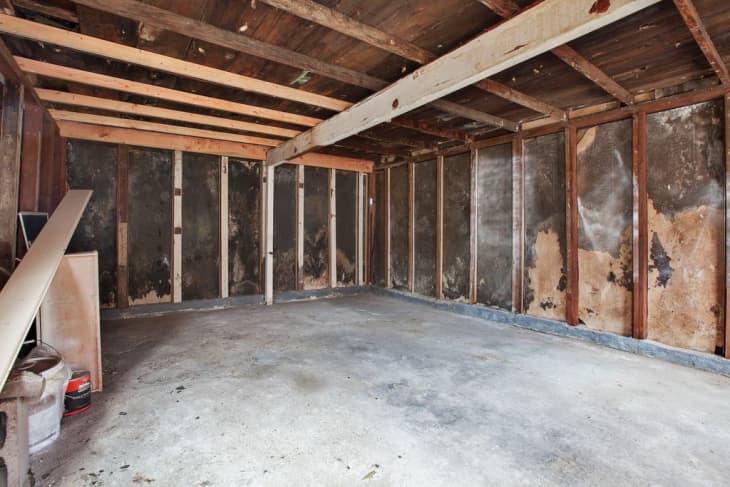
This rotting detached garage had been neglected since the 1950s, but its owners saw nothing but potential. With lots of learning and labor—and a little help from friends and family—they converted the old structure into a lovely rental studio.
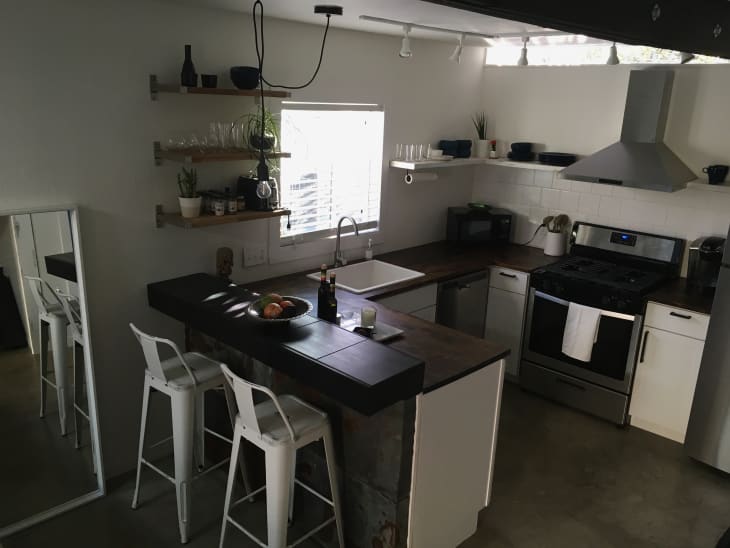
This little kitchen is so cute! It’s small, but it’s efficient, practical, and stylish. Having light pouring in from two different directions is a major treat, while the range hood is perfect for corralling cooking smells in an open-plan studio. Meghan Walsh and her husband did an excellent job working within the space parameters.
Meghan and her husband saw renovating their neglected garage as not just a rental opportunity, but also a chance to learn—and save money.
It took us about six months and cost about $20,000. The professional estimates we received, though, ranged from $60,000 to $112,000. My uncle is a general contractor, so he advised on the building plans, but I did all the architectural drawings myself. Then we hired professionals to pour the concrete slab and texture the walls. Everything else, from the plumbing to wall construction to tiling, we did with the help of friends and family.
That is impressive, as this was a major, major undertaking.
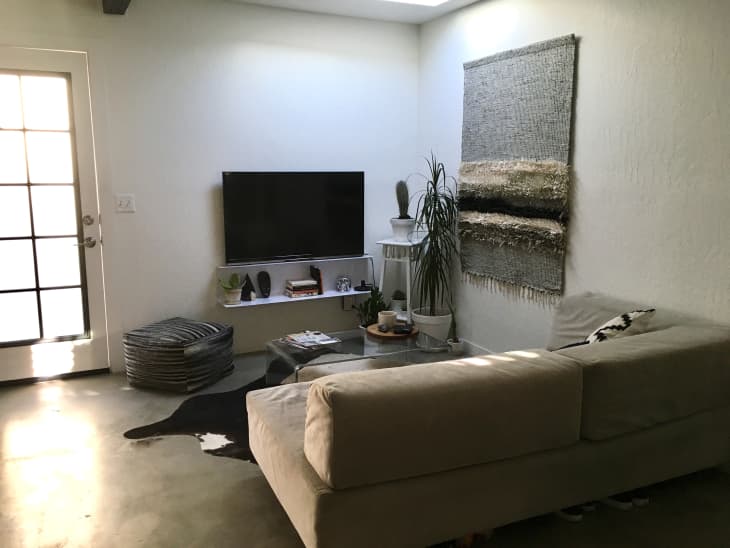
The space now has an elegantly neutral color scheme, efficient yet cozy furnishings, and a minimal yet inviting aesthetic. I especially like the West Elm Tillary sofa—it looks perfect for curling up with a book—and the way the oversized wall hanging provides a focal point other than the television.
Meghan was kind enough to share a bit more insight into her experience on this project, and what she learned:
Don’t be afraid. When we started I didn’t know anything. And when I told the contractors I wanted to learn and help they all scoffed, which is why my husband and I decided to do it ourselves. I’m so glad we did. It took longer and was an immense amount of work but now we will have these skills for life. My advice is plan as much as possible in advance. Create detailed plans with all the electrical and plumbing. We had to go back and add outlets afterward, which creates a lot more work.
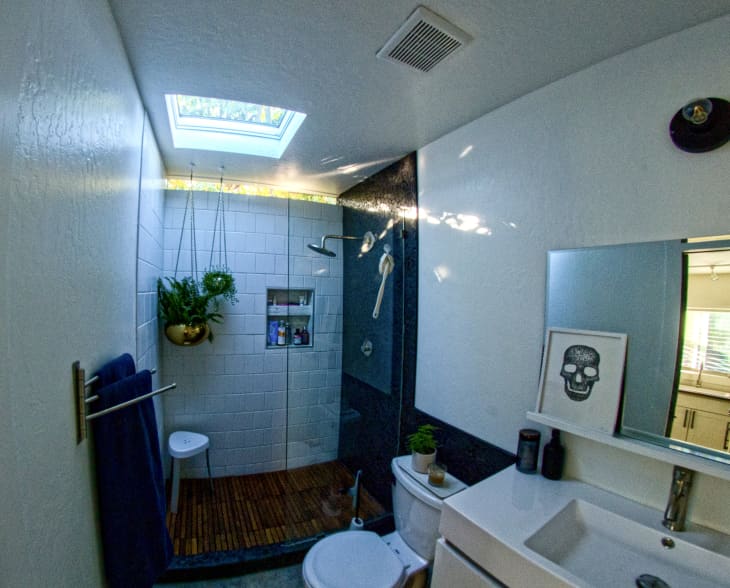
The lighting in the bathroom—they built a bathroom from scratch!—is to-die-for, and the plants in the CB2 Raj hangers certainly look happy. It’s no surprise that this room is Meghan’s favorite:
I love all the raw elements – the concrete floors, steel breakfast bar, wood countertops. But the bathroom is my favorite. There is a large tree outside the window, which makes it feel almost like you’re showering outdoors, so we tried to enhance that sense by putting in a teak shower floor and pebble tiling. If I was going to do something different I might have re-thought the loft; I’m not sure how often the office desk below the bed gets used.
The pebble flooring looks amazing—imagine how great it would feel with in-floor heat!
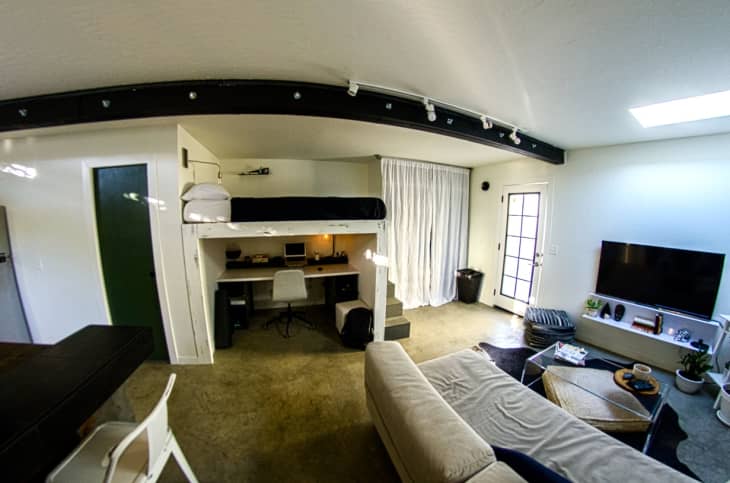
This shot gives you a feel for how the spaces fit together; it certainly is an inviting rental space, and the furnishings are neutral enough that they could work with most renters’ styles. Add some throw pillows and some art and the place would feel truly like home.
Thank you, Meghan!