
Before & After: Erin’s Chair Refresh on a Budget
We independently select these products—if you buy from one of our links, we may earn a commission. All prices were accurate at the time of publishing.
(Image credit: Apartment Therapy)
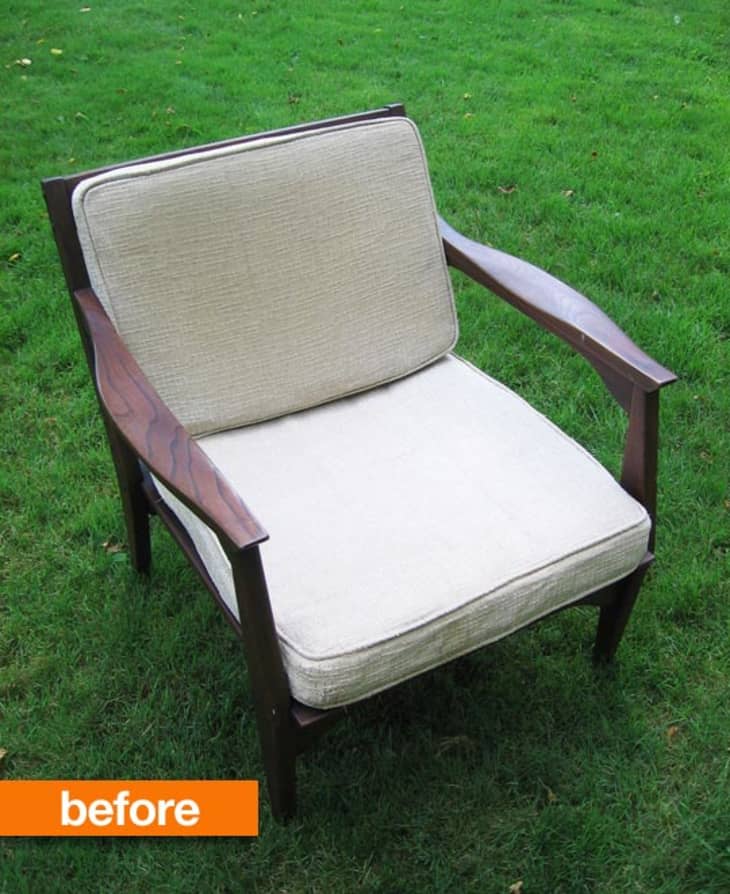
Bargain shopper Erin haggled this chair from an estate sale down to $10. It sat in her home, patiently waiting for a refresh, until she found the perfect fabric. See how she made over this chair for under $50 total:

(Image credit: Apartment Therapy)
From Erin:
I am an Architect Technologist by day and sewer/DIYer/furniture upcycler by night. I am a thrifty shopper, and limit most purchases to no more than $20.00. If it’s in the trash, even better!
I was quite pleased with this Walnut chair I snagged from a local Estate sale a few years ago. I knew it had great potential and bartered it down to a mere $10.00! I didn’t have a specific place in mind for my new find (If I like it, I buy it), so I stashed it away until I found this oversized and bold upholstery fabric in a cotton/linen blend that I couldn’t resist.
After a long weekend of sanding, I finally had it stripped down to its original finish and stained it a deep walnut, followed by three coats of varathane. Fortunately I had some 3″ thick high density foam on hand to replace the old cushions, and turned to my sewing machine to finish it up with some snazzy new covers. I couldn’t be happier with the finished product, which now sits proudly in my bedroom.
Material Cost:
Chair – $10.00
Fabric & Upholstery Supplies – $30.00
Stain & Finishing Materials – leftovers from previous projects
Thanks, Erin!
Have your own Before & After project you’d like to share with the editors? Submit it here.
(Images: Erin Dupuis)