Before & After: From Factory Floor to Living Room Decor
comments
We independently select these products—if you buy from one of our links, we may earn a commission. All prices were accurate at the time of publishing.

(Image credit: Ashley Harding)
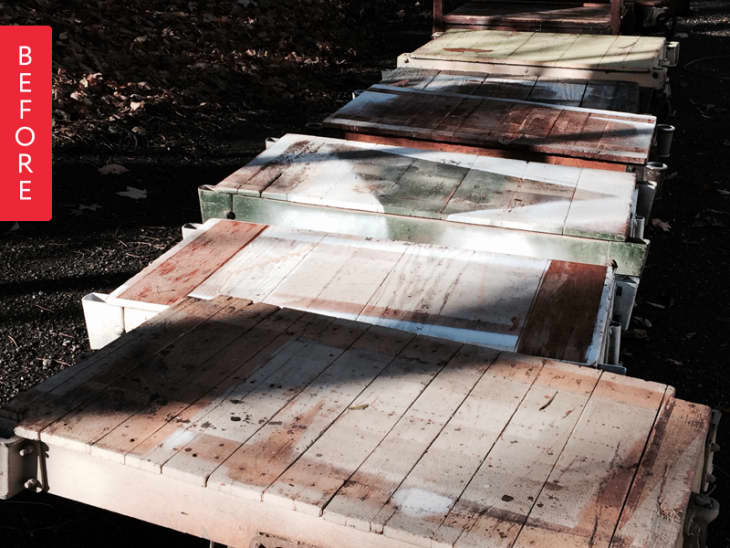
When a local mill was closing down, Ashley snagged their stock of industrial carts. See how she refinished one for her living room:
(Image credit: Ashley Harding)
From Ashley:
These carts were in rough shape when I got them and were in desperate need of a deep clean. This was the kind of job for a power washer. However, it is important not to get carried away with the power washer to the point where it starts splintering the wood.
Once the cart was clean I sanded the whole thing down. I started with a 120 grit and moved down to a 220 grit. Unfortunately, there isn’t one sanding tool that is perfect for the whole job. I used a mouse sander for the majority of the sides so I could get into the crevices. I found a belt sander to be the best option for the top. There were also areas where I just used a good old fashioned sheet of sanding paper. The key isn’t to get the cart completely smooth, but to smooth out any large splinters and really rough patches.
Now it was time to make the cart look “pretty”. I used Oil Rubbed Bronze rustoleum on the hardware and wheels. This step really cleaned up the look of the cart. Once that was dry I applied two coats of satin finish polyurethane to the wood. This really polished up the piece and made it look like a piece of furniture.
Overall, it probably took 4-6 hours to finish a cart. It really depends on the condition of the cart when you start. Depending on how cheap you can find a cart determines the cost of this project. For me, I was able to create a new coffee table for under $20.
For more photos and information, check out Ashley’s blog, Vintage Refined.
Thank you Ashley!
