
Before & After: John’s Refreshed Exit Sign
We independently select these products—if you buy from one of our links, we may earn a commission. All prices were accurate at the time of publishing.

(Image credit: Apartment Therapy)
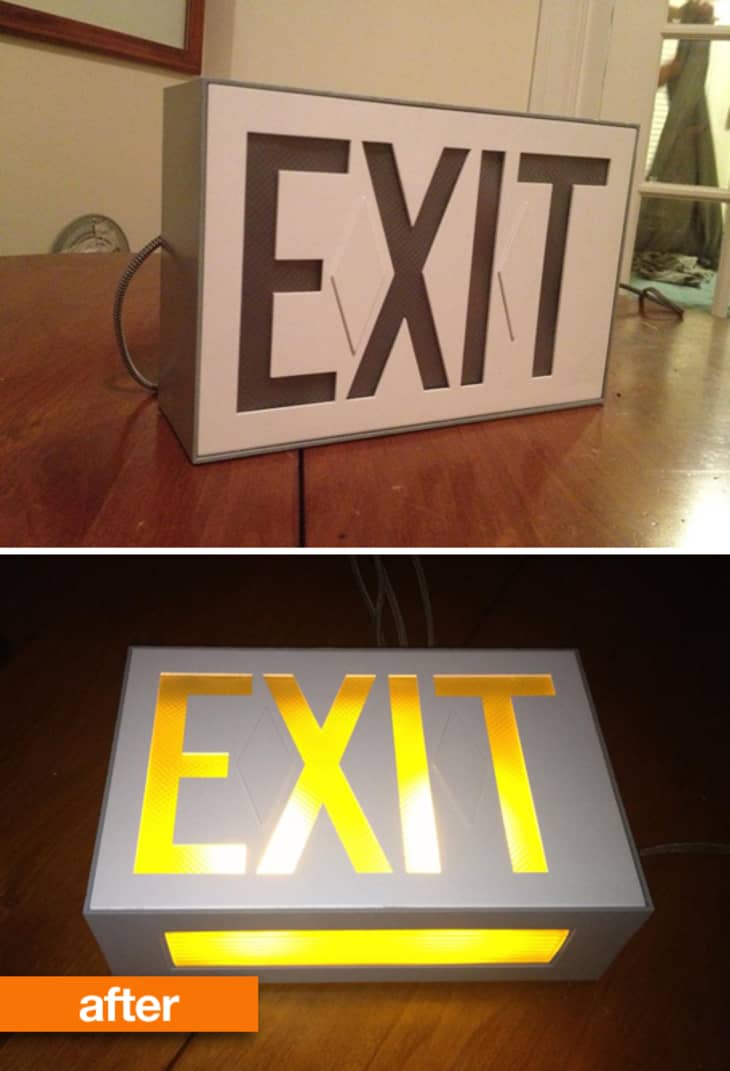
Old signage is a familiar sight at salvage shops and flea markets. While most might walk past this dingy exit sign, John was able to give it a bright future in a few hours, for about half of what a new reproduction would cost.
(Image credit: Apartment Therapy)
From John:
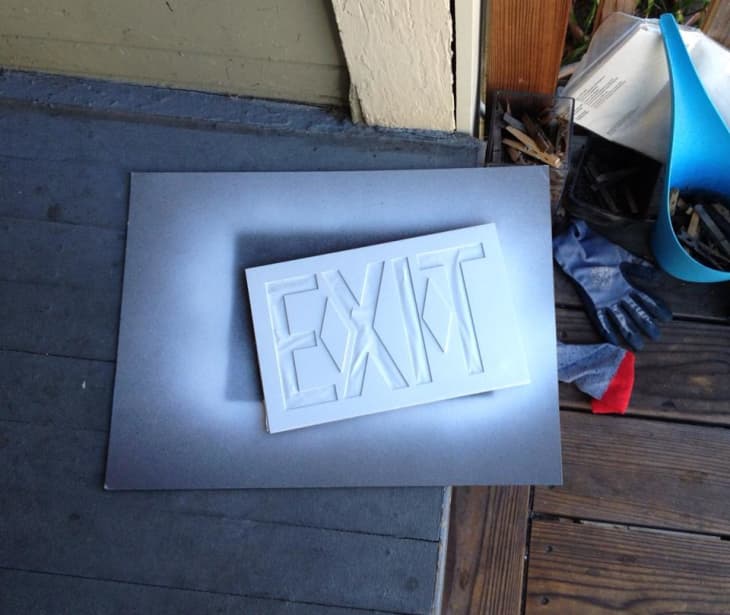
Yesterday, I found this great — but beat up — vintage exit sign. Today, I cleaned, sanded and repainted it, replaced the colored filter with clear plastic, and added colored bulbs. My boyfriend attached the (still functional!) wiring to a new, patterned nylon-wrapped cord.
Here are the materials/cost:
• The exit sign (all metal save for the color filter) : $10
• The black/white chevron Electrical Cord “Swag” kit from World Market (They only have the other colors online right now): $13
• Spray paint in White (Satin) and Winter Gray (Gloss): $8
• 2 yellow fluorescent party bulbs: $10
• A mixed pack of wire connector caps: $2
• A roll of clear, diamond patterned contact paper to replace the color filter: $9
I’m totally in love with the end result and will have to find a prominent place for it in the new apartment.
(Image credit: Apartment Therapy)
Thanks, John!
(Images: John Hanawalt)