Before & After: Laundry Room Gets a New Look
comments
We independently select these products—if you buy from one of our links, we may earn a commission. All prices were accurate at the time of publishing.

(Image credit: Little Vintage Cottage)
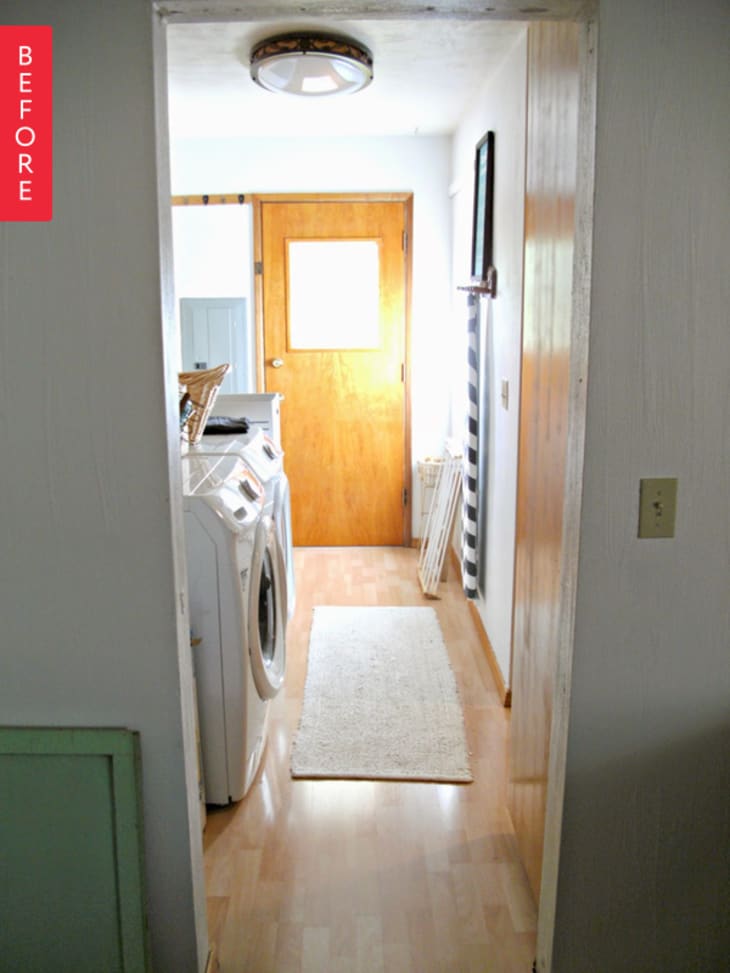
With the laundry room in her new home visible from the front door, Tania made fixing it up her first priority. Adding functionality and style, plus a way to close off the space when it was less than company ready, were top of the list:
(Image credit: Little Vintage Cottage)
From Tania:
In the fall of 2014 I bought a 1960s ranch fixer upper house. One of the first projects I wanted to tackle was the laundry room because it is one of the first things you see when you open the front door; you can see it from the living room, from the kitchen and dining room. A small 14 feet long by only 6 feet wide room, it has four doorways and also functions as a sort of hallway into a half bath so I wanted it to be pretty and functional right away!
The first thing I did was remove the doors from a bank of old cupboards above the washer/dryer. Then I painted them white with grey backs to create my new open shelving concept. The room also got a coat of soothing grey paint and all the 1960s floor molding and hollow core doors got a coat of white.
I needed some folding space for the laundry. I built a counter to go over the washer/dryer and painted an old advertising logo on the top for an unexpected little touch! Next was disguising a huge electrical panel in the wall. I made a pretty pegboard cover to hold everyday necessities like my Swiffer, broom/dustpan, lint roller, etc. Then came a pretty new pendant, cage-style light and Edison bulb to replace the hospital-style lighting.
And last, but certainly not least, I made a sliding barn-style door between the laundry room and the living room. With the help of my dad, I frosted the glass in the door with the word “laundry” for a fun touch. Now this room is so fun to be in, I almost want to do laundry!
Check out her blog, Little Vintage Cottage, for more photos and details.
Thank you Tania!
