
Before & After: Wingback Chair Gets a Wild Waverly Print
We independently select these products—if you buy from one of our links, we may earn a commission. All prices were accurate at the time of publishing.
(Image credit: Misha)
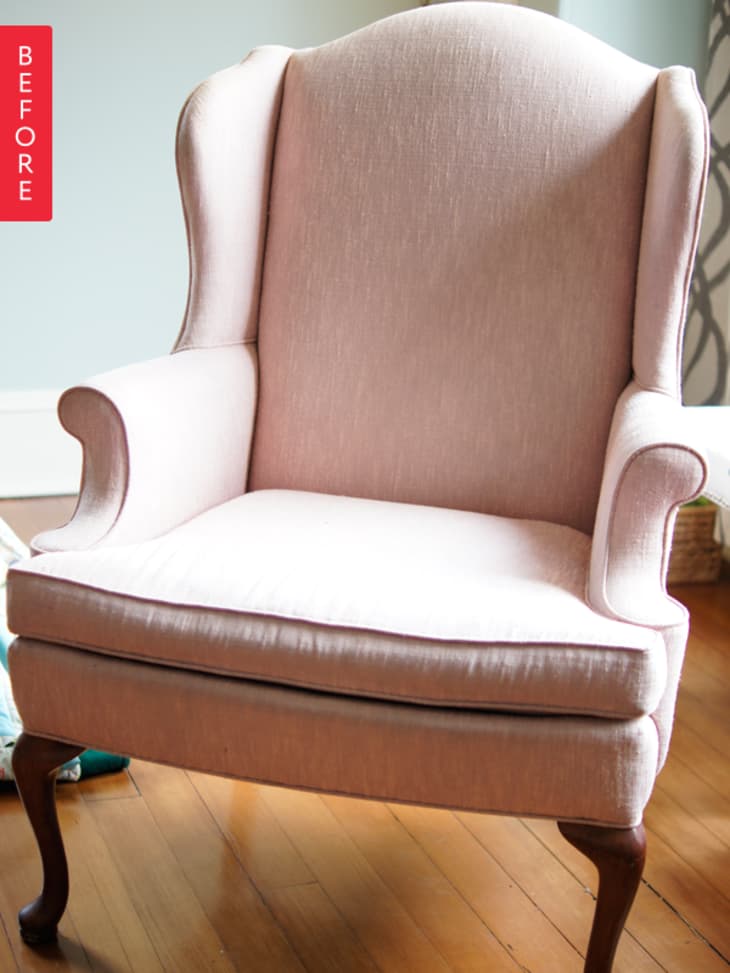
It took three years, but Misha finally worked up the courage to tackle reupholstering this $5 Craigslist chair. We’re so glad she did—check out the impressive after:

(Image credit: Misha)
From Misha:
As a (fairly) new house owner, I have a desire to fill rooms full of furniture that are both functional & aesthetically pleasing. I also have a desire to DIY anything that I can, so with the help of Pinterest, I found myself on a journey to reupholster a chair.After weeks of scouring Craigslist, I found the perfect chair – it was in good condition, only a few minutes away, & cheap ($5)! Then I began the search for the perfect fabric. After weeks of online searches & trips to Jo-Ann, I finally decided on a medallion print in a purple colorway. Then I saw the Waverly Santa Maria print & completely changed my mind! The chair then sat, for some time, in our basement before I finally got the courage to start (almost three years later…).
I was able to find many reupholstering tutorials online, but I found that just rolling up my sleeves & digging in was the best approach. I spent a few hours pulling out staples & documenting each fabric & layer as it came off the chair. Then I spent even more hours re-assembling everything. Due to the sheer amount of staples needed, I decided to use a staple gun that I could attach to our air compressor. While this helped immensely with the amount of labor that went into the project, it meant that I was pretty limited in the time I could work on the chair since I have an infant daughter at home; I found I could run the air compressor during the middle of her naps without issue.
This project took a fair amount of sewing, along with all of the pulling & stapling, due to the cording/piping & seat cushion cover. I tried to re-use as many of the original materials as I could (cushion, zipper, foam) which helped with the budget. As the chair finally started coming back together, it was hard not to be so excited to get to the end. I always wondered why online tutorials rarely shared photos of those last few steps; it is because you need more than one hand to upholster, & you are just too into the zone to stop & document! This is one of the bigger projects I have tackled & am so thrilled with the results!
For more photos and details, check out Misha’s blog, Emerald City Diaries.
Thank you Misha!