
Before & After: The IKEA Besta Gets Even Better
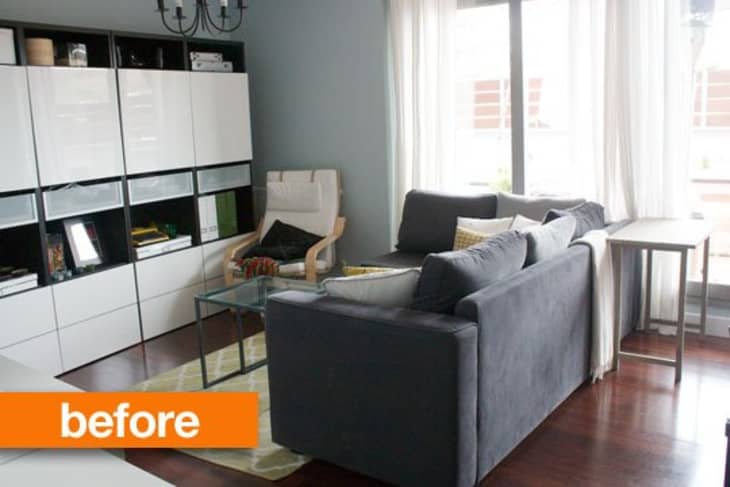
Ainhoa and her husband were already enjoying these classic IKEA Besta cabinets, but decided they wanted a more custom look so they cleverly (and cheaply) transformed them into a totally new piece. Wait until you see it.

Wow! Looks like they’ve made a few other changes to the decor as well, and those built-ins look right at home.
Ainhoa explains their process:
We disassembled the cabinets, cut the sideboards to the height we wanted them, and reassembled them. Then came the actual “building them in” part. After removing the baseboard, we secured them to the wall and built them in with drywall. The last step was to paint the drywall, reattach the baseboard where needed, and we topped it off with wood. It even acts as our unofficial mantle. The best part? Since we already had the cabinets, the lumber, and leftover wall paint, the only expenses for the built in cabinets were the drywall (around 30€) and the parts for a couple of new outlets that we decided to add in the process (20€).
Finally, Ainhoa asks, “We still have to decide what color to stain the wood top – we’re leaning towards a darkish stain but we’re not sure. Maybe you’re readers could help us out?”
Well, readers? Chime in!
See more at A Little Bit of Everything.
Thank you Ainhoa!