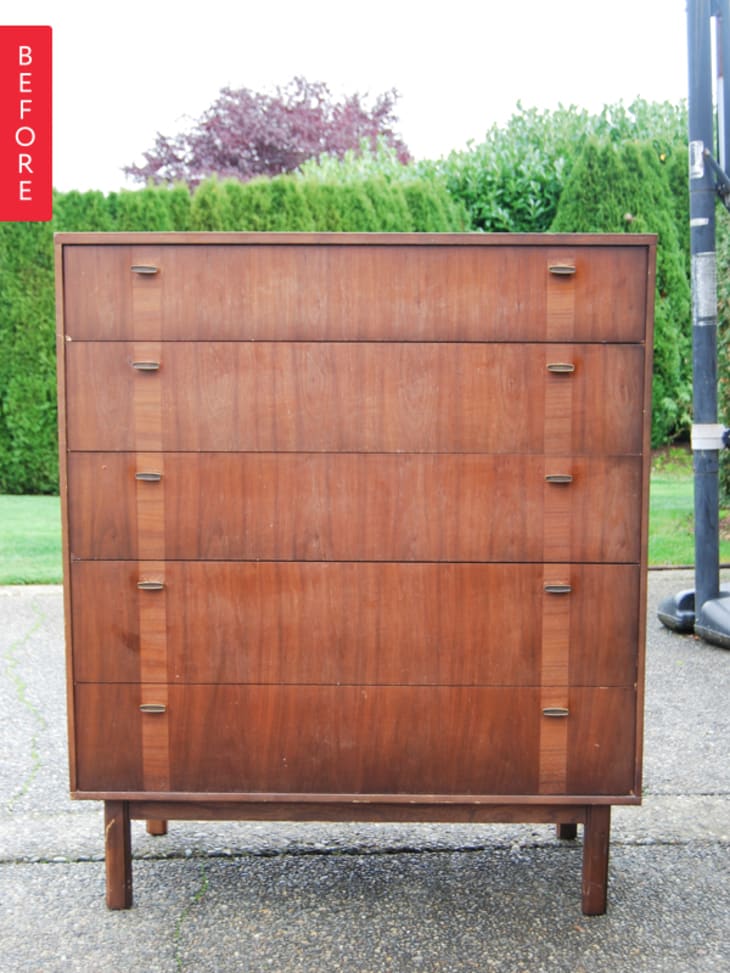
Before & After: We’re Angling You’ll Love This Dresser Redo

Reeves was drawn to the simple style and gorgeous hardware of this dresser on Craigslist, but when she saw it in person it was a little more beat-up than she anticipated. So how did she cover the damage without being boring? Check it out.
From Reeves:
The top was extremely worn and scratched and a few places had pieces of veneer missing. I wanted a look for the piece that had clean lines, but wasn’t same old same old. Something new and different. I came up with the idea to do a reverse dipped look on the piece, but keep the wood on the bottom and white on the top. In order to add a twist I chose to angle the paint on the sides.
For refinishing, I wet sanded the areas I was going to freshen up with stain, then I applied a coat of walnut gel stain and sealed it with a satin topcoat. I made sure to fill and sand the places with chipped veneer and scratches. After taping off the portion of the piece that would be painted, I primed and then painted it white. Finally, I sealed the white paint with a gloss topcoat and reattached the hardware. The angled sides are my favorite part, and this dresser will have a great new home in my bedroom.
See more at the Weathered Door.
Thank you Reeves!
