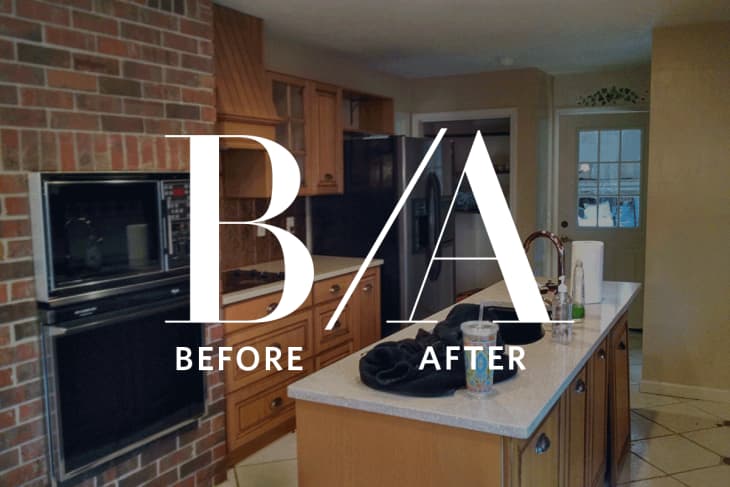
Before & After: The 2k, Get-With-the-Times Makeover of an Outdated ’80s Kitchen

If you were to make a list of kitchen essentials, it’s fair to say that “working oven” would be close to the top. Erica’s kitchen not only lacked the aforementioned necessity but was also chock full of heavy, dark ’80s design details. Her budget minded revamp helped give the kitchen a new airy look and some needed functionality.
When I moved into my 1980s fixer upper home two years ago, one of the first projects was the kitchen. The kitchen was missing pantry and cabinet doors, the wall mounted oven didn’t work (as it was straight out of the 1980s) and the cabinets were an unpleasant, orange hue.
My style is heavily influenced by light and airy aesthetics, and the kitchen was way too dark and outdated for my taste. The most dramatic change was painting the cabinets white.
By deciding to keep the original cabinets, we saved thousands of dollars, but painting them was a surprisingly long process. Painting the cabinets alone took 2-3 weeks to complete. Then, we were able to take our time completing other DIY tasks like building our own reclaimed wood pantry doors, designing the DIY cone light pendants (for only $50 per light), and adding height to the cabinets with crown molding and mdf board. We were able to keep the budget of this kitchen makeover around $2,000. Luckily the only appliance we had to replace wsa the wall-mount oven system which was one of the largest costs.
I love how fresh and light the space is after some paint and elbow grease. The kitchen always had good bones, it just needed to be freshened up with a little bit of TLC and attention to detail. I cannot believe we achieved such a dramatic impact on such a painstakingly low budget. Is it the kitchen of my dreams? No. As a designer, I would love to make a few more tweaks and upgrades but, unfortunately, my budget will not allow.
Erica’s words of wisdom: Never underestimate the power of paint and a few relatively simple DIY projects. It was a process, but the results are worth all of the effort and time spent on this makeover.
Thank you, Erica! You can see more on Erica’s blog Designing Vibes.
