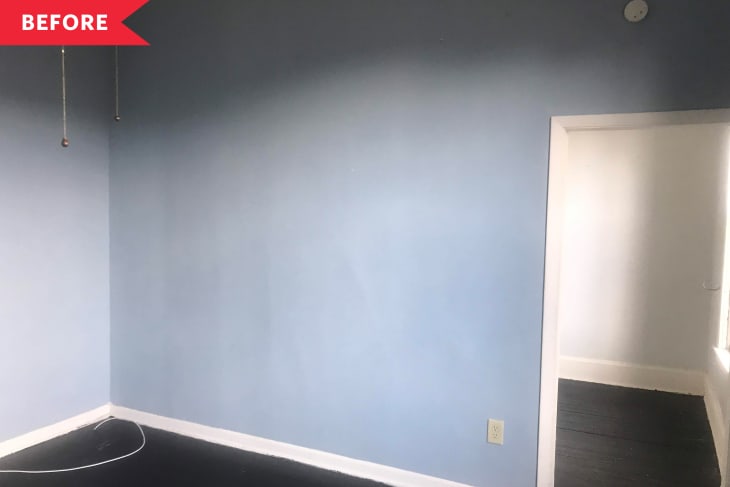
Before and After: A DIYer Transforms a Blank Living Room Wall into the Ultimate Focal Point for Less Than $200

Living in a rental doesn’t mean you have to settle for less happiness when it comes to your home’s decor. At least, that’s what blogger and DIYer Johanna Beach of At Home with Howie believes. Beach doesn’t just talk the talk either—she’s spent the better part of her weekends in 2020 customizing her Chicago apartment, giving it the charm and personality it lacked when she originally moved in. For one of her first projects, she set her sights on creating a true focal point in her living room while emphasizing one of the best features in her home: the soaring 10-foot ceilings.
Initially, the living room’s walls were a dingy powder blue that made the whole space feel darker than it was. “The first thing I did when I moved in was paint the room white,” says Beach. “I had just left an apartment where I had painted more boldly and had been asked to paint it back, so I wasn’t eager to go bold quite yet in this new space.”
Fast-forward two years and not much had changed. Tired of looking at her largely blank white walls, Beach was finally ready for a bold focal point in her living room. “A tall fireplace would have done the trick, but I didn’t have one,” she says. “I was considering adding crown molding or painting the ceiling when inspiration struck!” The answer to the lack of character and design focus in her living room? A slatted accent wall right behind her television, which is warm, charming, and a true mid-century modern lover’s dream.
After sketching out a design and taking a trip to Menards to source the best pieces of wood, Beach’s accent wall came together in one weekend for less than $200 total, including supplies and tool rental. While labor intensive—particularly on her own—this project is actually fairly simple in concept. “I started by putting up three 2x4s on the wall that would be the frame for the slats,” says Beach. “I wanted the slats to project from the wall a bit, so the 2x4s gave it that dimension.” Then she nailed the slats, which were made out of cheap furring strips sized to her tall walls, to the framework—first by hand and then with a nail gun she rented at The Home Depot to make quicker work of the job (“Just don’t even try without one,” she advises).
Sanding down the slats came next and then selecting the perfect greige paint color, Behr’s Gray Squirrel. Beach found that, while somewhat tedious, it’s best to use a brush for this project, since even a roller with a thick nap couldn’t get into the grooves of the slats properly. Even better if you can get a buddy to help—the whole project could take you half the time it took Beach that way. Other things to keep in mind: If you’re looking for a super smooth texture for your slat wall, take the time to fill in any knots in the pieces of wood. Also, try to avoid warped strips if you want the individual slats to be perfectly flush with one another.
In the end, Beach put only six holes into her drywall for this project’s framework, all of which can easily be patched and painted over if need be when she moves out. To that end, she suggests marking which slats are hiding the screws that secure the 2x4s into the wall. “Then, when it comes time to take this down, you can just pry off those boards, unscrew, and the whole thing can come right off in one piece!”
While Beach is still searching for the perfect sculpture to hang above the television, she’s very happy with the final product. She furnished the area with a secondhand media console and bookshelf and added a vintage rug from the Nashmil Rug shop on Etsy. The true star of the show, however, is the wall. “I love the color of the wall and how it draws your eye up to accentuate the height of the room,” says Beach. “It’s the focal point I was hoping for!”
