
Before and After: This Builder-Grade Bathroom’s Chic Transformation Cost Under $500
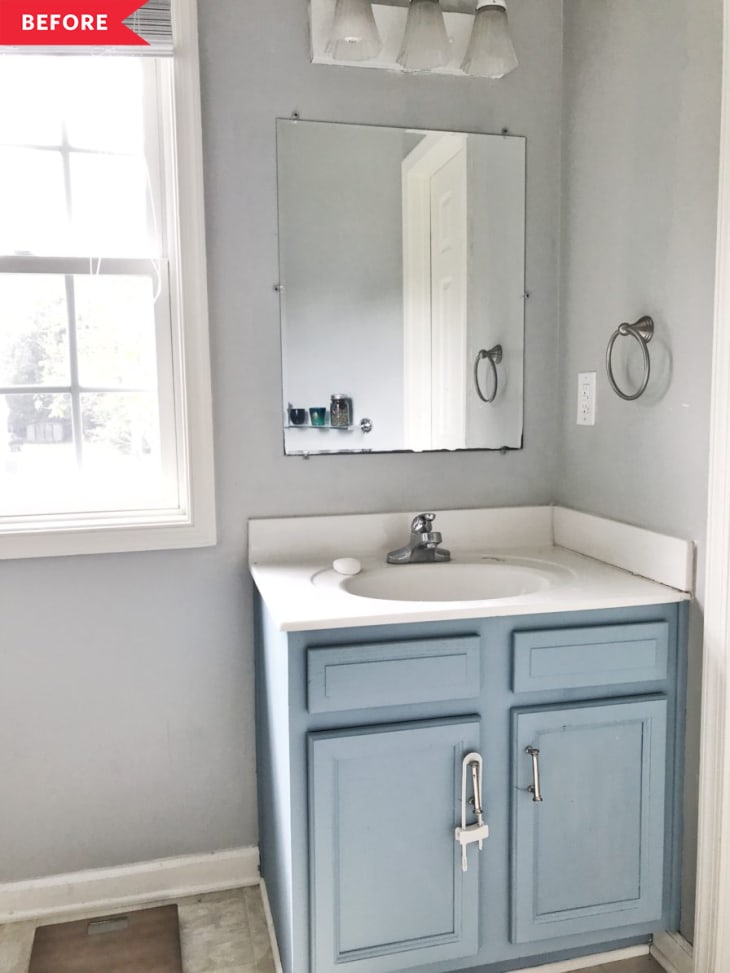
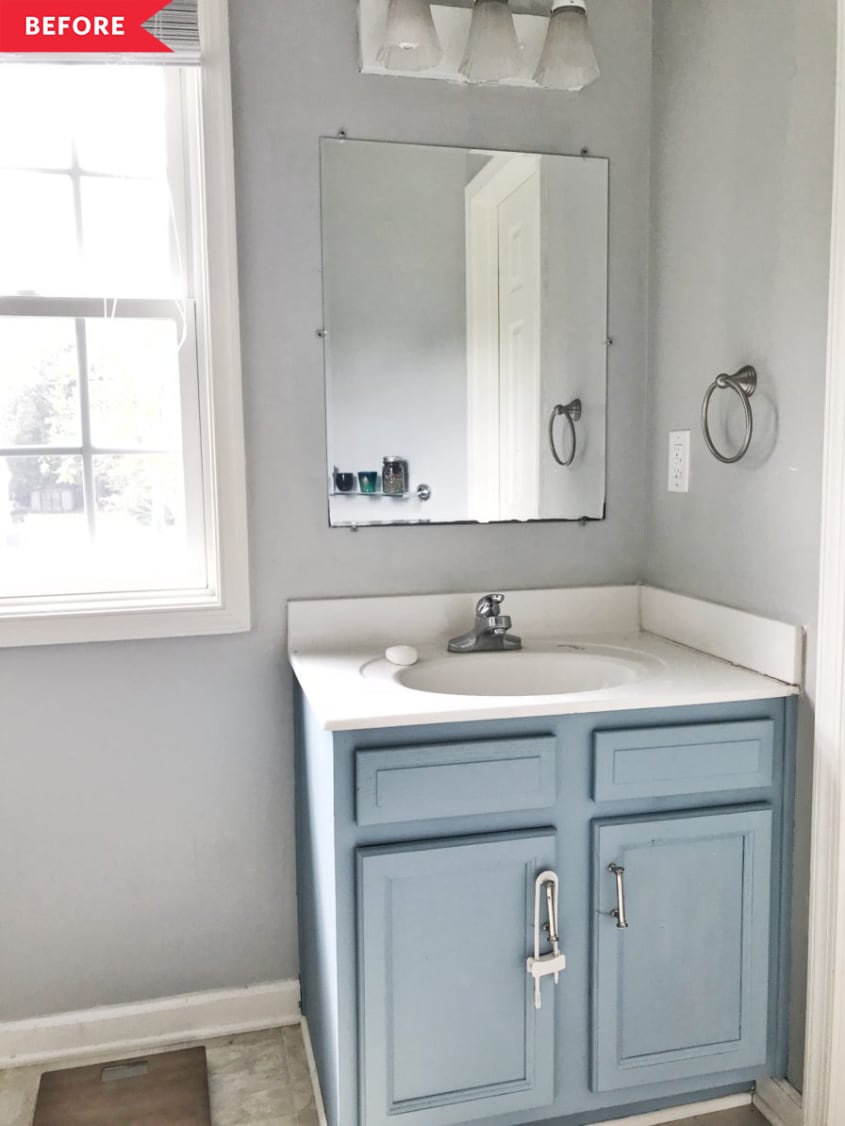
A bathroom doesn’t have to be bad to feel a little blah. April Waltrip says it herself: “This bathroom wasn’t bad… just basic. It has basic lights, a standard clip in mirror, and a builder grade cabinet, and beige vinyl floors.” April had previously painted the plain wood vanity a pretty sky blue to give it some pep (Blissful Blue by Sherwin-Williams), but after a few years, she was ready for a bigger change. The goal: a quick update with a big impact, on a budget of $500 or less.

While April knew she wanted to scrap the plain-Jane lighting and clip-on mirror, she didn’t want to have to fully replace the vanity—or the beige floors. Not only was it costly, but the vinyl was in fine shape: “The floors were in good condition, but the color made them look dirty even though they weren’t,” April says. Instead of a full swap, April got creative with paint.

Painting over the baby blue with super-dark navy blue paint—a mix of General Finishes Klein Blue (25%) and Lamp Black (75%)—made the vanity look totally new. Sophisticated gray paint (Notre Dame by Valspar) was a welcome change on the once-beige walls. April also pulled down the old clip-on mirror, replacing it with an elegant circular mirror from Target.

April’s dad lent a hand when it came to the lighting, swapping out the ho-hum fluted fixture for a more modern light with an industrial-cool edge. But the biggest change came underfoot, where April used paint to transform the vinyl floors.
After rolling on three coats of white porch and floor paint (Sherwin-Williams Porch & Floor Enamel in untinted Extra White) to give a solid, no-show-through base), April then used a small roller to apply General Finishes milk paint in Lamp Black over a Cutting Edge stencil. “Using a light hand and rolling off the paint before applying, I rolled each 9-inch square, and waited 30 seconds for it to dry a bit before I moved on to the next,” says April. Once the whole floor was done and had some time to dry, she sealed it all with a polyacrylic clear finish. “It was by far the most challenging part of this reno, but also the most rewarding,” she says.

On the other side of the room, April traded the old shower curtain for a new, fresh white one. Then, she added peel-and-stick wallpaper from Target to the backs of the open shelves for a bit of added interest. On-sale Anthropologie hooks make even hanging towels look fancy. The total cost for the whole room: $480—that’s $20 under budget.
“I love opening the door to such a bright space that looks professionally designed,” April says of the new space. “I also love that these changes have held up to two wild kids who flood the floors with bathwater, miss at potty training, and slam doors regularly.” A fab bathroom that’s also functional? Win-win. See the transformation again below:

Inspired? Submit your own project here.