Before & After: One Afternoon and $10 for a Vintage-Style Mirror Makeover

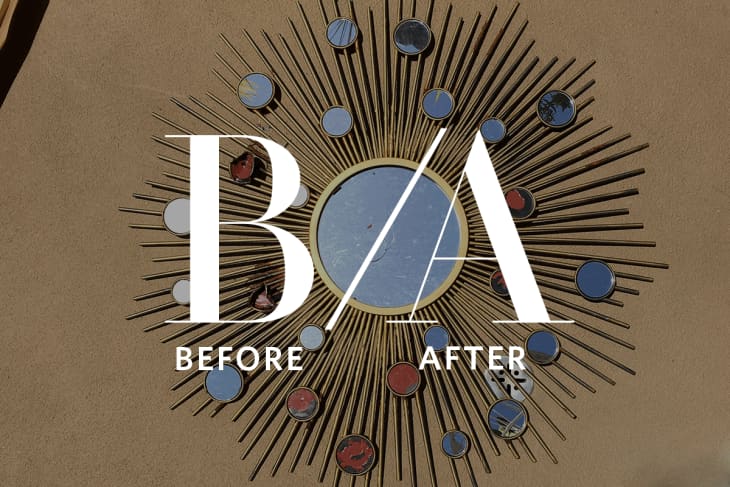
Sarah had an idea of the perfect mid-century-style mirror in her mind. So when she spotted something like that mirror, albeit a rusty, over the top version, she snatched it up. Using the classic DIY elixir of elbow grease and spray paint she turned the whole thing around in one well-spent afternoon.
I love mid-century design and wanted a vintage starburst mirror for as long as I can remember, but I also didn’t want the price tag that typically goes along with the real deal.
Even though I looked for ages, I’d never found the perfect starburst mirror for my home, so when I saw this one on a local swap and sell site for free, I knew I could make it work. The size and shape were exactly what I was looking for, so I was willing to put in some effort and see what I could make of it.
The process involved a prying off all the small, rusted mirrors. Many of them had already broken, and the ones that remained were rust damaged. Once I had done that, I sanded down each prong, a laborious and frustrating process. This involved a lot of rust removal and peeling paint, but thankfully the rust was only surface level deep and hadn’t fully eaten through any of the metal.
The final step was to spray the entire piece with rust protection and then a couple of coats of my favourite gold spray paint.
I absolutely love the simple lines of the final product. It fits the space I had in mind for it perfectly, and even though it was a modern made piece to start with, it now has that mid-century vibe I was looking for.
If I had to do one thing differently, it would be to give the piece (and myself) a little time before painting. I was so frustrated by the sanding part, that I jumped into painting it as fast as I could, and afterwards I noticed a couple of spots I had missed when sanding. Although these aren’t really obvious, I know they are there. That was the one downside of wanting to crank out this project in one afternoon!
From start to finish, the whole project took an afternoon, cost under $10, and I couldn’t be happier with the outcome.
Sarah’s words of advice: The best advice I can give someone looking to do a project like this is “go for it!” When an item is free, you have nothing to lose. Take your time with the sanding process, it’s a really important step that can effect the entire outcome.
Thank you, Sarah! You can see more on Sarah’s blog Atomic Magpie.
