
This Stylish and Trendy Paint Project Is Actually Way Easier to DIY Than It Looks

A total floor-to-ceiling paint job is a surefire way to transform a space. Whether you want it to seem bigger and brighter or warmer and cozier, a fresh coat of paint is often the first place you’ll start in any makeover. But you don’t have to shell out for gallons of paint and spend hours with a roller to create a new vibe in a space. Often, a strategically placed mini paint project or two will create a huge impact.
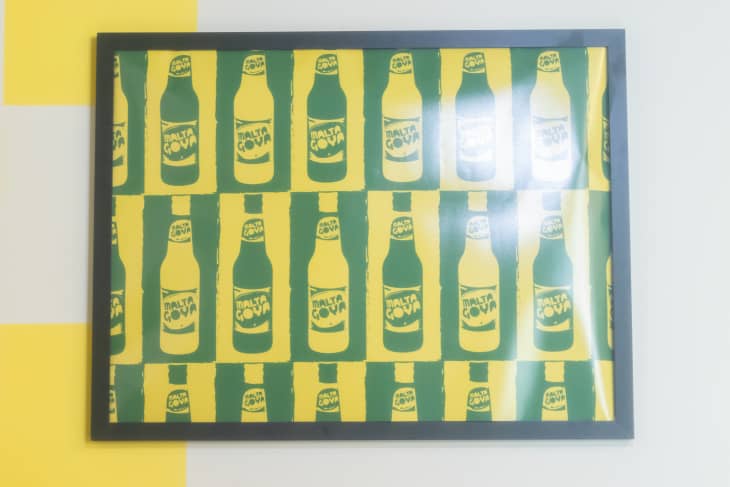
Multidisciplinary creative Dotun Abeshinbioke’s 500-square-foot home is a prime example of small projects with a big payoff. In Dotun’s dining area, shown above, there are two geometric paint projects that allow artwork to shine: a bright yellow semicircle over a console table, and a checkerboard pattern in the corner of the room where the dining table is located.

The vertically-cut semicircle is a cool twist on the painted arch, which is a straightforward DIY you can finish in an afternoon. But what really caught my eye was the checkerboard pattern, a project Dotun says is among their proudest DIYs in the apartment. And even though it looks really impressive, this is a DIY you can easily pull off in your own home, too.
One thing that makes this paint project so simple? You actually only paint half of the squares in the checkerboard pattern, since the rest rely on the existing wall color. The most important piece of this DIY is to figure out what size you want your checkerboard squares to be. If you want your checks to go evenly from floor to ceiling, that is going to require some math; if, however, you want to copy the look Dotun has created here and have your checks taper out as they extend higher and wider, that will free you up to make your squares whatever size you like best. (Personally, I recommend the math-free route.)
Once you’ve decided on your square’s size, you’ll have to do a little prep work. You can certainly use painter’s tape to map out your squares directly on the wall, but I think the easiest way to do this is to create a paper template in your chosen size, which you’ll trace repeatedly to make your pattern. (You can save time by simply tracing the corners of the square, rather than the whole way around.) A level will ensure that all of your squares are straight.
As for placement, start your pattern in the middle of the wall, which will be the focal point of the piece. Once you’ve penciled your outlines and created a pattern to your liking, mark an “X” in the squares that you’ll be painting.
Next, you’ll need to reach for painter’s tape to surround the squares you’ll be painting. To get a super crisp lines, you can seal the edges of the tape by painting a thin layer of the wall’s existing paint color. Once that’s dry, follow with your chosen accent color, and make sure to remove the painter’s tape while that layer is still wet.
The beauty of this paint project is that it can be as intricate or as basic as you’d like it to be. Fill a whole wall with checkerboard, or just a section around a favorite piece of art; round a corner like Dotun did, or stick with just a flat wall. The checkerboard pattern is flexible enough to fit your personal parameters.
Find more ideas for small paint projects here, and check out the rest of Dotun’s colorful apartment inspired by West African design and pop art here.