
My Home Office Was So Cluttered Until I Tried the “Core 4 Method”
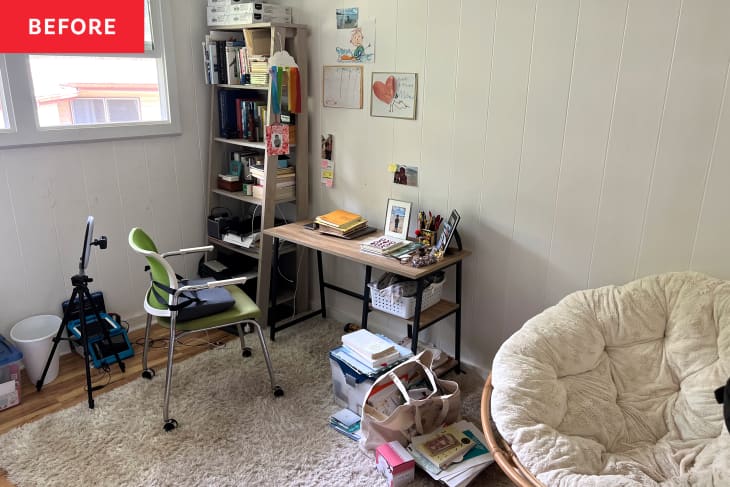
A few years ago, I transformed a guest room into my home office, replacing a queen-size bed with a wooden ladder bookshelf and a small desk for my laptop. My husband and I painted the walls a neutral white and updated the windows to allow in as much natural light as possible. But keeping this space tidy and clutter-free hasn’t been easy.
Stacks of paper and unread magazines grew, my son’s artwork spread across the walls, and an assortment of “things” — cowrie shells from a recent beach outing, random business cards, Post-Its, charging cords, a stress-relieving candle, hand sanitizers — started to take over the space. Something had to be done! That’s why I’m so glad I discovered the Core 4 Method by professional organizer Kayleen Kelly, and decided to give it a try.
What Is the Core 4 Method?
Kelly’s Core 4 Method breaks down the decluttering process into four simple steps — clear out, categorize, cut out, and contain — that can be applied to any room in your home, without feeling overwhelmed.
How I Used the Core 4 Method to Declutter My Home Office
Here’s how I used Kelly’s Core 4 Method to declutter my home office.
Step 1: Clear out.
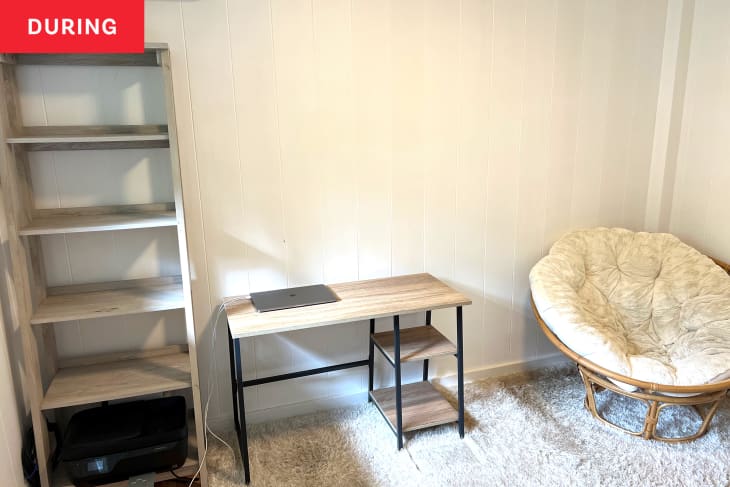
I took everything off my desk, shelves, and floor and piled them on my dining room table to sort through later. (Plus, it was easier on my back to stand at the table and sort, rather than sit on the floor.) Whatever I recognized as trash — old receipts, expired gift cards, candy wrappers — I immediately threw away. Then I wiped down the shelves and my desk.
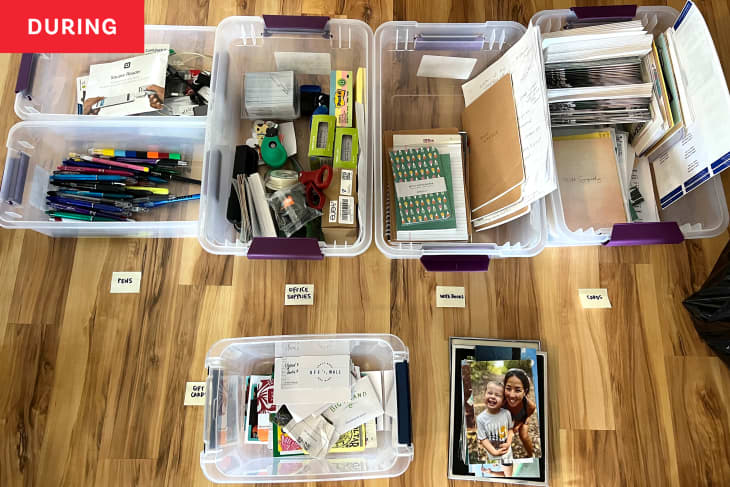
Step 2: Categorize.
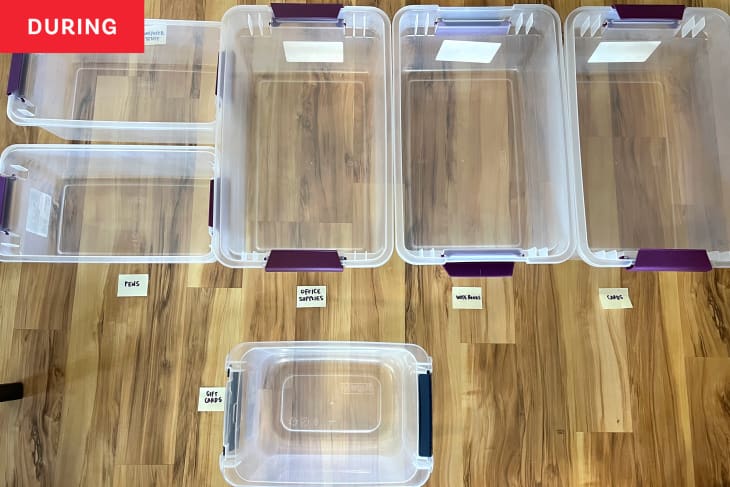
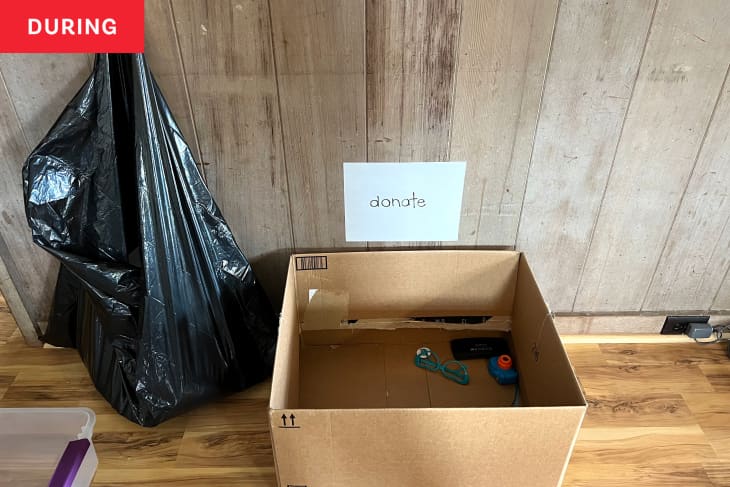
I purchased a few plastic storage bins from a local hardware store for this purpose. I created general categories that applied to my personal stuff — I had a bin for office supplies, another for computer-related items, and another for pens. (Yes, just pens.) I spent a couple of hours sorting everything. I created stacks of magazines, books, and various papers — the biggest culprit of my clutter, hands down. I used my Brother P-Touch Label Maker to label bins and cords, and set up a trash bag (for more trash) and a box for donations.
Step 3: Cut out.
I looked at everything I had accumulated and made decisions on what I wanted — and, most importantly, what I didn’t. I filled the trash bag and donation box with things I wanted to get rid of, and returned errant items to their proper places, like an apron to the kitchen and Pokémon cards to my son’s room.
Step 4: Contain.
Now, I needed to figure out what items go together in containers, being mindful, Kelly says in her TikTok video, of not overcrowding them. The goal is to make your things organized and accessible. I put all of my computer and charging cords in one small bin, and extra office supplies in another. It was a lot easier to organize and fill bins after culling the things I didn’t need. There was just less stuff.
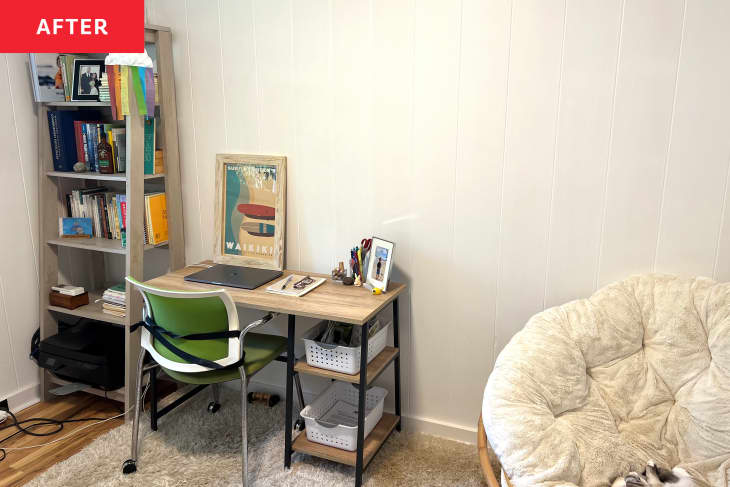
Now, everything is ready to be given a home, as Kelly says. In all, it took me five hours to declutter and organize my home office — and that included a break to walk my dogs and another to eat leftover pizza. Now, when I work here, I feel less overwhelmed and more. I actually look forward to starting my work day, even on Mondays.