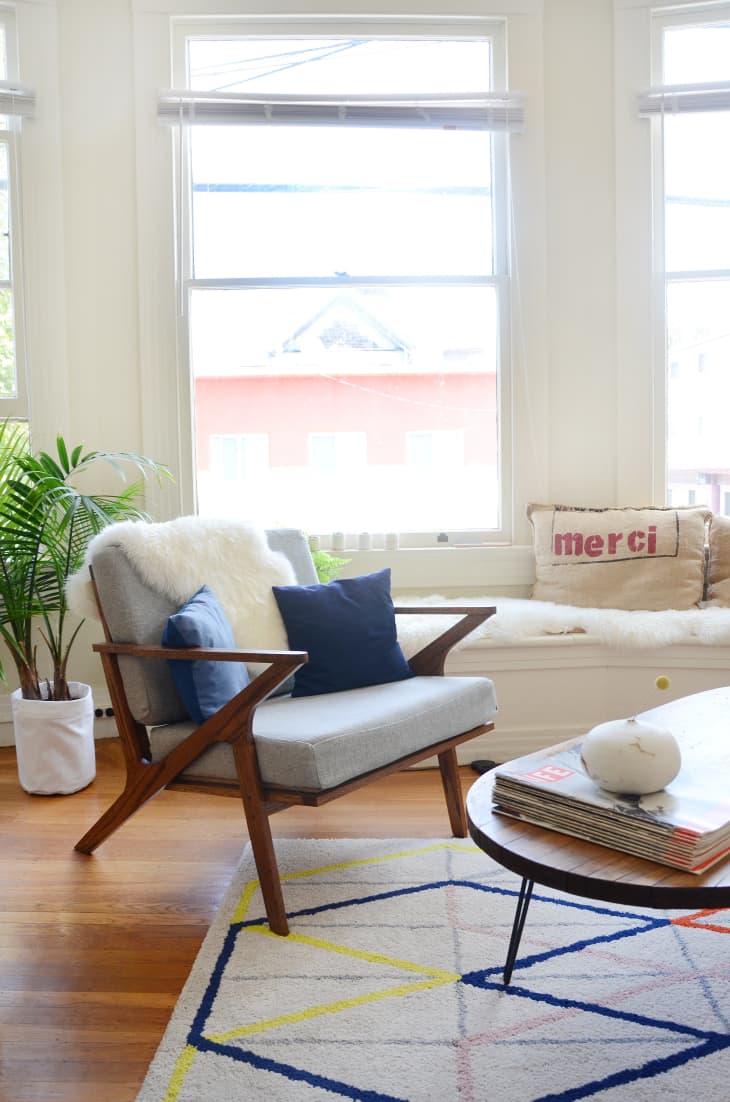
Create a Floorplan That Flows

Every room is different, and comes with its own particular shape and features. Some are long and narrow, some have funky nooks, and others are perfect squares. A successful layout allows you to move easily through that space, and will look and feel right too. Once you’ve got a plan in place, you’ll be able to narrow down your purchases, since you’ll know how much furniture you need, and what elements will fit in the space.
Start placing imaginary furniture in your virtual room, using either little tables and chairs cut out of paper, or with more advanced 3D modeling. Or draw circles and squares on your graph paper floor plan. Just make sure that whatever you do is to scale, so that you are getting an accurate sense of the space and how to use it.
And to see how we approached Ashley’s living room furniture layout for the makeover, head over to our Design School Case Study!
Step #1: Orient Towards Your Focal Point
Since you’ve already chosen your statement piece, or identified the focal point of the room, first try orienting the major furniture to take advantage and/or emphasize whatever that is. Sometimes the decision will be easy will be, like when the dining room table goes directly under the hanging light fixture in the middle of the room. But it might mean placing the sofa so it’s facing the impressive fireplace, or angled towards the windows so you can see the mountains outside your window. Once that major decision is set, the other smaller pieces often fall easily into place.
Step #2: Go With The Flow
Leave room for natural paths that take you everywhere you want to go. If you have to walk almost 360 degrees around the sofa in order to make it to the kitchen, your furniture placement isn’t working. At the same time, resist the urge to push everything up against the wall and in the corners. It just creates weird dead space in the middle of the room, and doesn’t feel very cozy. A good visual example to picture in your minds eye for this idea is a river. Where the flow is healthy and meandering, the water moves in a way that is peaceful and inviting to those on its shore, versus rushing dangerously or lingering in stagnant pools.
Tip: Watch for balance. Think how strange it would look to have all the furniture on one side of the room, and a huge expansive blank space on the other side. Make sure the furniture is distributed equally across all areas.
Step #3: Make Sure It’s Functional
Your living room might be as pretty as can be, but if you can’t reach the end table to put down your water glass, or have to crane your neck to spot the television, then your furniture set up isn’t working for you. There are great rules of thumb out there for spacing furniture, so you don’t have to reinvent the wheel. Take a moment to familiarize yourself with the standards, but don’t feel like you have to strictly adhere to anything. There’s always room for flexibility.
Extra Credit: The Ultimate Decorators’ Guide to Ideal Living Room Layout Measurements
Step #4: Fiddle Until You Figure It Out
A lot of rooms have quirks and funky dimensions, so experimenting with layout might be the only way to get an interesting, yet practical, space that works on multiple levels. Keep shifting your imaginary furniture around until you have a configuration that looks and feels good.
Share your impressions on Facebook, Instagram, Pinterest and Twitter! We’ll have an eye out for your updates and photos and would love to see how you are doing and share it with the group. Be sure to tag with #ATDesignSchool so we can find you.
