
Before and After: A “Piece of Junk” Table Becomes a Stylish Centerpiece for $50
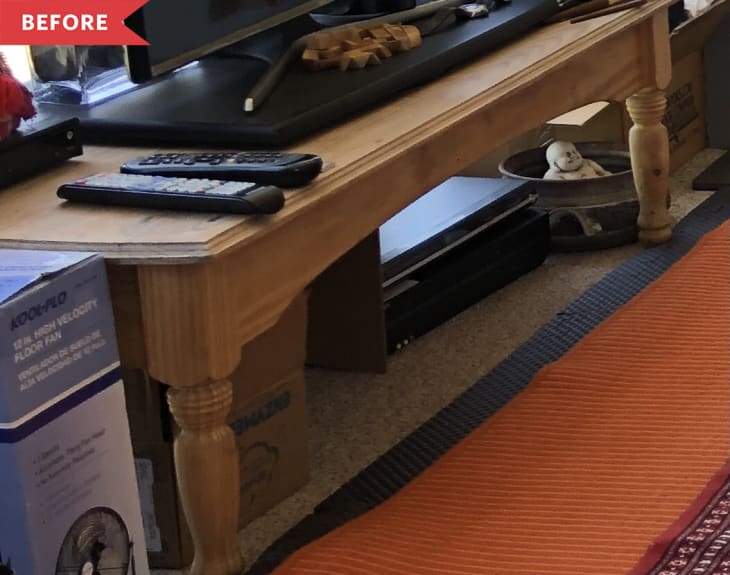
In an ideal world, you love and use every piece of furniture in your home. But of course, reality is a bit different, and most of us have a piece of furniture or two that we’re not wild about. That was true in Reena Bhandari’s home, where she had a lackluster wood table that she stuck under a TV. It worked fine for that purpose, but Reena wanted more.

“My background is Indian, and I wanted to create a nice little Indian sitting corner to do all sorts of relaxing stuff,” she says. She knew the table would be perfect for the corner — where she wanted to be able to sit and have a cup of tea, read, or paint — but it needed a bit of a refresher first. “I decided to change it in order to use it!” Reena says.

Reena didn’t need much to pull off this character-rich redo: just sandpaper, stain, a stencil, paint, and paintbrushes, plus “lots of patience,” she says.
Once she sanded and stained her table a base color she was satisfied with, Reena used chalk to help plan out the design she was going to make with her stencils; she picked ones that had designs that closely resembled the patterns you’d see in bone-inlay furniture. Then, she brushed on white paint to finish the look. “In painting using a stencil, less is more — use layered paint or the stencil bleeds,” Reena advises. “Less paint is more, so layer thinly.”
Though it took plenty of patience, the end product didn’t take a whole lot of cash — just $50 for the materials, which is a bargain when you consider that real bone inlay tables can top $1,000. “All my friends and family went nuts when I sent them pics,” Reena says. But the best part, she says, was “taking a piece of junk and making it so beautiful that I love to see it every day.”
Inspired? Submit your own project here.