
5 Budget-Saving Secrets Of Our $6K Kitchen Remodel
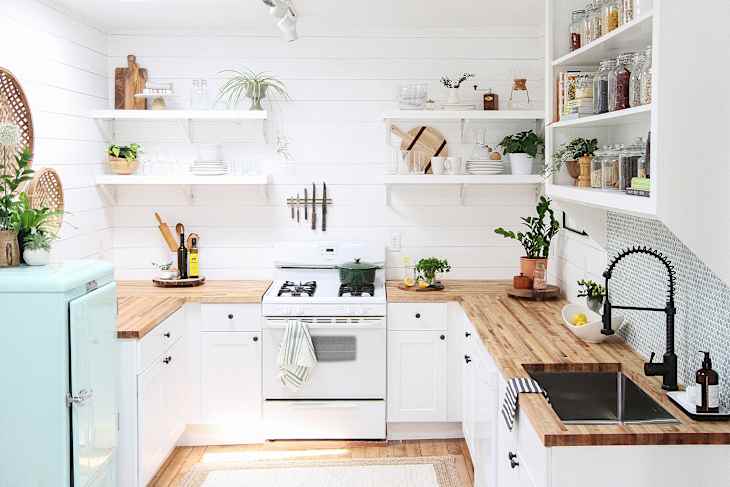
We just revealed our most recent original makeover —this time a budget kitchen renovation in a small town in Illinois. If you missed the full kitchen reveal, head over to see all the before and after shots. We wound up spending under $6,000 from head to toe, soup to nuts, which we’re feeling pretty good about, especially given that the house sold less a week (four days) after we shot the final kitchen. Want to learn the budget breakdown, and hear all about the cost-cutting, penny-pinching decisions we had to make?
If you missed the original makeover post, head over there to see what we did, or scroll through the slideshow to see what the entire kitchen looks like today:

Budget Breakdown
- Cabinetry & Countertops: $1898.24
- Lumber & Building Supplies: $1208.65
- Lighting & Electrical Work: $1186.98
- Paint, Stain & Sealants: $319.18
- Plumbing Labor & Kitchen Fixtures: $969.17
- Misc. Hardware & Building Supplies: $390.38
Grand Total = $5972.60
*This amount only includes fixed items that will stay with the house when it sells, and doesn’t include items used during the photoshoot, like rugs, artwork and accessories.
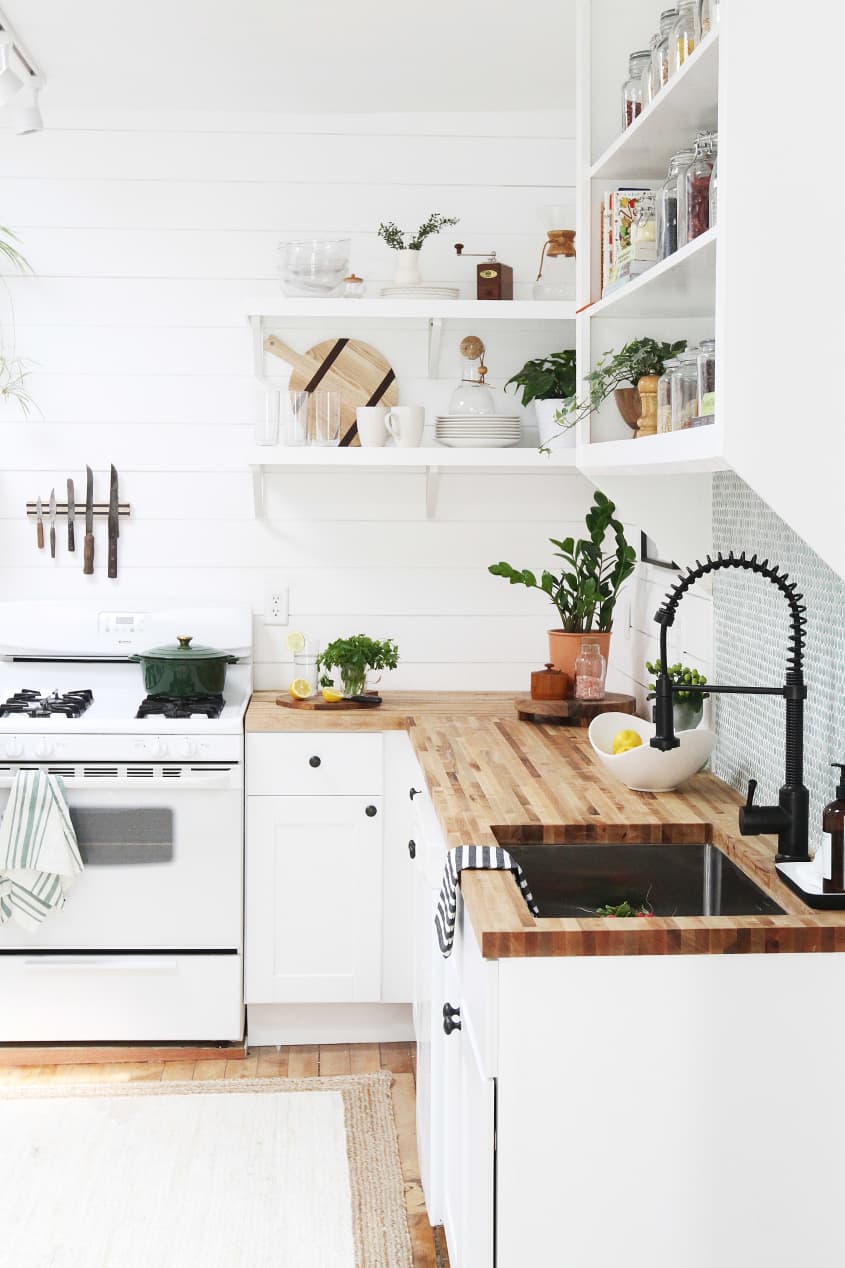
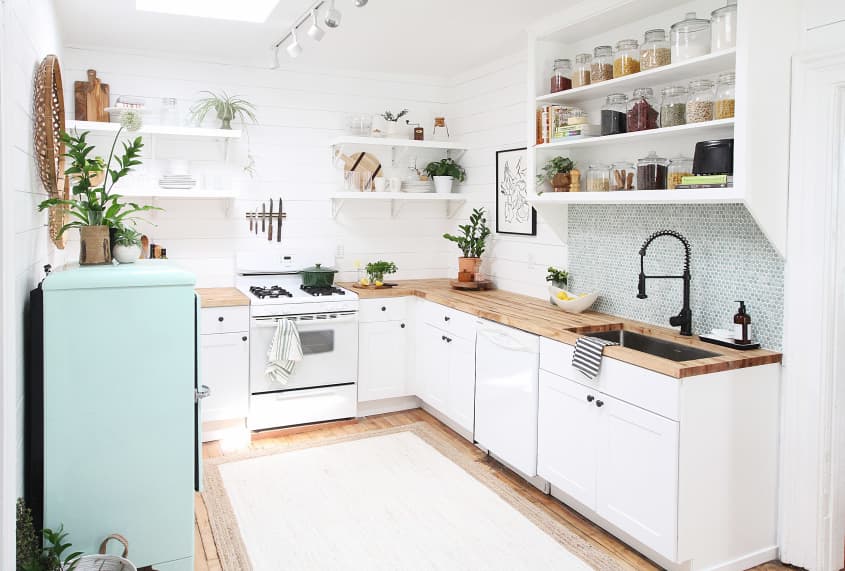
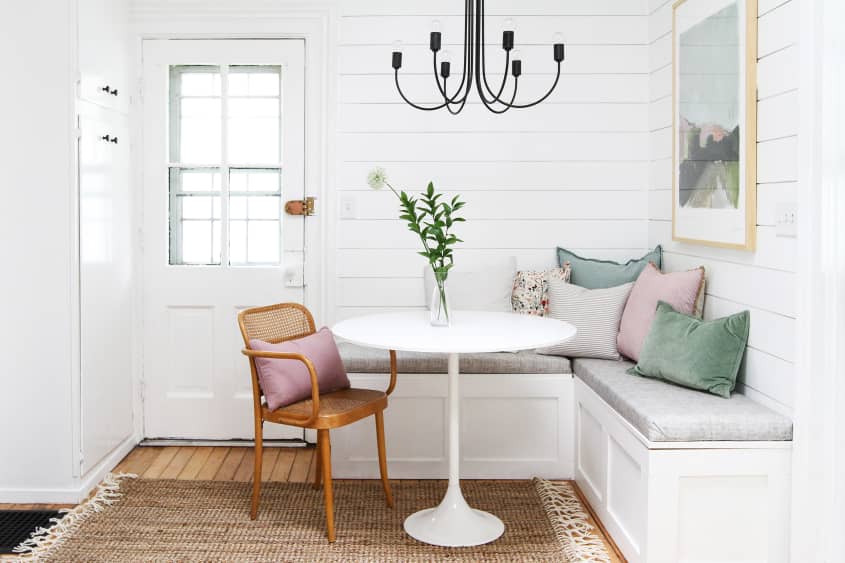
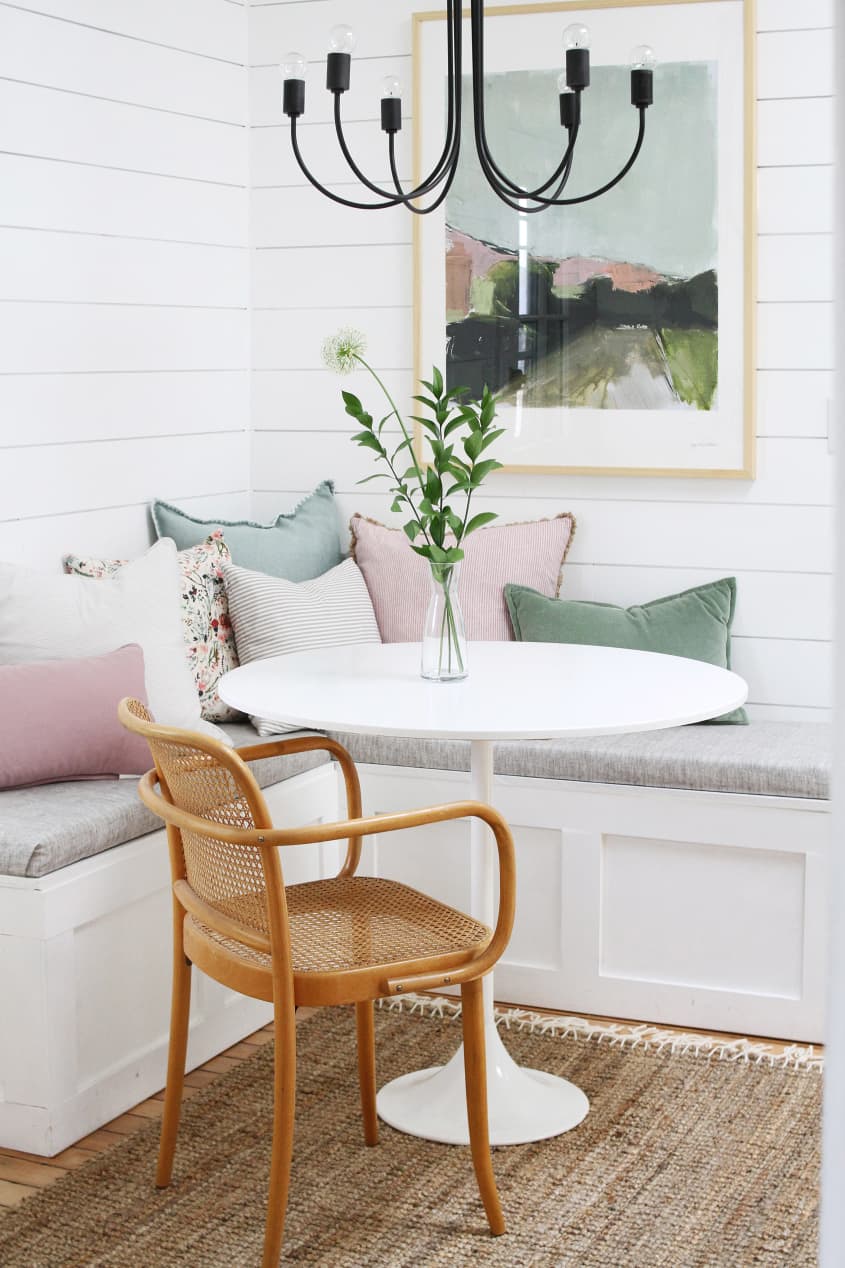
Kept Outside Labor Costs Down: One of the biggest ways to drive up the cost of remodeling is to start moving the plumbing and electrical around, which requires outside, expensive labor. In order to keep costs low, everything stayed essentially where it was before. The new sink lives where the old one did, and the stove shifted just slightly to the right — but otherwise, the major systems stayed as-is. A single electrical box was added for the track lighting in the middle of the room, and the new chandelier over the corner banquette was positioned with a swag chain, so it could be connected to an existing box set a little further away on the ceiling.
Products & Resources
- Primed MDF Shiplap Interior Siding from Home Depot: $579.70
- Hampton Bay Shaker Cabinets from Home Depot: $1,081.24
- Nuvo Lighting Track Kits from Wayfair: $287.98
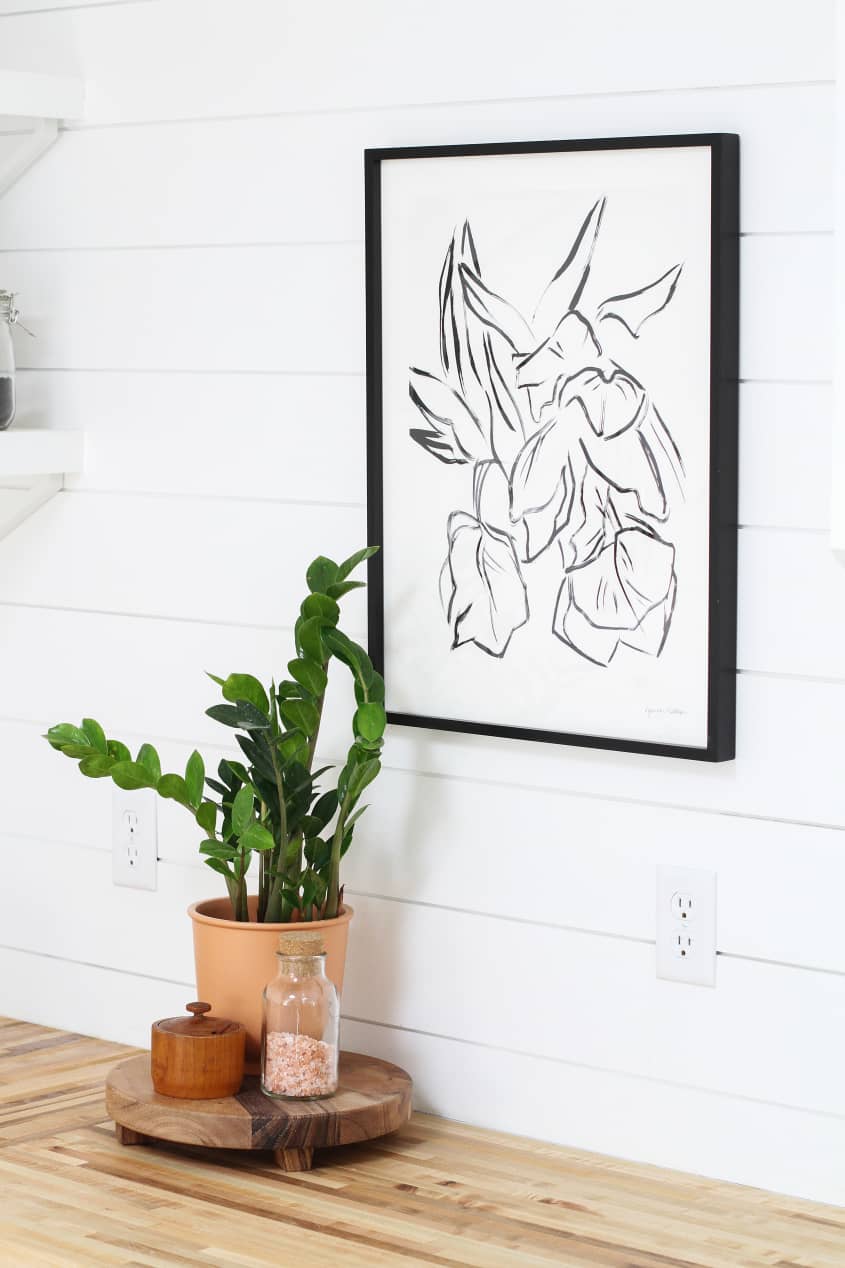
- Parrot Tulips Print by Lynne Millar from Minted
- Maui Jute Simple Border White Rug from Rugs USA
- Behr Premium Paint and Primer from Home Depot: $154.18
- Atlas Aged Bronze Cabinet Pulls from Amazon: $79.38
- ECKBY LERBERG Shelf Brackets from IKEA: $36
- Unfinished Maple Wood Butcher Block Counter tops from Home Depot; $817.00
- Mint Green Porcelain Penny Tile from Wayfair: $171.40
- Brienza Pull-Down Sprayer Sink Faucet from Home Depot: $170.17
- Elkay Crosstown Sink from Home Depot: $299
- Oakton Bronze Chandelier from Crate & Barrel; $299
- Maui Hand Woven Jute Rug with Wool Fringe from Rugs USA
- Neutral Linen Banquette Cushion Fabric from Spoonflower
- Floral Pillows from Roostery
- Road Trip Art Print by Lynne Millar in Raw Wood Frame from Minted

DIY, DIY, DIY: The more you do yourself, the more you’ll save. Ashley is lucky to have a dad who pitched in and did a good amount of the work requiring advanced skill and experience. As mentioned above, an electrician was hired to come in and run the wire to a new electrical box on the ceiling, and a plumber hooked up the new sink, but otherwise, it was a total family project. Ashley herself — in addition to making design decisions — did the backsplash tile and painted more shiplap than she probably cared to. If you do go this route, know that going DIY is not without its challenges, namely the extra time needed. Ashley and her family traveled from Chicago to work on the house during weekends, which definitely stretched the project (and most likely their sanity).
8 Tips for Destressing During a DIY Renovation

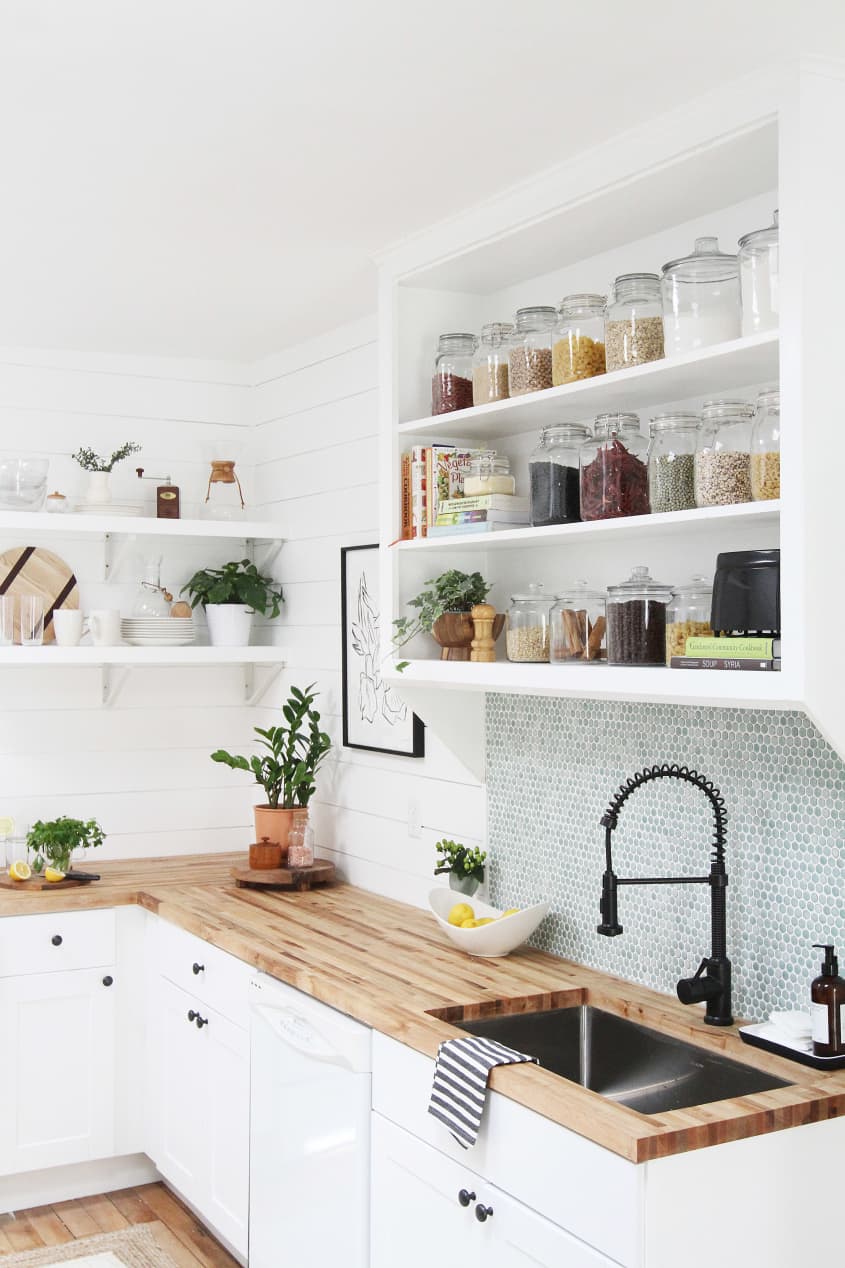
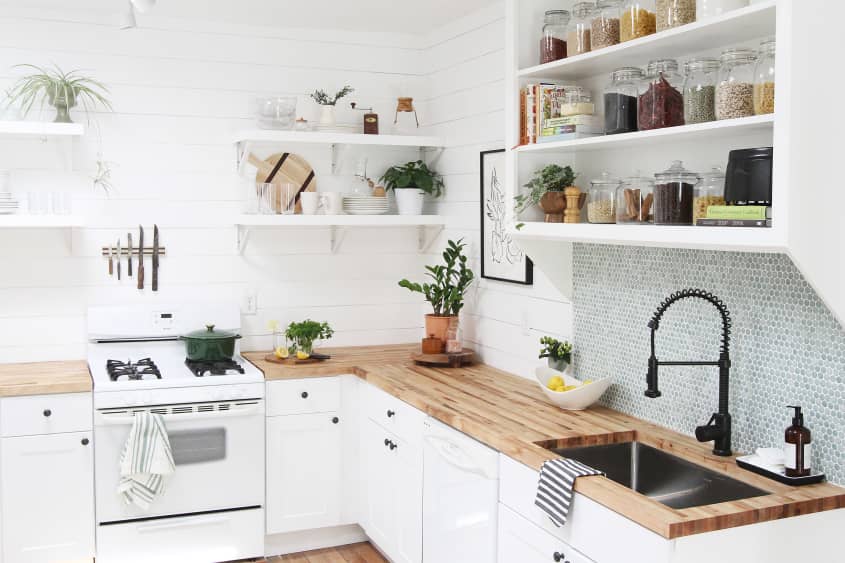
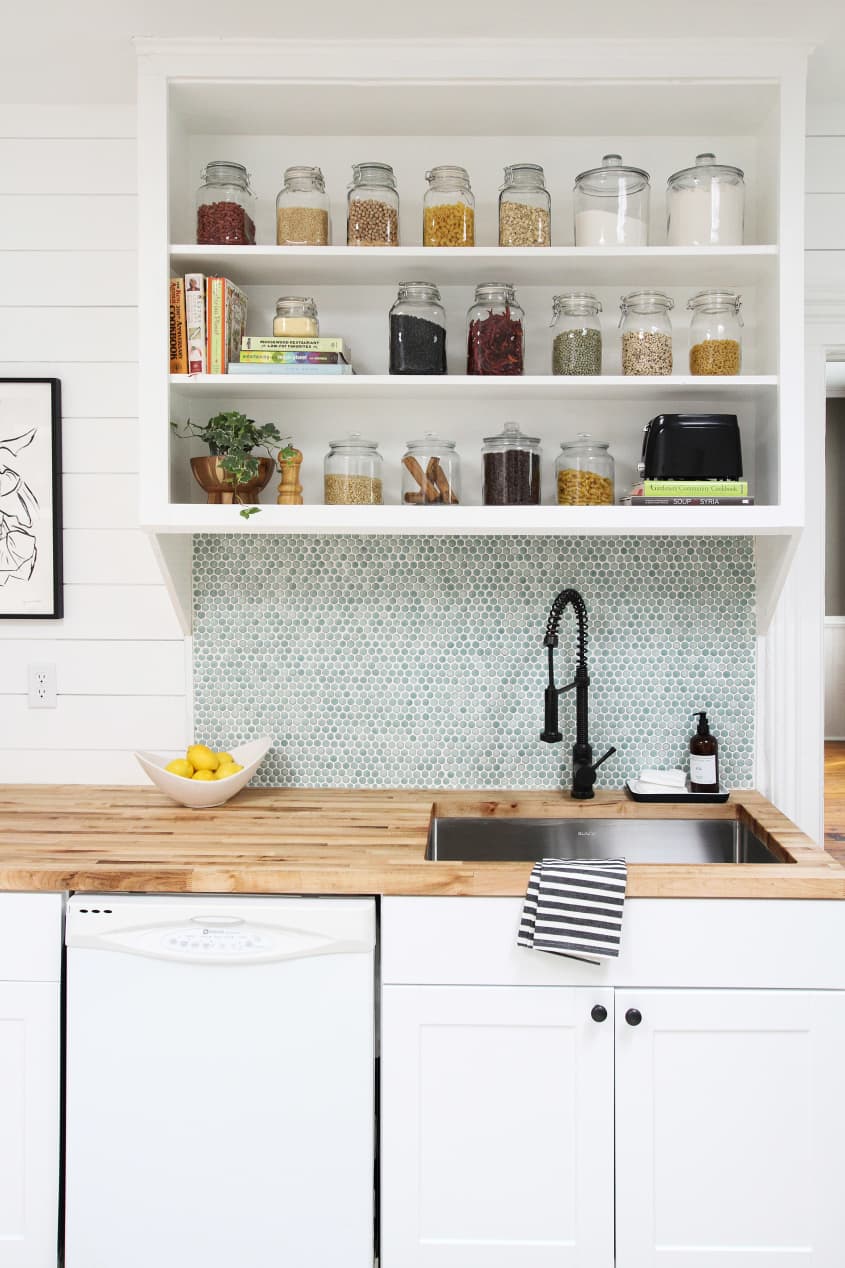
Retained Old Elements: Keeping certain features from the original kitchen, and making do with quirks, saves both money and character. New things are nice, but sometimes they just can’t rival the real deal. In this case, Ashley kept the corner pantry unit across from the new banquette, and shelving above the sink (she just removed the doors and hardware). Lastly, you might notice in the photos that the floor slopes down from right to left. Old houses have lots of funky stuff like that and you can spend beaucoup de bucks trying to make everything perfect and level, or you can shrug and move on.
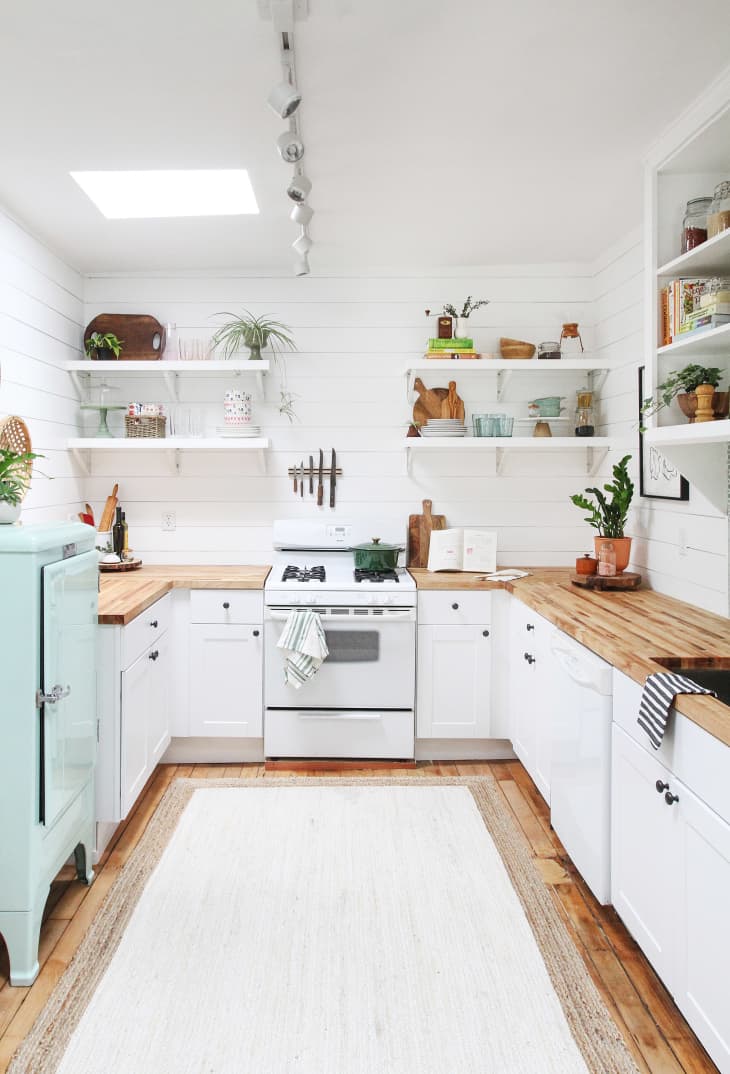
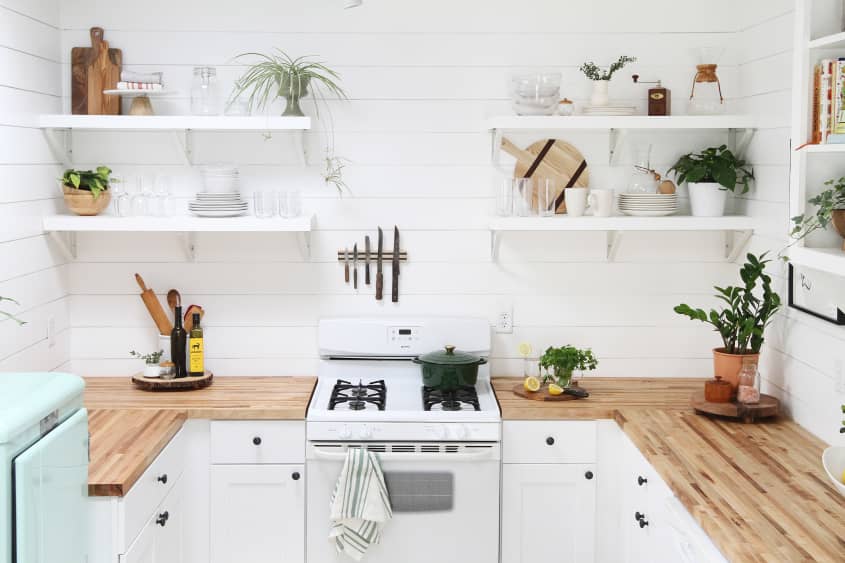
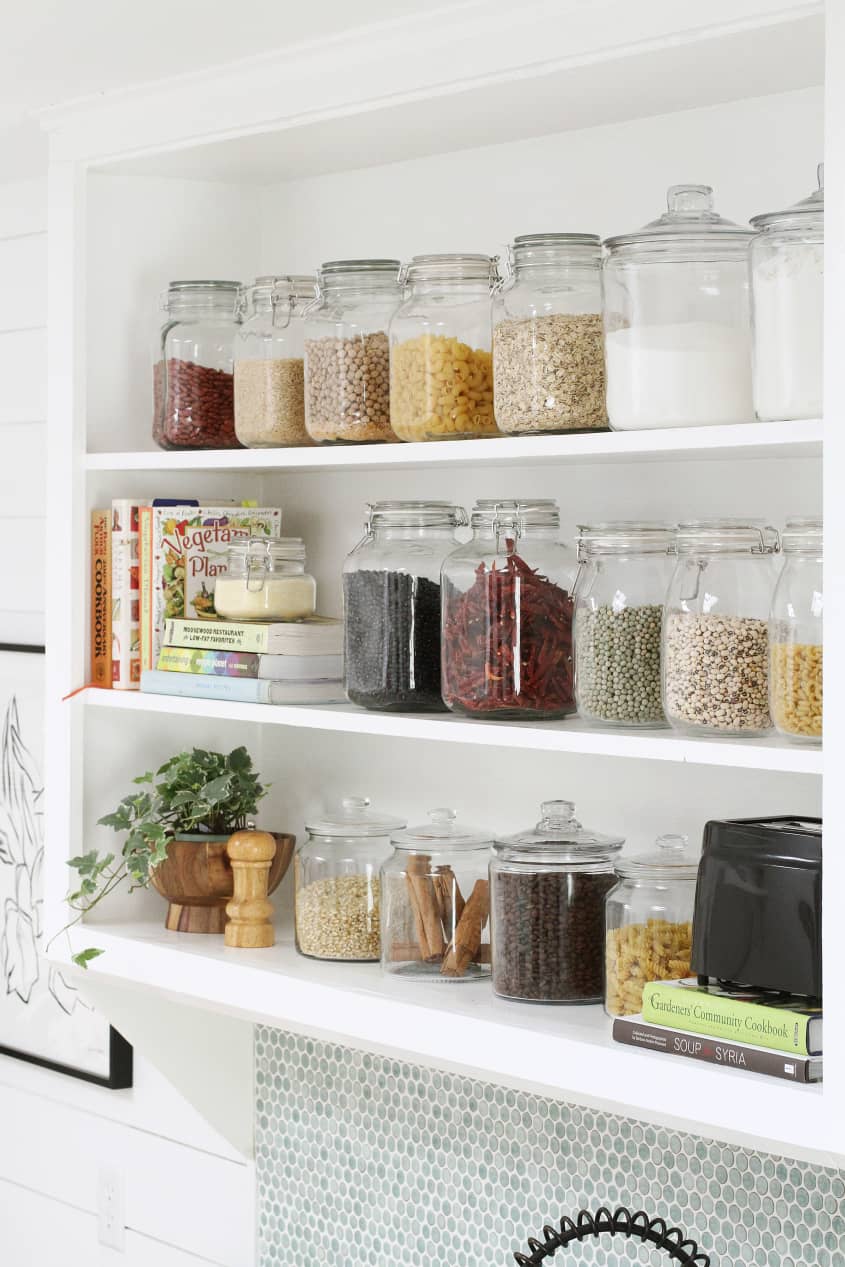
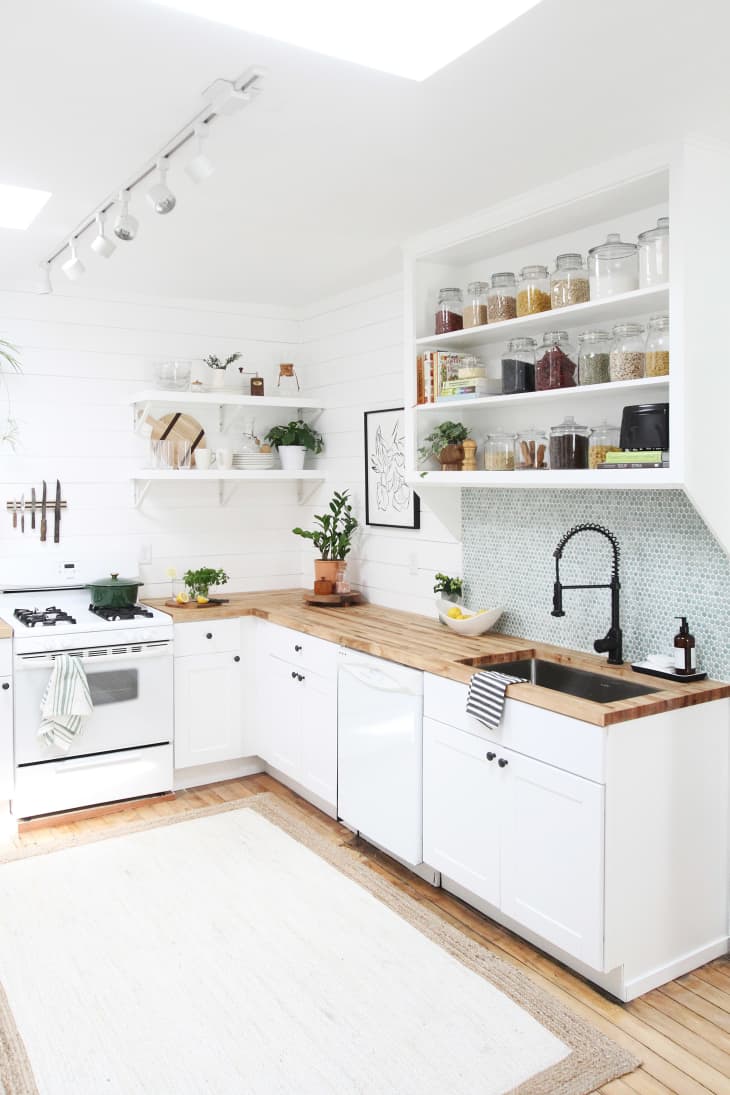
Chose Open Shelving: There are a lot of pros and cons to open shelving, but in the budget department, it is a clear winner. We could have chosen closed cabinets, but basic shelves and brackets were an affordable route that still look amazing. It cost under $100 to create all four of the shelves you see in the kitchen, but uppers would probably have added at least another $1,000.
The Open Shelving of Your Kitchen Dreams Is Totally In Your Budget
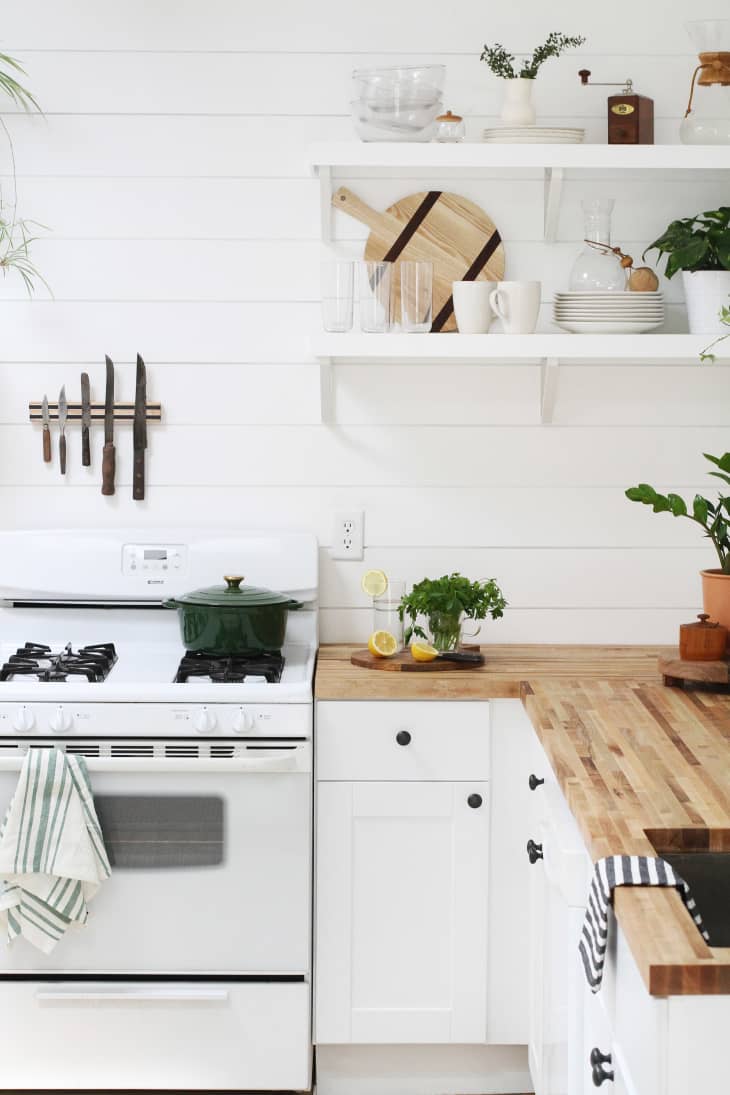
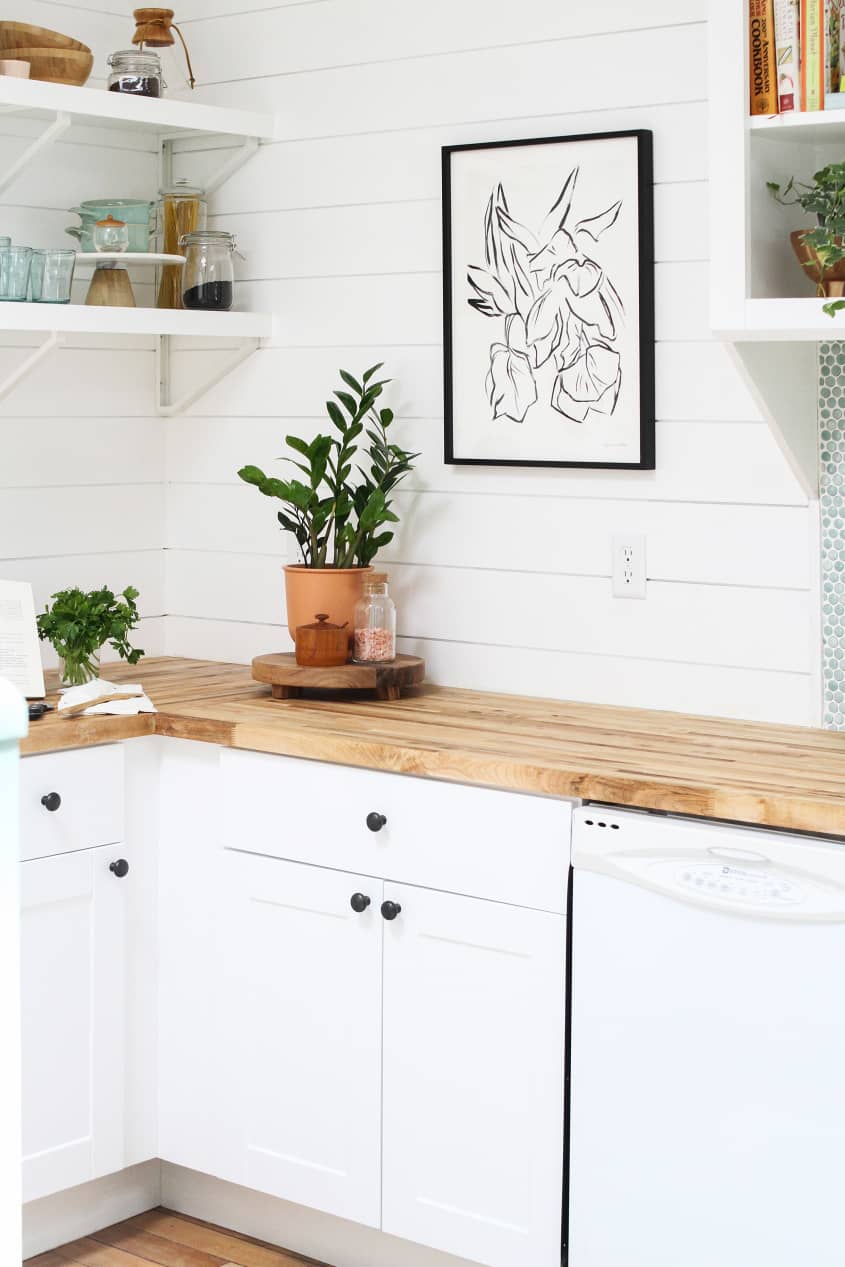
Used Classic, Affordable Materials: Things like white kitchen cabinets and butcherblock countertops are not only readily available for reasonable prices, but they have pretty widespread appeal. Same with shiplap, which is still having a heyday (despite the need to dust). As we’ve written about before, track lighting is an economical and practical choice.

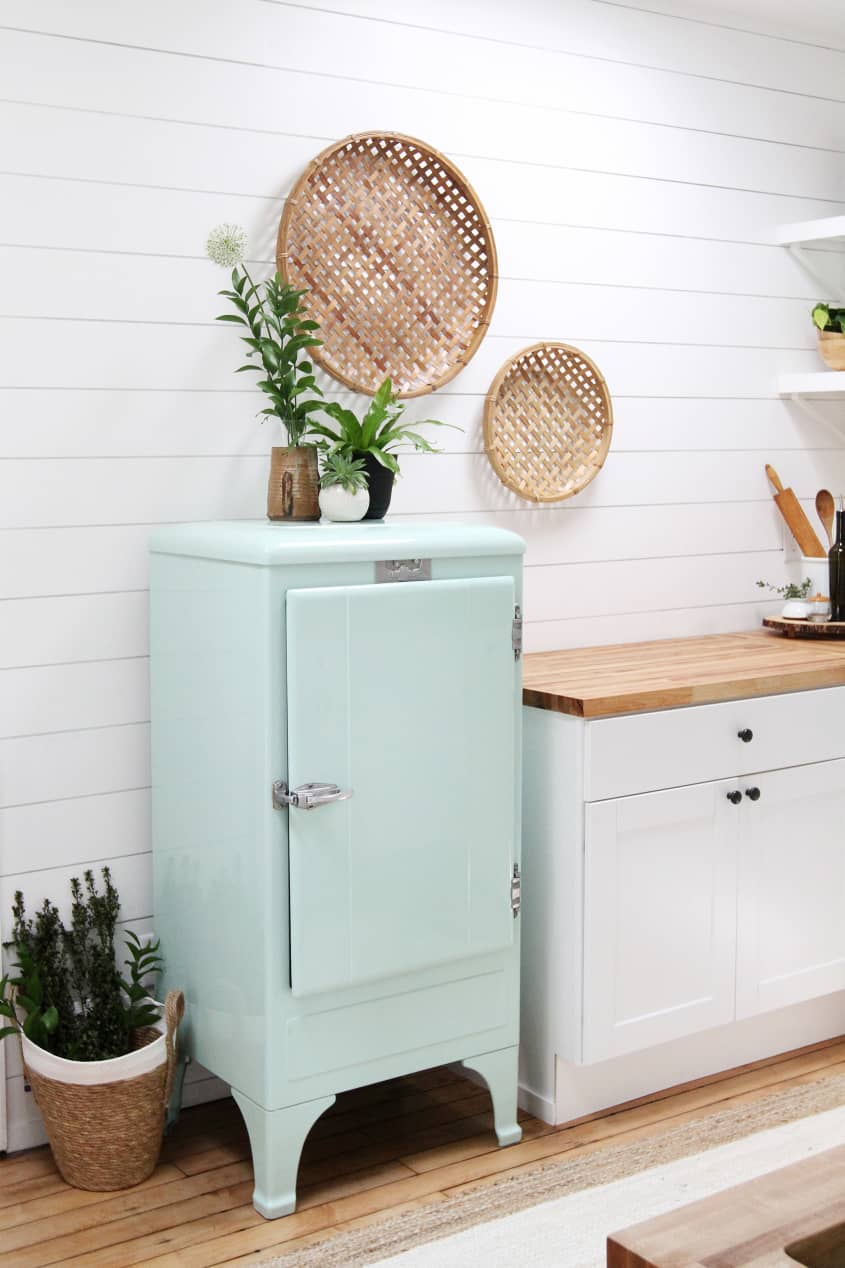
Made Do With Existing Appliances: One of the worst parts of selling a house is spending money on things in a house you won’t own, and therefore enjoy, much longer. Rather than spend hundreds or thousands on new stainless appliances, Ashley kept the old white stove, and a vintage refrigerator she already owned, and both look just fine. Are they ideal? Perhaps not, but they look charming in the space and new owners can choose to replace them with something else.