
How To Grout a Tile Backsplash Like a Pro
Grouting tile is as easy as frosting a cake (a very difficult, really pretty cake anyway). If that sounds like it’s above your skill level, hire a professional. But, if you’ve got the can-do spirit, are handy, and pick up a few grout-specific tools for the job, you’re going to be just fine. (FYI, I feel it’s important to note that I actually tiled and grouted this backsplash myself.)
Choose Your Tile Grout
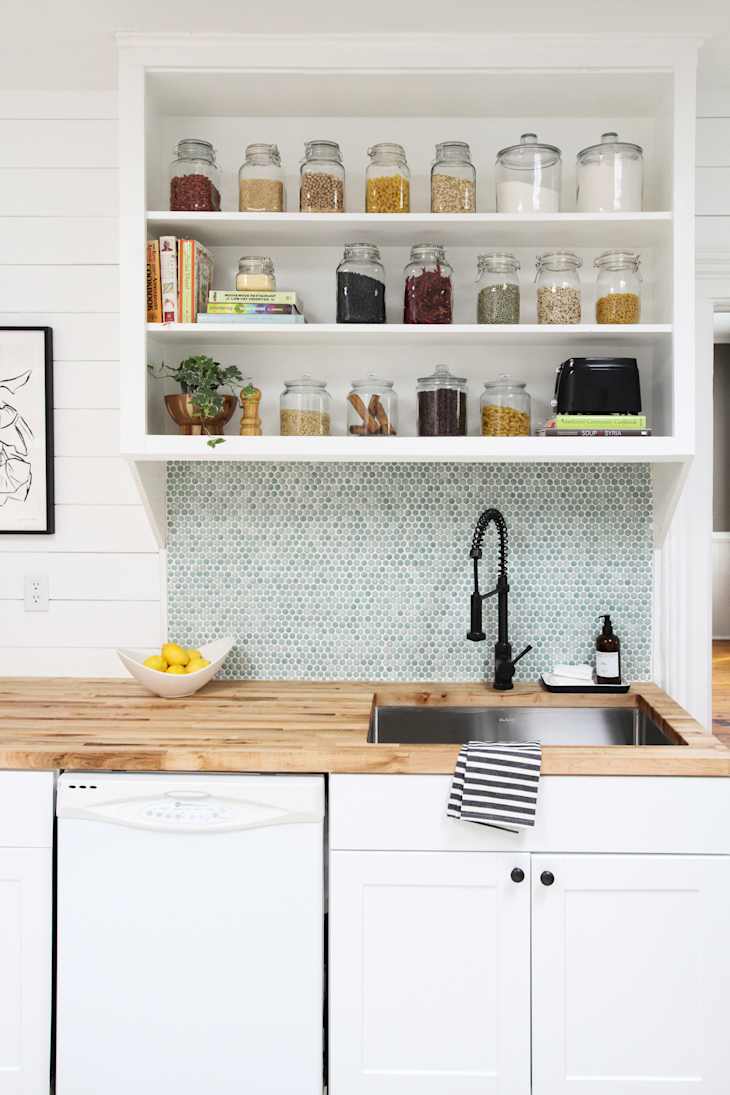
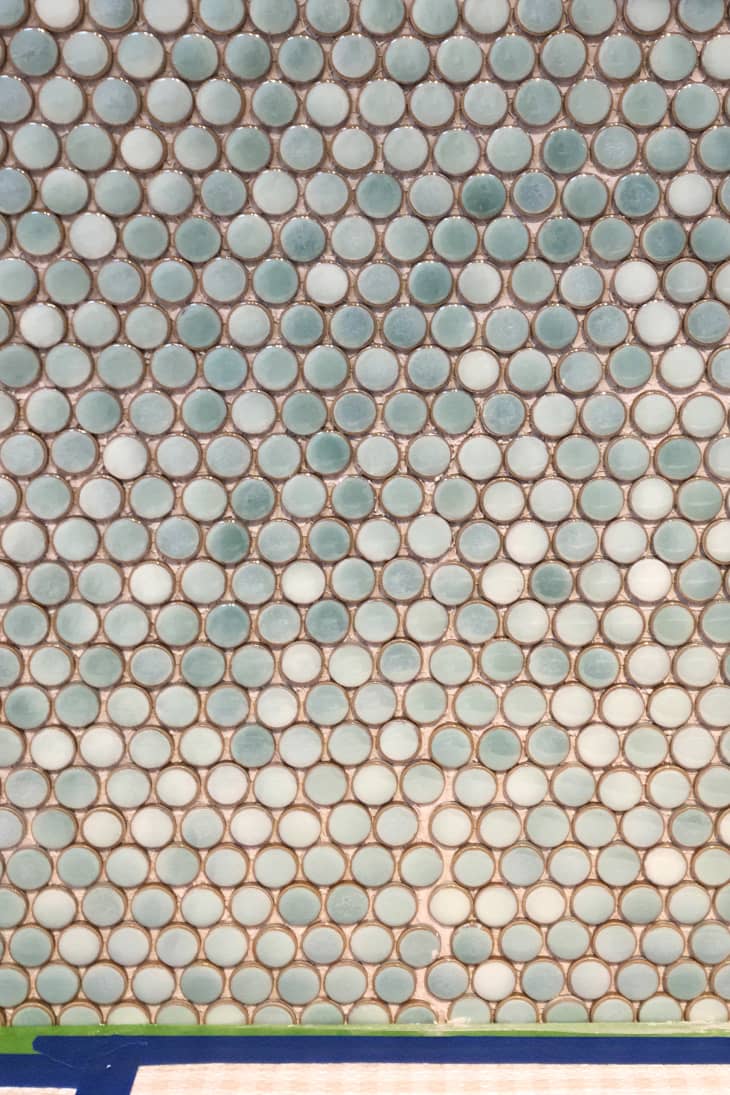
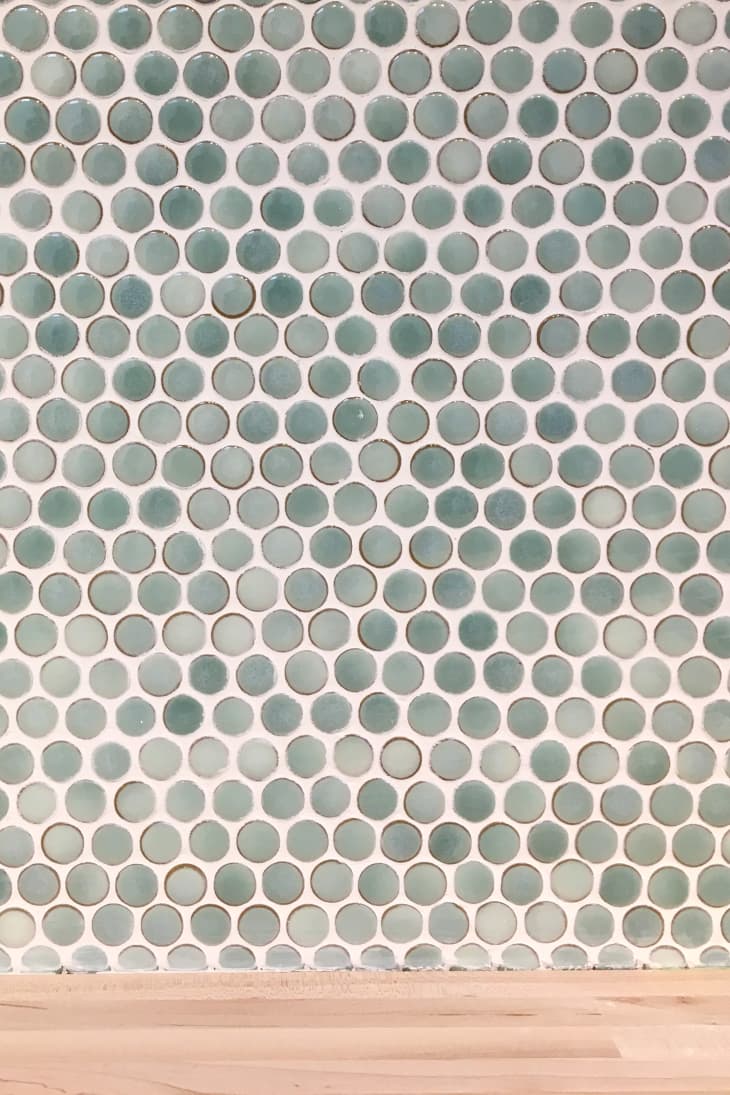
Before starting, choose your grout. You can buy grout pre-mixed, or dry, sanded, or unsanded. Buying dry or pre-mixed grout is a personal preference, but pay attention when it comes to buying sanded or unsanded grout. Think about the sand as a strengthener, and use it on projects that get a lot of wear and tear — like floors and shower pans, and tile with wider grout lines. Unsanded grout is finer and best used on tile with 1/8″ to 1/16″ grout lines. I used unsanded grout for this mosaic tile backsplash.
Grouting Tools
Materials
- Grout (we used unsanded for this project)
- Mixing bucket
- Putty knife
- Painters tape
- All purpose sponges
- Clean rags
- Bucket of water
Tools
Prep First
The very first step in grouting is to protect all surfaces you don’t want getting messy (because things will get messy!). If tiling close to a countertop or cabinets, protect the surface area by rolling out masking paper, then keep it in place with painters tape.

Next, take a good look at the joints. Be sure there aren’t any clumps of mortar or mastic that found their way out from under the tiles that would keep the grout from settling properly.
Mixing Grout
Once your joints are clean, you’re ready to mix the grout. Mix according to the directions on the package, then let it sit for 5-10 minutes so it can soak up all the water. Mix the grout one more time, adding small amounts of water if needed to reach the consistency of peanut butter or toothpaste.
Apply Grout
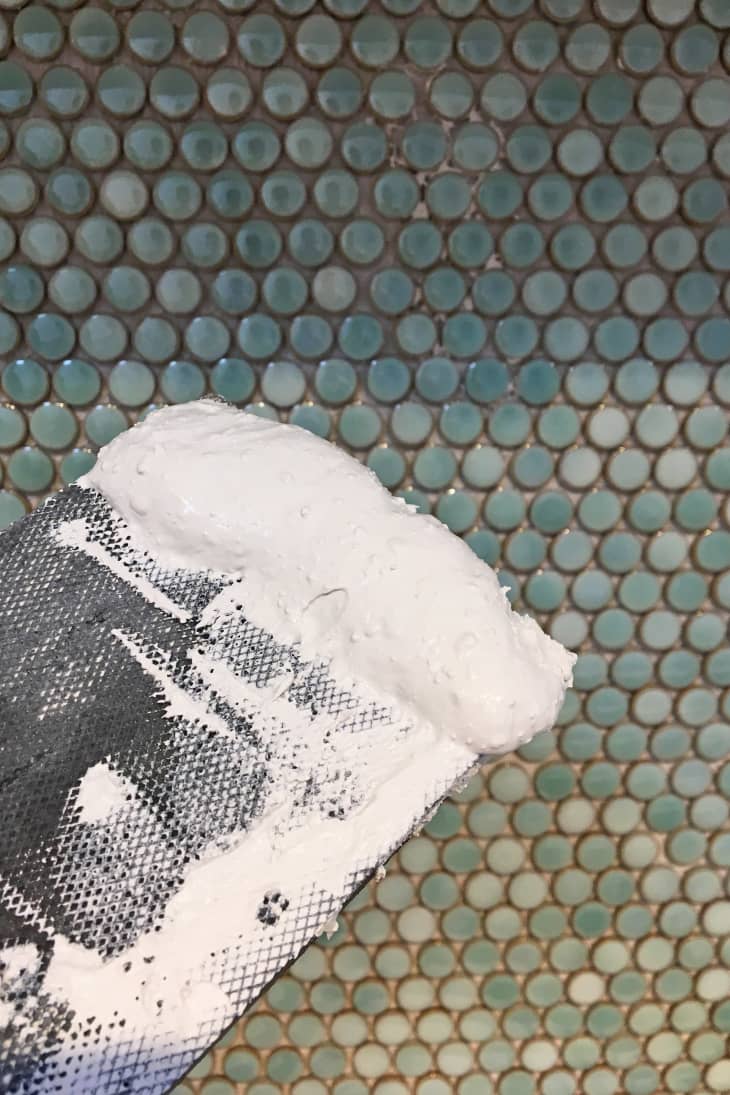
To apply, dip the rubber grout float into the bucket of grout, grabbing just enough to cover the tip of the float. It’s important to not be excessive, but instead to work quickly with small amounts of grout on the float.

Hold the float at a 45 degree angle and push the grout into the tile, working diagonally.
If you find things get messy along your taped lines, grab your putty knife and scrape excess grout out of the area. Try to stay as tidy as possible, scraping and rinsing the grout float often, so that drying grout doesn’t get mixed in with fresh grout from the bucket.
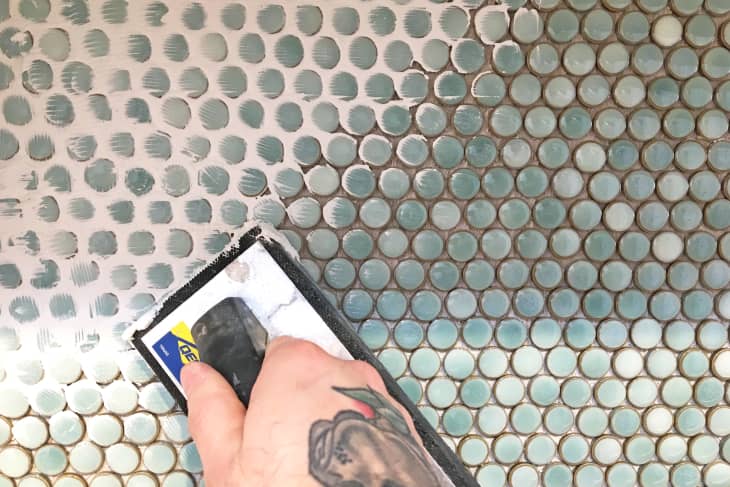
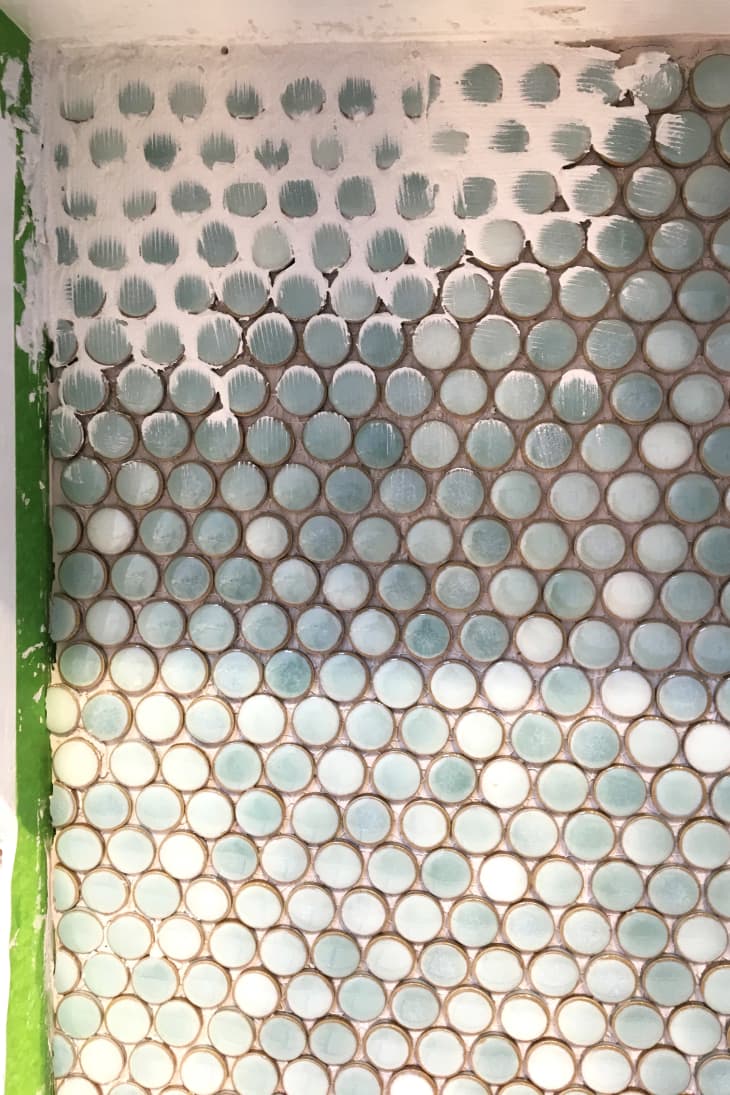
Work quickly, in small sections, pushing the grout into the tile.
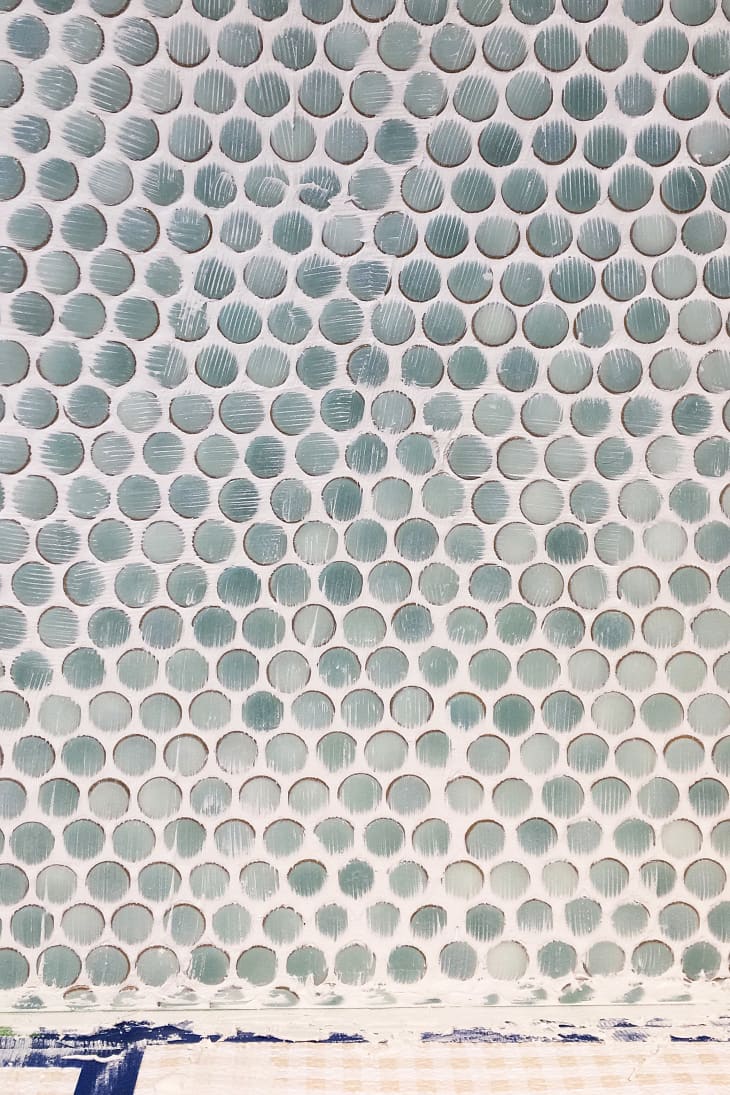
Once you’ve grouted the entire area, wait 15-20 minutes for it to dry.
Clean the Tile
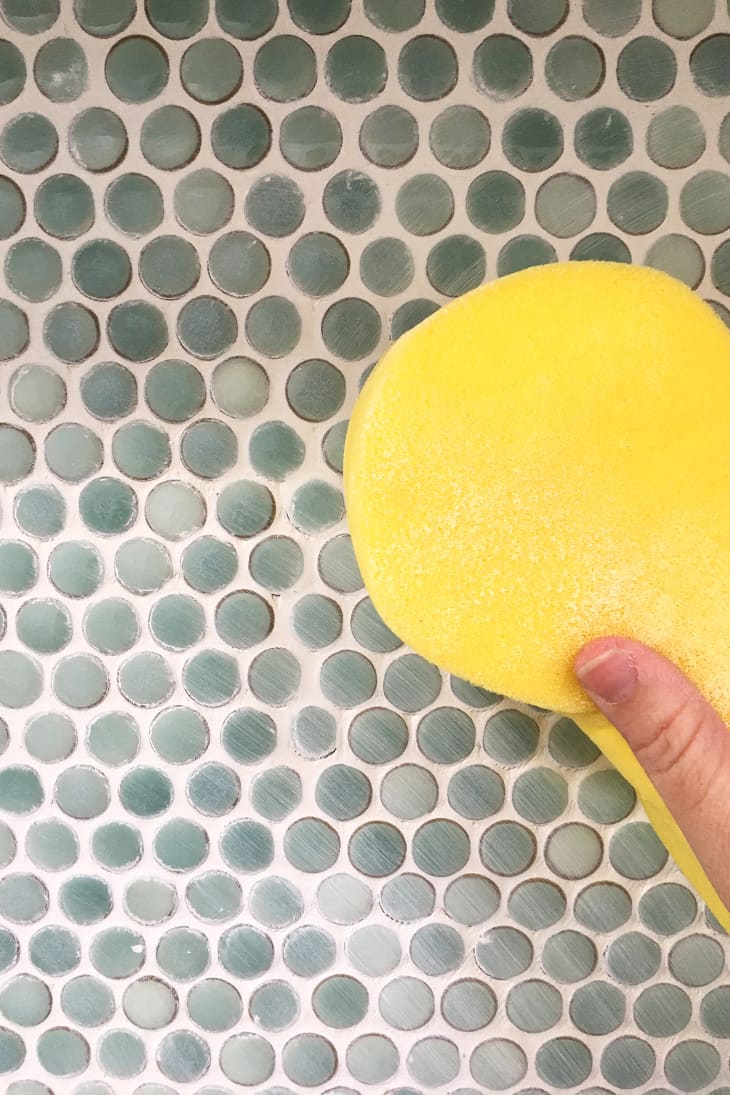
Next, gently wipe down the tile with a damp sponge (A damp sponge, not wet! A wet sponge will remove the grout completely from the grout lines and you’ll find yourself having to re-grout later). The first swipe won’t look like it did anything at all, but persistence pays off. Keep wiping the sponge across the tiles, working in diagonal lines. Rinse the sponge once each side has wiped the tile. Eventually, the tiles will appear clean, we promise.
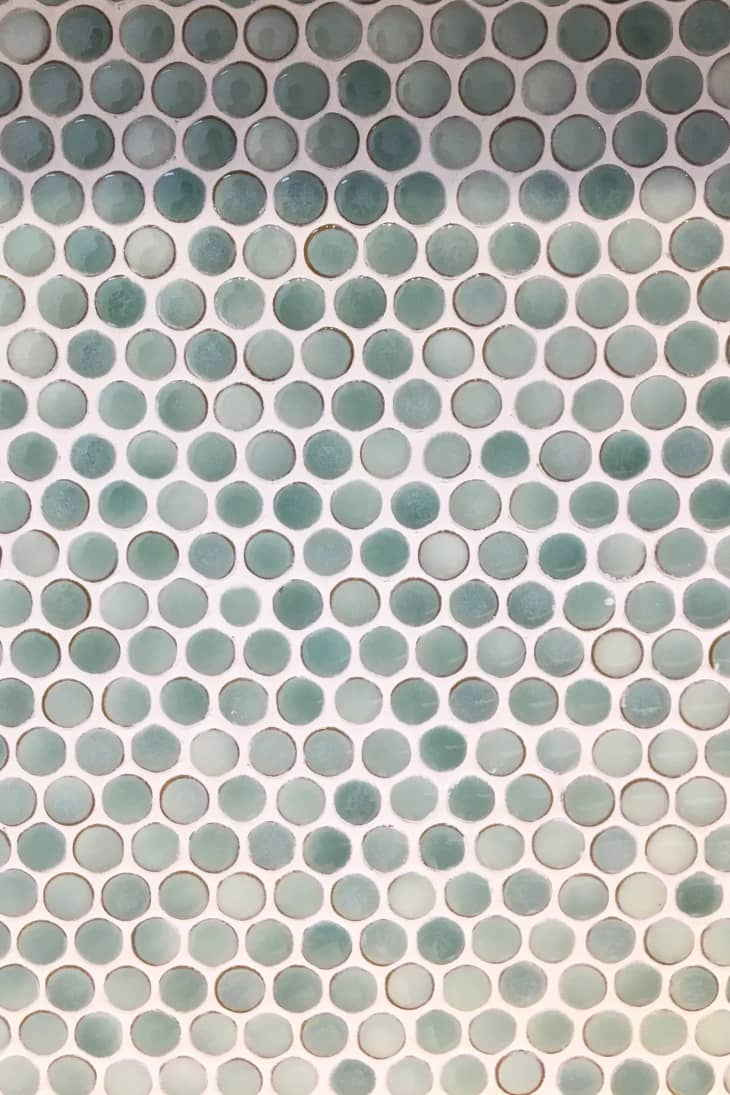
If you look closely, you can see that the tiles are still covered in a bit of a dusty “haze.” Wait one hour, then use cheesecloth, a Magic Eraser, or a buffing rag to bring back the original shine of the tiles.
Once the grout is dry and the tiles are completely clean, remove the painters tape and drop cloths, then pat yourself on the back.

More Tiling Info:
- How To Tile a Bathroom Floor
- How To Tile Your Bathroom Shower
- How to Choose the Right Grout for Tile Jobs