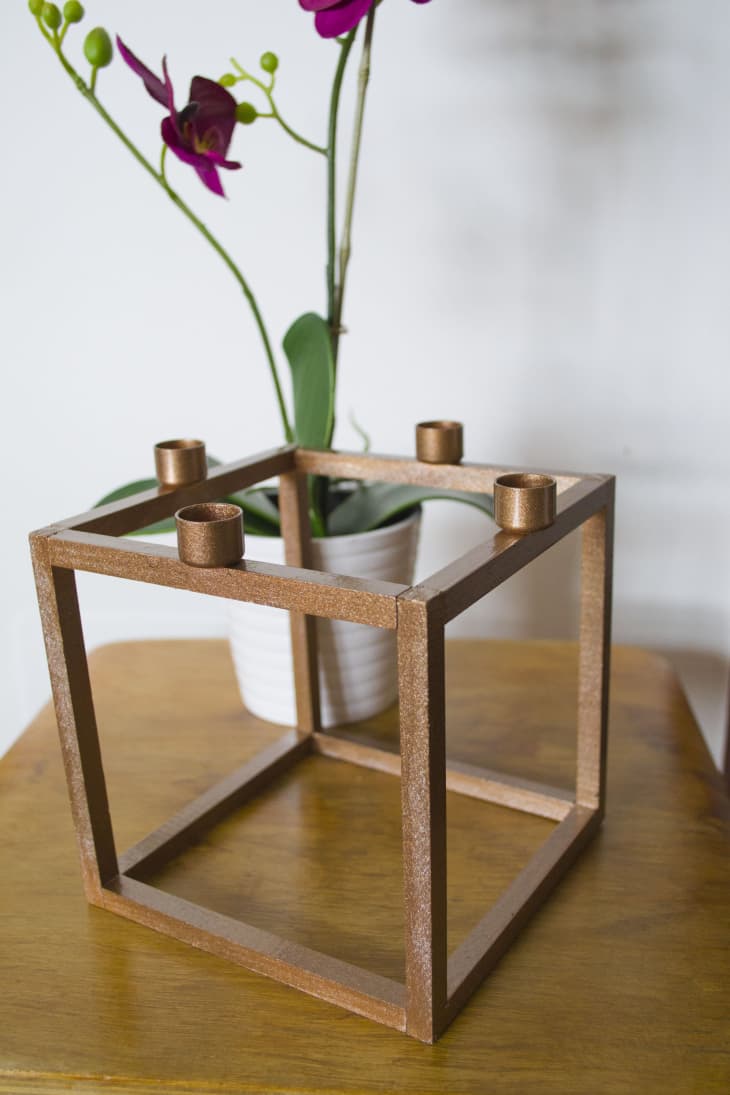
DIY Kubus Inspired Candleholder

This DIY project is totally impressive if you’re a fan of the Kubus candleholder that inspired it. It’s also pretty impressive even if you’ve never seen a Kubus. For under a day and under $20 you can have a totally gift-able, beautiful candle holder.
Skill Level: Easy
Time Required: 24 Hours
Project Cost: Under $15
From Sara: The first time I saw this candleholder I felt instantly in love with it. Although Kubus can look like a modern design, the truth is Kubus was designed in 1962 by Lassen and it has lasted until today, totally fashionable.
I really needed this cube goodness in my house, but the original piece costs around $200 and well, I don’t have $200 to spend on a candleholder-piece-of-art. So I tried to figure out how I could do it myself on a budget.
This candleholder, though simple to make, requires some time due to glue drying times, but is definitely worth it!
What You Need
Materials
- 4 x 15 cm Wood Strips
- 8 x 13 cm Wood Strips
- Wood Glue
- Spray Paint
Tools
- Saw
Instructions
- First of all, we draw the sketches by hand in order to decide what size and measures I wanted the cube. Once I decided that, I marked measurements on the wood with pencil and cut the wooden strips carefully with the saw.
- The pieces that make up the squares are 15 and 13 cm pieces. Each square is comprised of two of each. For the cube, you have to make two squares (obviously…otherwise it would be a weird cube).
- I used special wood glue to attach them, and let it dry following the label instructions.
- Next I glued on the pillar pieces carefully and I waited until it was completely dry to glue the top square piece. Once again, I let it dry and then I glued the pipe ends. Finally, I painted it with aged bronze spray paint, and tadaaaaaaaa!!
For more instructions and photos hop on over to Sara’s blog Forever Rented.
Have a really great DIY project or tutorial that you want to share with others? Let us know! We love checking out what you’re making these days, and learning from our readers. When you’re ready, click here to submit your project and photos.
