
Before & After: Colorful Outdoor Bench
It’s not everyday you come across an old bench that has so much potential. If you do ever come across a run-down version of the perfect outdoor (or indoor) piece you’ve been looking for, don’t keep walking — pick that bad boy up and head straight to the home improvement store! You never know how that thing will look after a good sanding and a fresh coat of paint!

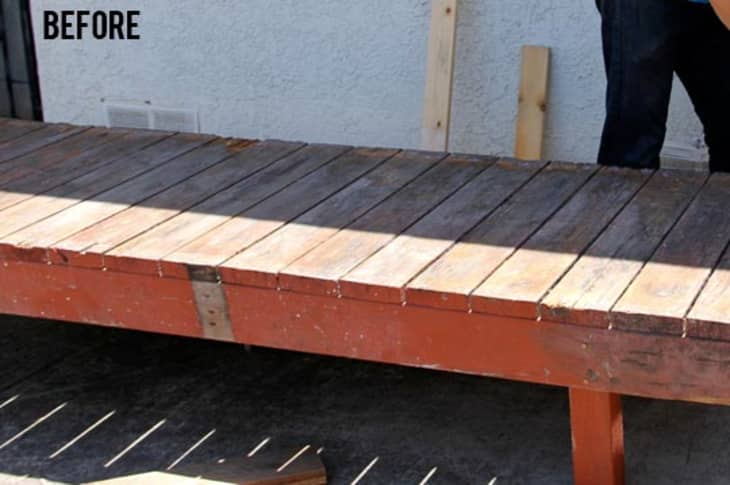
Christina took to her blog to boast about the recent transformation of a pretty run down wood bench. She had stripped the paint several weeks earlier and had sort of put the project on the back burner. Using an old broken necklace as inspiration, she rounded up some pretty colorful paints and got to work. She primed the bench with indoor/outdoor primer and then painted each slat a different color.
The (almost, according to Christina) finished project is sensational. Who knew a multi-colored bench could look so chic and fun? The bench looks pretty finished to us and we’re not quite sure what she ultimately plans on doing with it — but this gave some serious inspiration and put us in a DIY mood!
Check out the full post of Christina’s project over at her blog: Christina Diaz
Images: Christina Diaz