DIY Project Idea: How To Tie Dye Napkins with Permanent Markers
Years ago my grandma gave me a huge stack of napkins and, even though I knew that those plain white ones weren’t really my thing, I politely took them. Fast forward to a recent afternoon of marker tie dye fun!
I’m a little embarrassed to show you how easy it is and I can truly say I really had fun creating these little masterpieces.
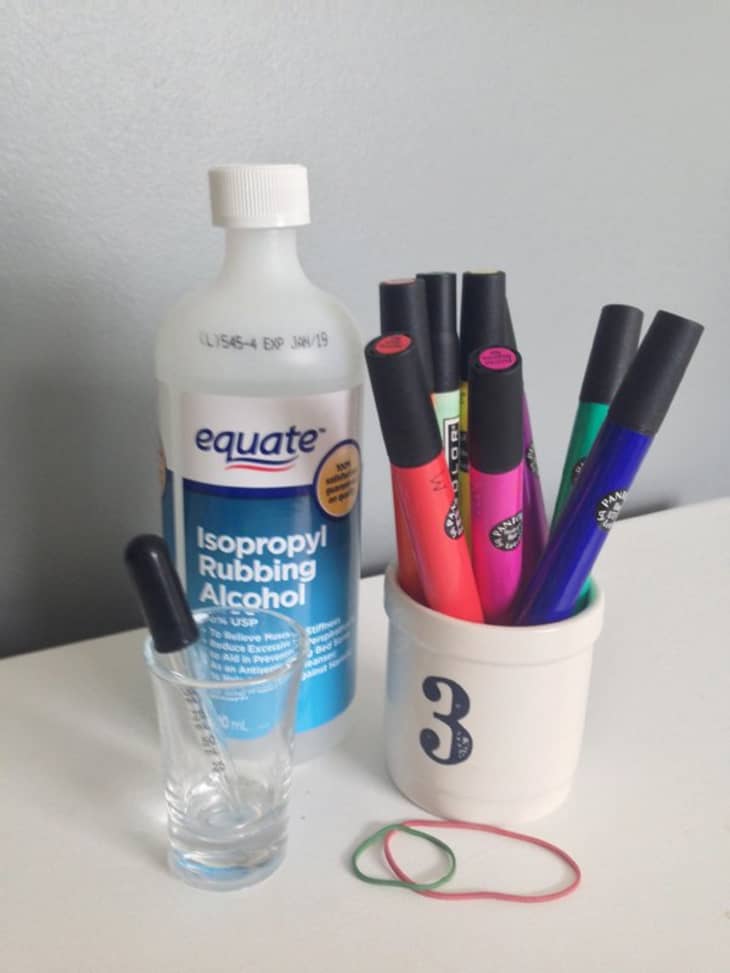
What You Need
• Rubbing alcohol (min. 70% isopropyl alcohol)
• Several elastic bands
• Colorful permanent markers
• Shot glass (or similar size)
• Dropper
• Napkins or material you want to dye
First I highly recommend testing out your technique on an old t-shirt or scrap of material — before working on your napkins — so you get a better idea of how the alcohol reacts with the marker.
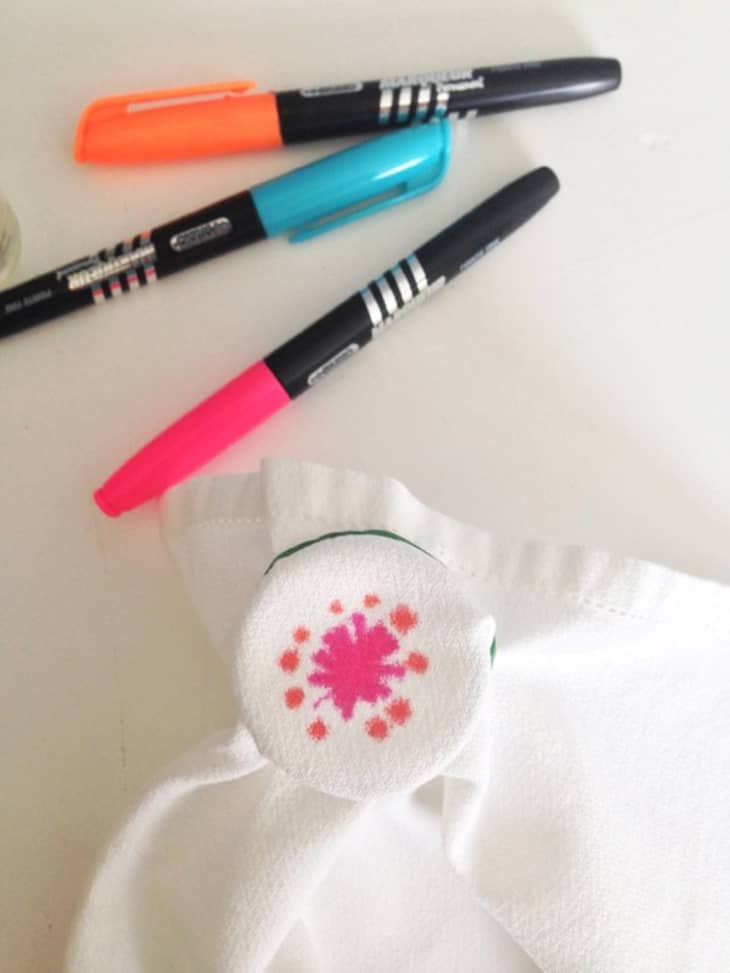
1. Take your shot glass, decide were you want your tie dye color burst and secure it in place with the rubber band. Draw a small design with the marker.
Tip: Try to use colors that are similar or complement each other to avoid muddy results. (This is the advantage of testing it out first.)
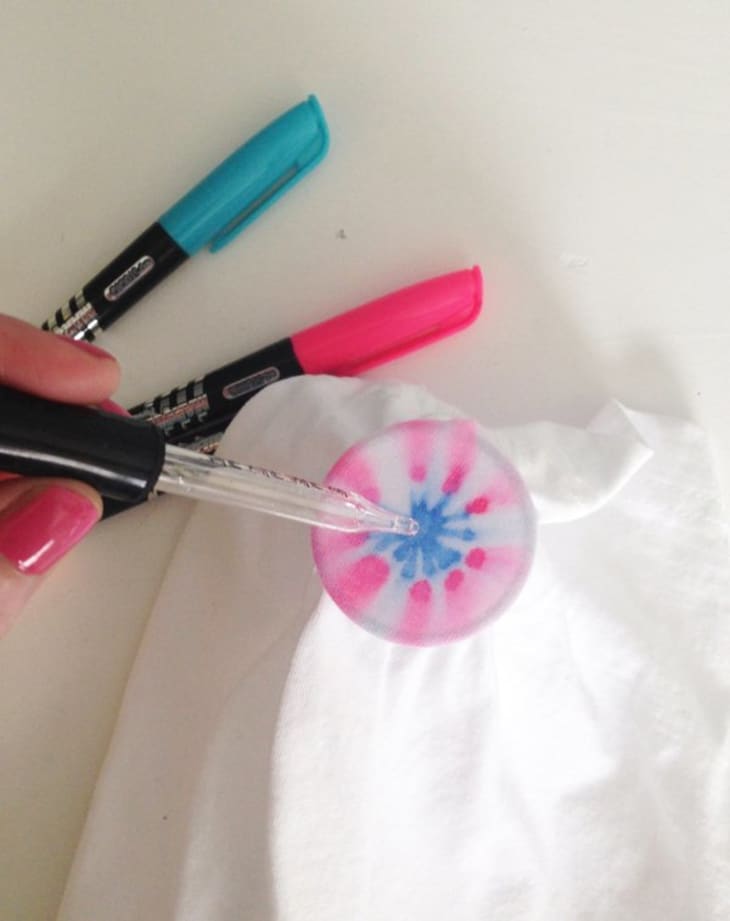
2. Next take your dropper full of rubbing alcohol and drop about 10 drops in the center of your design and you’ll get something like this. Cool huh!?
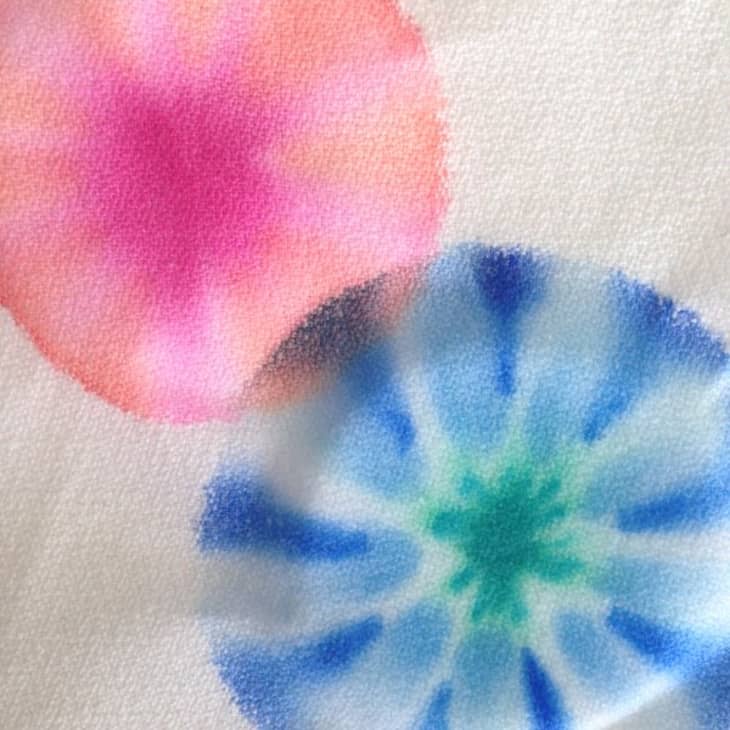
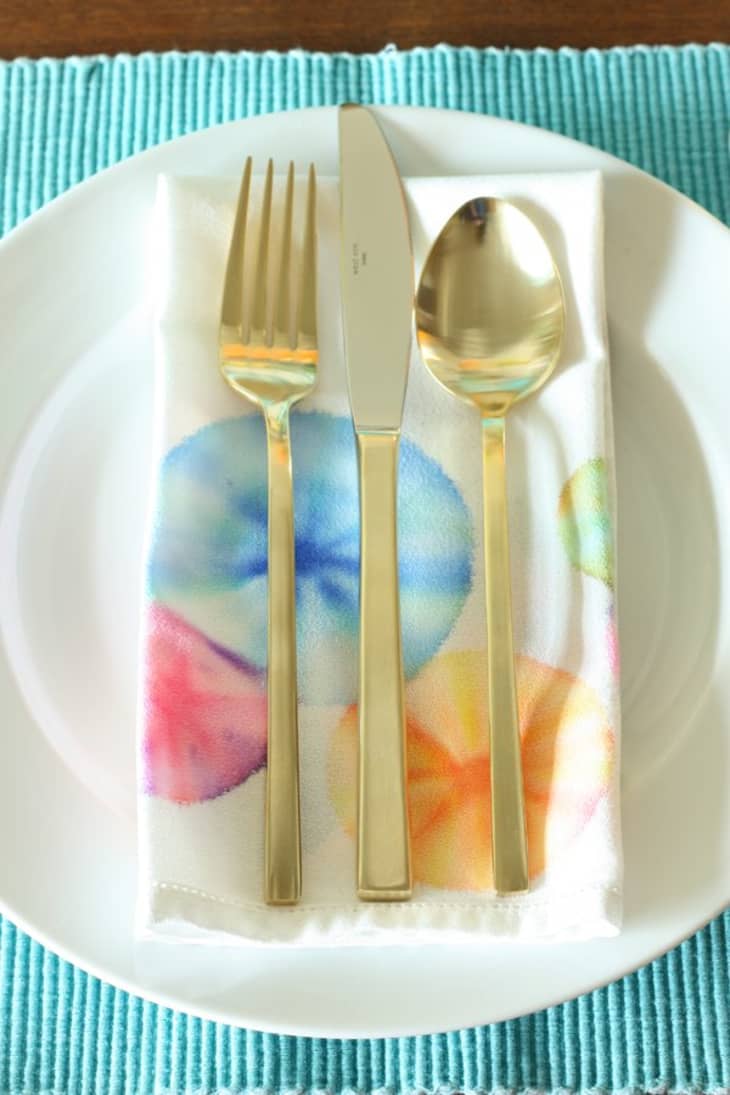
3. Remove the elastic band and you get a pretty watercolor-like pattern.
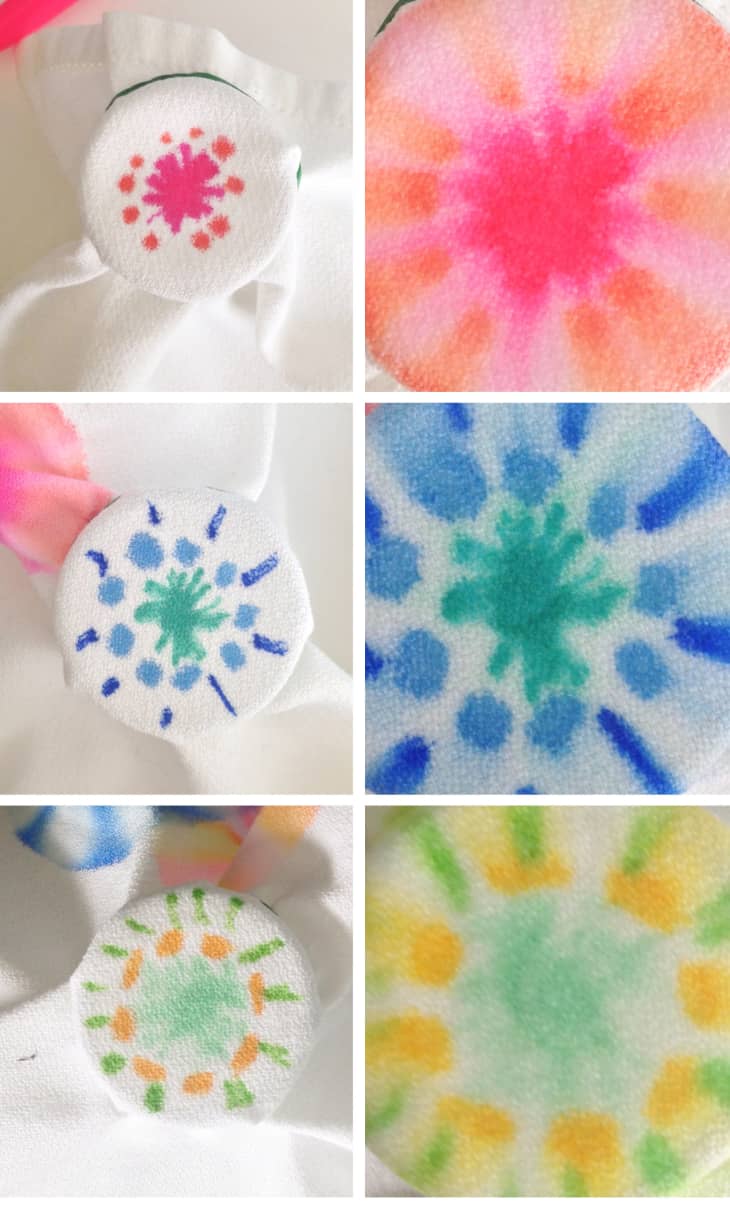
Here’s a bunch of before and afters to give you and idea of what results you get with certain designs.
You can vary the size of your color bursts by playing with the size of your design and the amount of alcohol you use. The more alcohol and the larger the design, the wider the circle will spread. Overlapping is possible— just give it a few minutes in between applications and consider how the colors will look when they overlap.
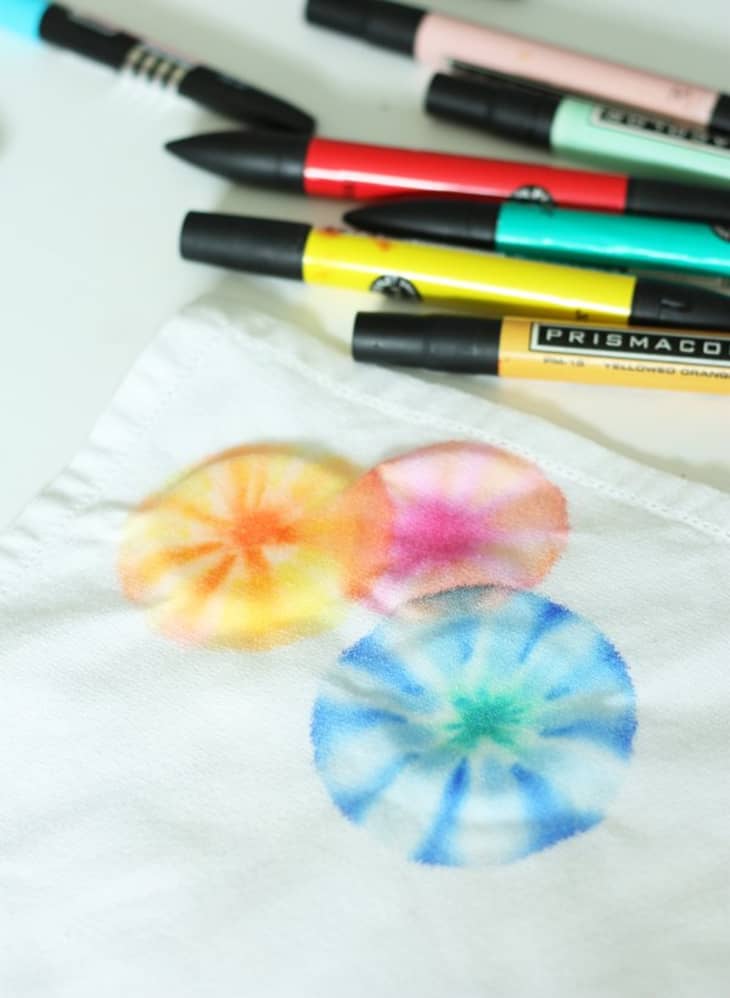
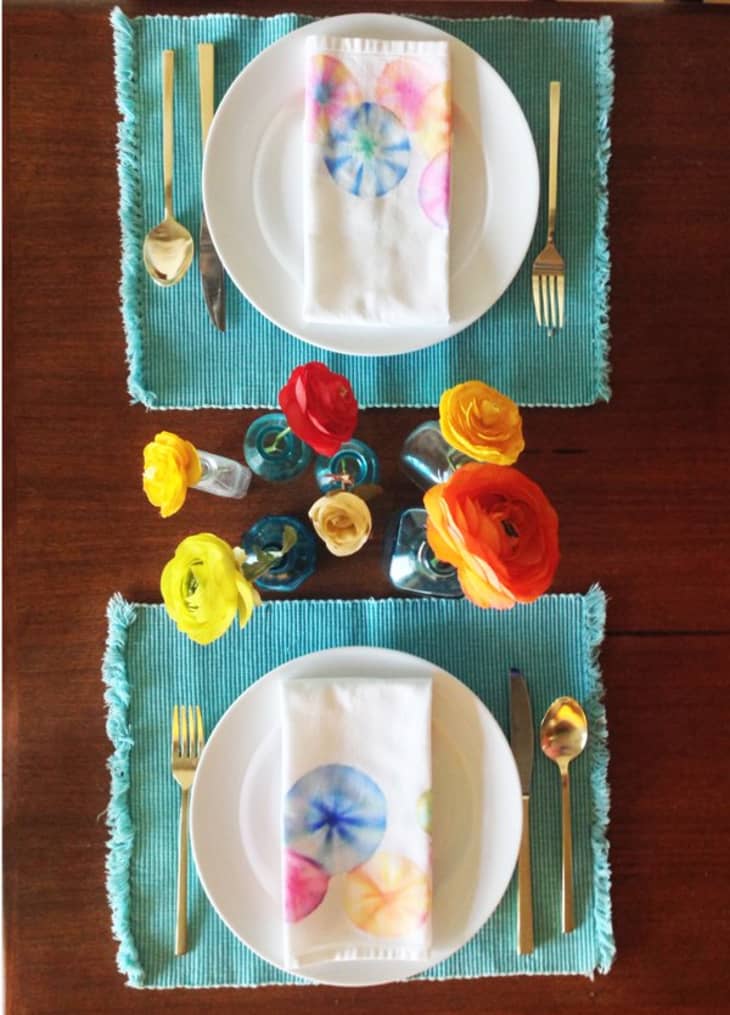
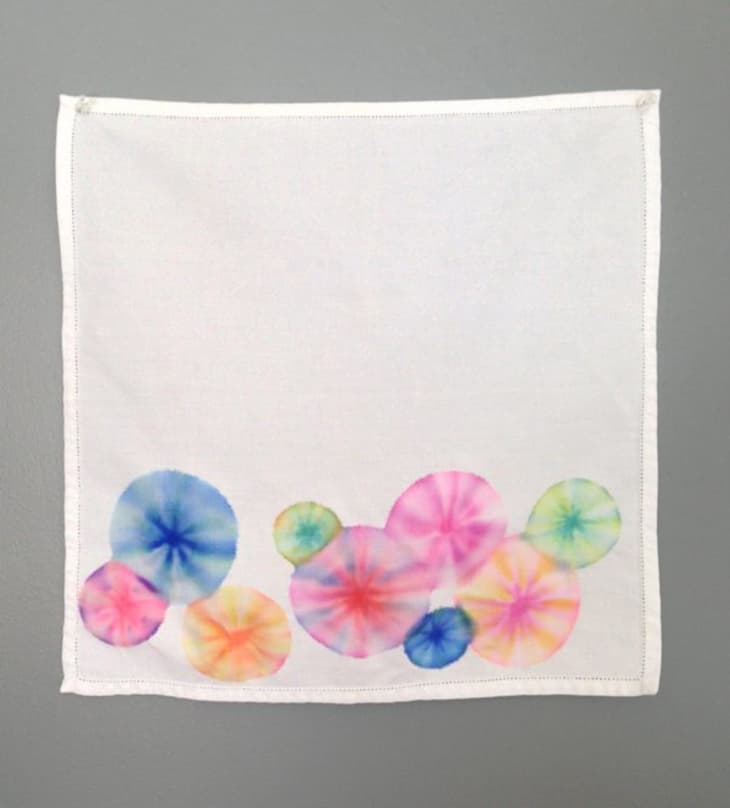
When you’re done you’ll have this beautiful napkin to give your table a pop of fresh color.
Now it’s time to plan a dinner party!