
How to Make a Scandi-Inspired Tree Hanging for Your Front Door
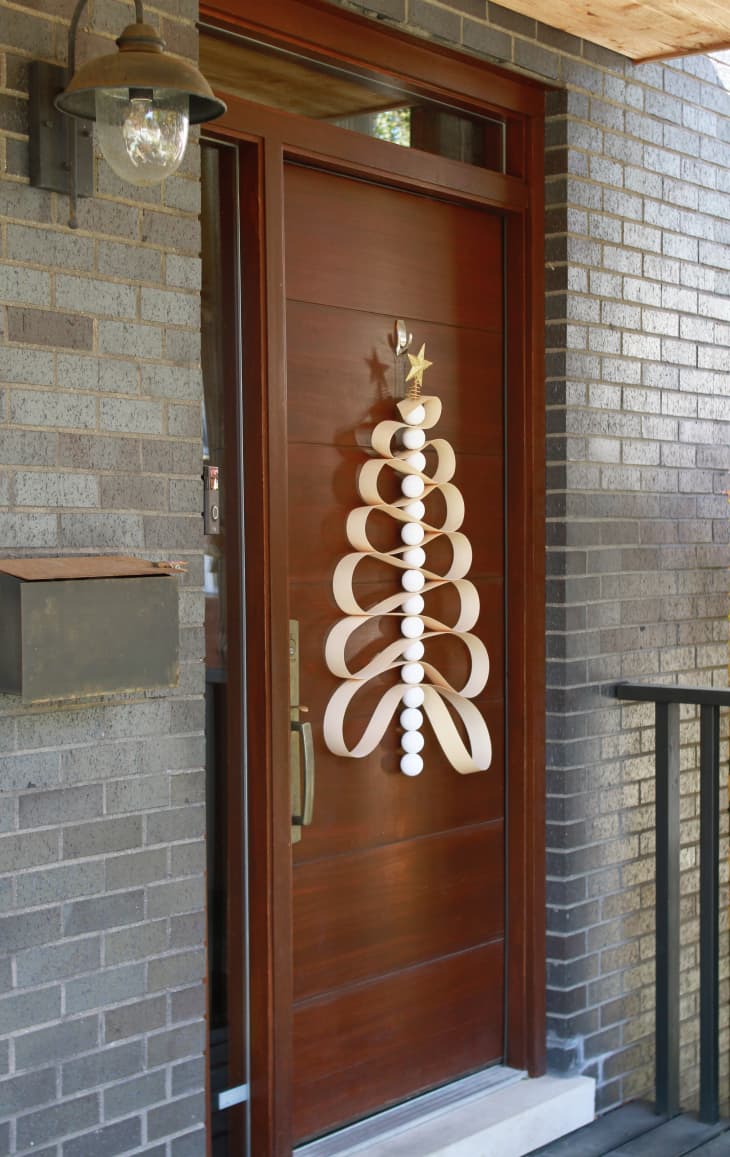
Holiday celebrations might not be happening inside like they normally do, but that’s a perfect excuse to bring some festivity to the outside of your home. A front door wreath is a great place to start, since it works regardless of whether you live in an apartment or a house.
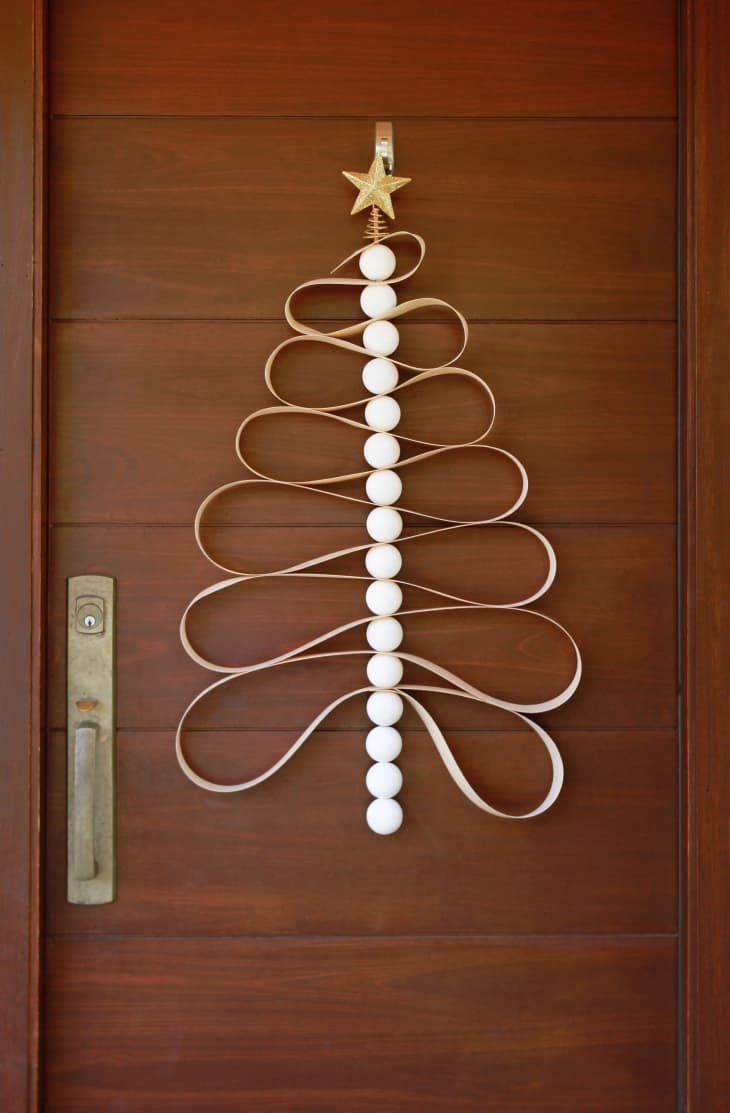
For a Scandi-style wreath that’s a little outside the ordinary, try this wood tree hanging. It’s inspired by ribbon tree crafts, but it’s made with wood veneer tape for a fresh twist. This door hanging is especially fun because it looks really pretty when viewed from different angles. Here’s how to make it.


What you’ll need to make this Scandi-inspired tree:
- 2-inch veneer tape
- 2-inch wood balls
- ¼” x 36” craft dowel
- Hot glue gun and wood glue sticks, or wood glue
- Scissors
- Hole punch
- Floral wire
- Paint or stain (optional)
- Star (optional)
How to make a Scandi-inspired tree hanging:

1. Prep the veneer tape and wood balls
Paint or stain (or leave unfinished!) the 2” wood balls and veneer tape. Then, measure an inch from the end of the veneer tape and make your first hole punch right in the middle of the tape. The tape isn’t super fragile, but I found a hole punch was the most successful way to create a hole without causing the tape to splinter.

2. Start threading the dowel
Slide the dowel through the hole in the veneer tape, then slide a wood ball on the dowel, under the tape and about 5 or 6 inches from the bottom of the wood dowel, glue the wood bead in place. Make sure to leave these 5 to 6 inches at the bottom open; they’ll serve as the tree’s trunk.
Slide another wood ball down from the top of the wood dowel so the two wood balls now sandwich the veneer tape with the first hole punch.

3. Weave the veneer tape onto the dowel
For a standard size front door, I found that 28 inches was a good base width for the tree. To start weaving your “ribbon” (veneer tape), extend the tape roughly 12” from where it’s sandwiched between the wood balls, then loop the tape back over towards the dowel/center of the tree. Mark the tape (with a light pencil mark, or just your fingernail) where it hits the dowel at the center, and punch another hole.
Thread the wood dowel through the hole, then slide the veneer tape all the way down before adding another wood ball.
Repeat this step on the opposite side, measuring out 12 inches before gently looping the veneer tape back towards the center/dowel. Each time, add a wood ball over the last hole punched in the tape.
Shorten the next loop of tape by an inch or so, and continue the steps until you reach the very top. Your tree is finished when you loop the tape over the last wood ball.

4. Finish the tree
Trim the tape at the top of the tree where it touches the previous loop on the opposite side.
If you have any excess dowel sticking out of the top of the tree, you can either trim it off with a sharp blade, or add a star or other festive decor at the top.
You should be left with 5 to 6 inches of bare dowel at the base of the tree. Add the remaining balls and glue in place to create the trunk.
To hang, twist a loop of floral wire around the third or fourth wood ball down from the top, and loop over a hook or nail in the door.
Looking for a different style for your door? Try one of our four other easy DIY holiday wreaths.