
Before and After: A DIY Stenciled Wall Mural Gives This Entryway Some Cheery Boho Vibes — All for $0
One quick project you can do in a weekend is spruce up your entryway. Because it’s a relatively small area, it won’t take much — maybe a new rug, a new planter or plant stand, or a new mirror — to make an impact. Even a one-hour session of decluttering and streamlining can create a calmer entrance.
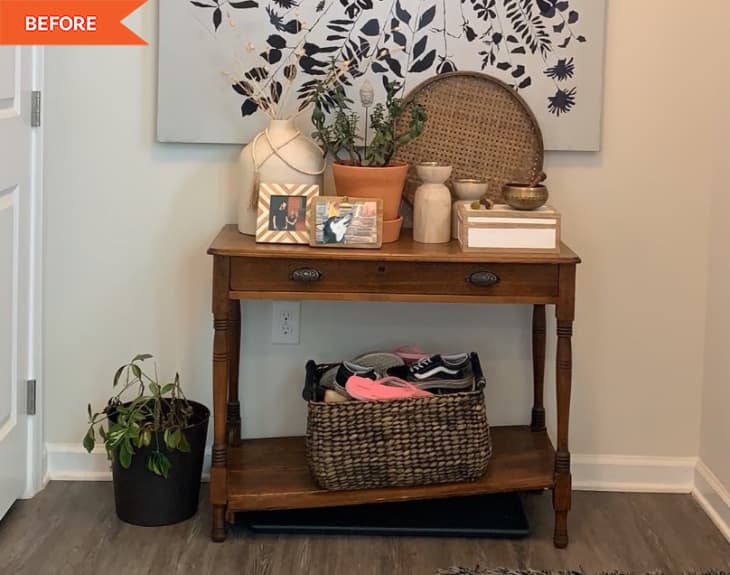
Artist and interior decorator Kayla Ackelson’s entryway spruce-up, which she completed in just a couple of hours, involved a bit of decluttering and a bit of decor. She says she wanted to make a change in her entryway because “it just looked hodge-podged together.”
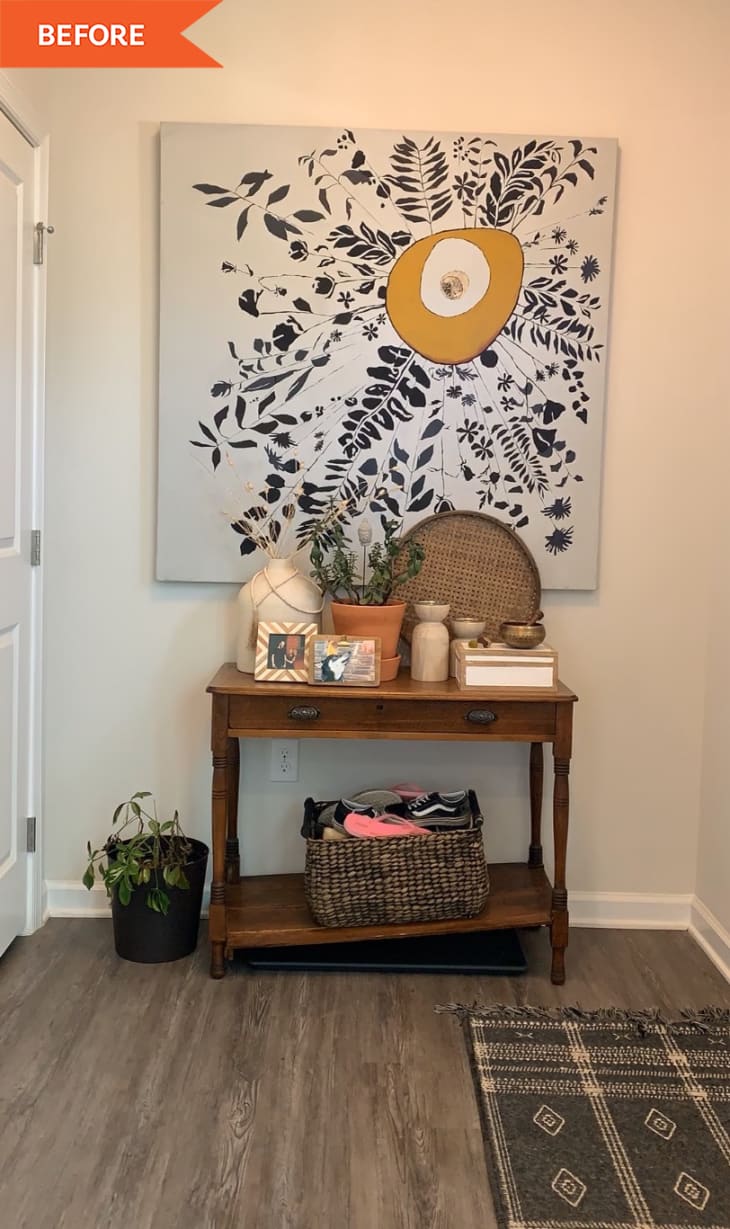
She didn’t like that it looked cluttered (in part because of the table was too small and falling apart) that the painting was too large in scale for the table underneath it, and that there was no space to store keys and shoes nicely. A couple of DIYs helped revive her space, namely a repurposed TV stand and a DIY stencil wall.
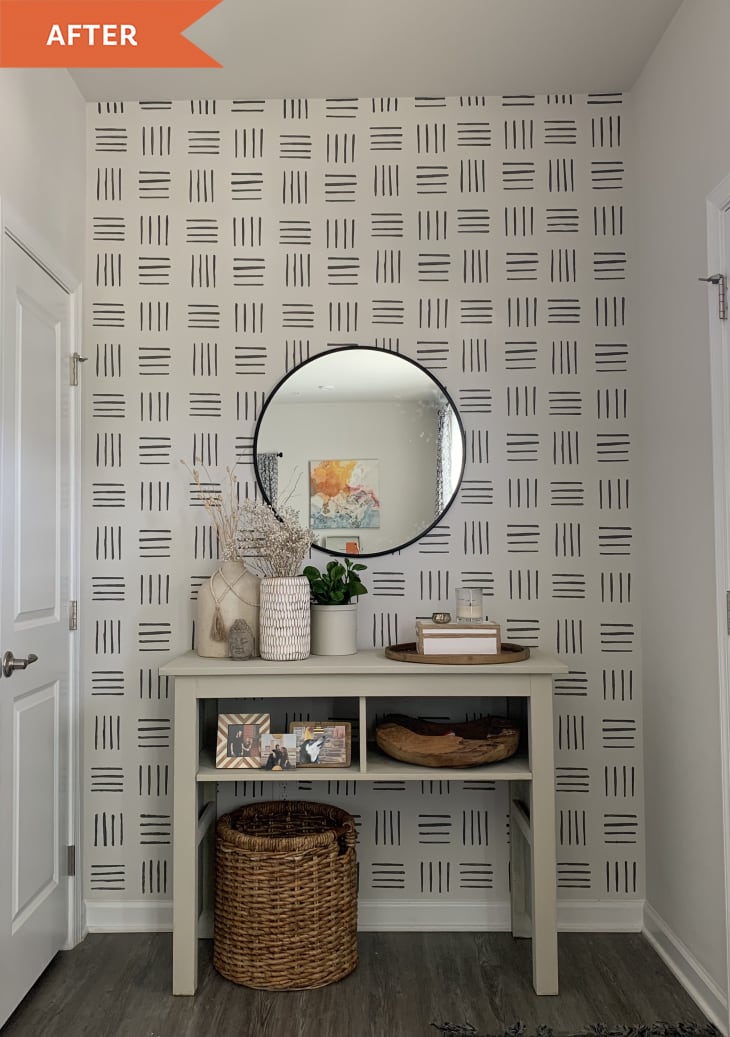
For her new console table, Kayla took an old media cabinet, removed the base and drawers, added wood filler to the holes, and then painted it with a khaki-colored chalk paint. “I always shop my own home first and think it worked out,” Kayla wrote on Instagram.
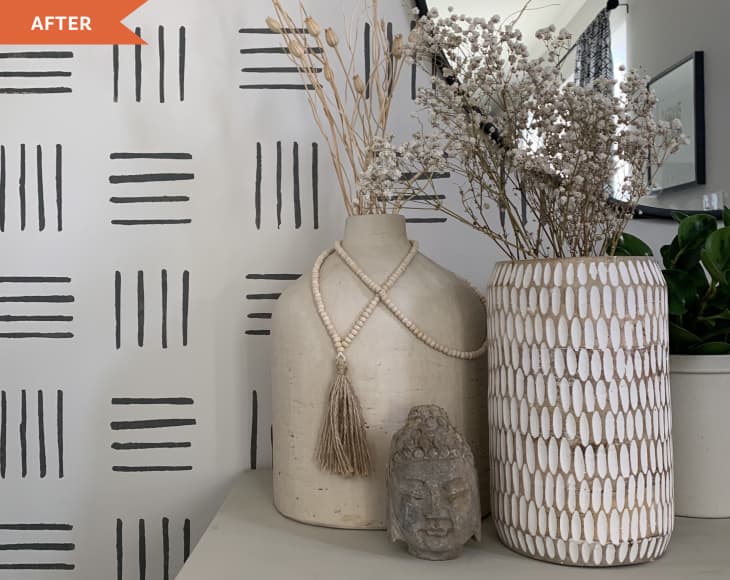
As for the wall behind the console table, she created a linear-patterned square-shaped stencil out of thin plastic and an X-Acto knife. “I used my resources and risked it knowing that if I hated it I would be able to paint over it,” she says. She used a small sponge brush to paint the repeated pattern on the wall by taping the stencil in different areas.
Once she had the entire wall covered, she went back through to do any touch-ups. “If I were to do anything differently, I would start at the top of the all instead of the bottom so the pattern lined up to the ceiling perfectly,” Kayla says of her process, but she loves that she added more style.
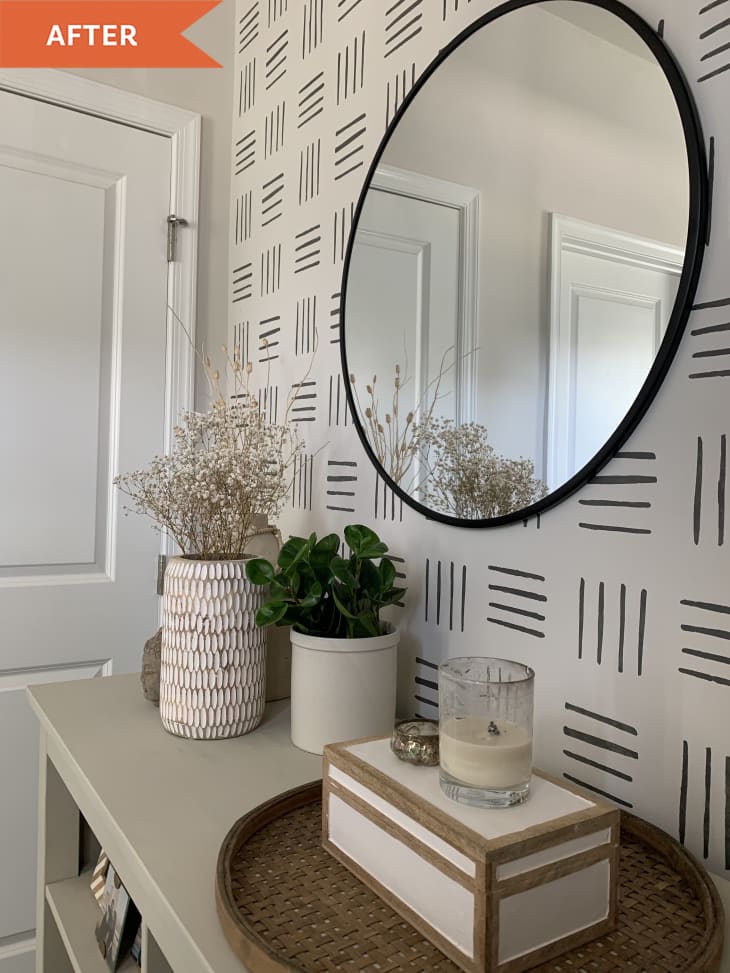
“It adds interest to this new build with nothing but a little paint,” she says. “It’s boho and makes my home feel so much more lived-in already.”
It was completely free to her, she notes, because she used materials she already had around, but even if you have to buy new DIY materials, you could create a similar statement wall for around $50, she says.
After her DIY mural dried, she hung a round mirror from Target and added decor and storage to the table to complete her new cute entryway. “I wanted the entryway to be bright, beautiful, and practical since it’s the first space guests enter through,” she says, and thanks to some resourceful thinking and repurposing, she did exactly that.
Inspired? Submit your own project here.