
A DIY Tiled Plant Stand Is the Stylish Stage Your Greenery Needs
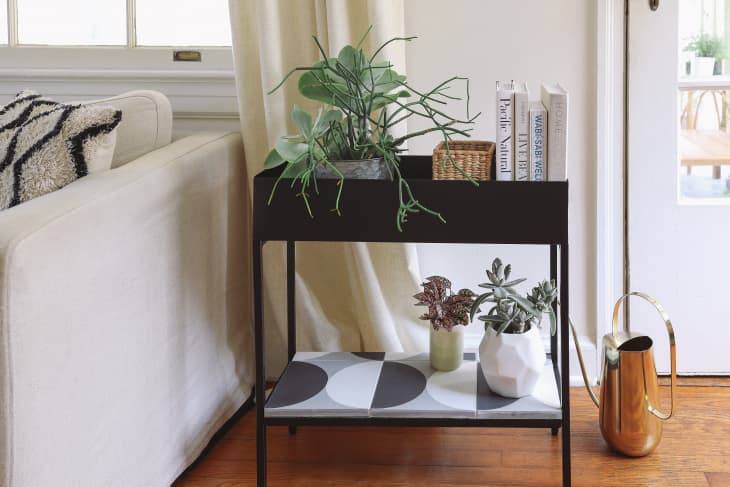
It’s no secret that indoor greenery has become a hot decor trend — and if you have yet to jump on the bandwagon, the start of spring is an ideal time to do so. Sure, you can easily buy a couple of houseplants, pop them on a windowsill, and call it a day, but why not make them more of a focal point? A plant stand puts your prettiest ones on display and can create a stylish vertical garden when you group several of them together. Even better: a plant stand with a stylish and unique tiled accent that provides a dramatic backdrop for your plants.
If you’re new to tiling, a plant stand is an excellent introduction to DIY tile projects. It’s a small, beginner-friendly job, so you can ease into learning how to cut the tile, lay it out, and apply the grout. Over the course of a weekend, you’ll not only turn a plant stand into a tiled masterpiece — you’ll also have a place to hone your green thumb, just in time for growing season.

Things you’ll need:
- Plant stand
- Tiles (enough to cover the bottom of plant stand)
- Tile spacers
- Pencil
- Tile cutter or wet saw
- Tile adhesive and grout
- ¼-inch-by-¼-inch square notch trowel
- Foam brush (optional)
- Penetrating sealer (optional)
- Rubber grout float
- Grout sponge
How to make a tiled plant stand:
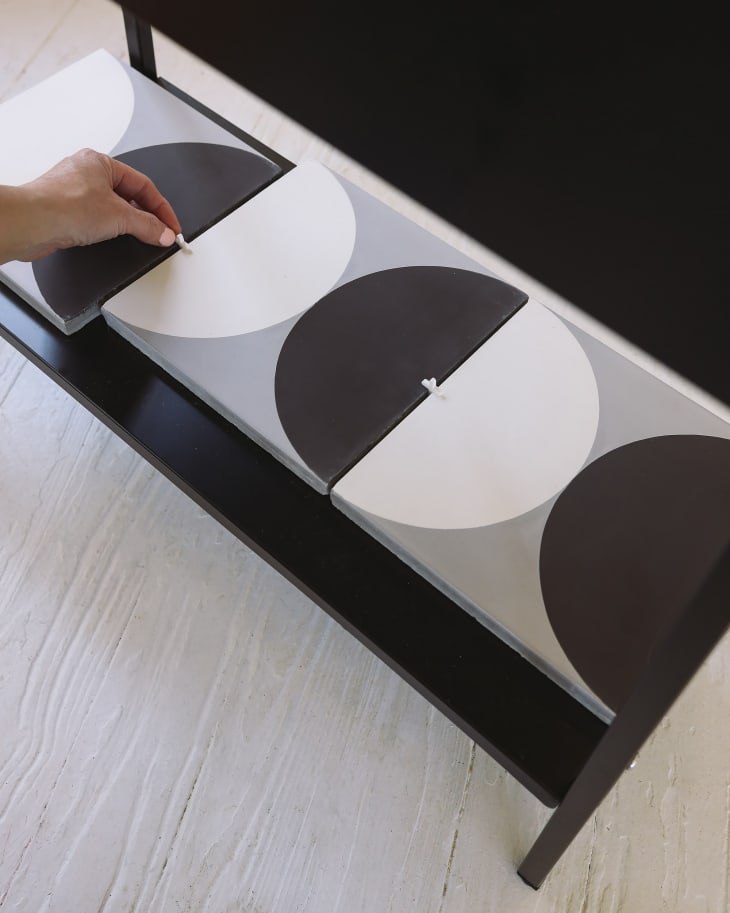
1. Mock up your tile layout.
Arrange the tiles on the surface of the plant stand to determine the desired pattern and see which tiles need to be cut. Be sure to place tile spacers between each tile, so you can mark the cut lines accurately.

2. Mark the tiles.
Use a pencil on the back of each tile to mark where it needs to be cut.

3. Cut the tiles.
Cut the tile along the cut lines using either a manual tile cutter or a wet saw.

4. Apply tile adhesive.
Scoop a few spoonfuls of the tile adhesive onto the bottom surface of the plant stand.

Use the flat edge of the notched trowel to spread the adhesive out in a thin, even layer. Then, drag the notched edge of the trowel over the adhesive to create grooves.

5. Place the tile.
Place the tiles in the desired arrangement on top of the adhesive.

6. Place spacers for consistency.
Place tile spacers in between each tile to maintain consistent spacing, and then press each tile firmly into the adhesive. Remove the spacers, wipe away any excess adhesive, and allow the adhesive to dry for 24 hours (or according to the manufacturer’s directions).

7. Seal the tile if needed.
If you’re using unsealed porous tile like I did — such as cement or natural stone — you’ll need to seal it before grouting. Once the tile adhesive has dried, apply two coats of penetrating sealer on the tile with a foam brush. Allow it to dry according to the manufacturer’s directions. (Mine took four hours.)

8. Grout the tiles.
Working in small sections at a time, scoop some of the grout onto the plant stand, and use the rubber grout float to work the grout into the spaces between the tiles.

9. Wipe away excess grout.
Once the grout is evenly smoothed into the tile spaces, use a damp grout sponge to wipe off the excess grout. Clean the sponge a few times, if necessary, to remove all traces of haze from the tiles. Allow the grout to dry overnight, and then brush on grout sealer to protect it from moisture.
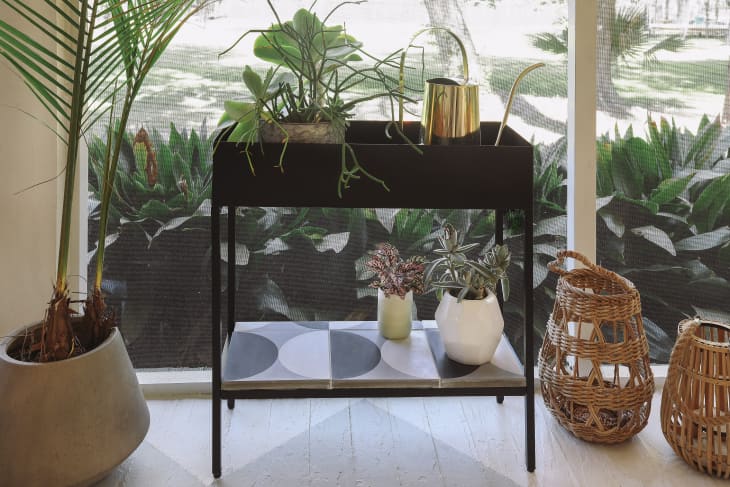
10. Let dry, and enjoy.
Your freshly-tiled plant stand is ready to be filled with plants and accessories and placed either indoors or out. Happy planting!