
6 Tips for Pulling off 2022’s Trendiest Architectural Detail — Even in a Rental
Just like paint colors and wallpaper patterns, various architectural details go through phases of popularity. The 1970s were all about <a rel="noreferrer noopener" https:="" www.apartmenttherapy.com="" target="_blank" href="wood paneling, for instance, and in the 2010s America re-discovered shiplap thanks to Chip and Joanna Gaines. This year, another trend is primed for a comeback: picture frame moulding.
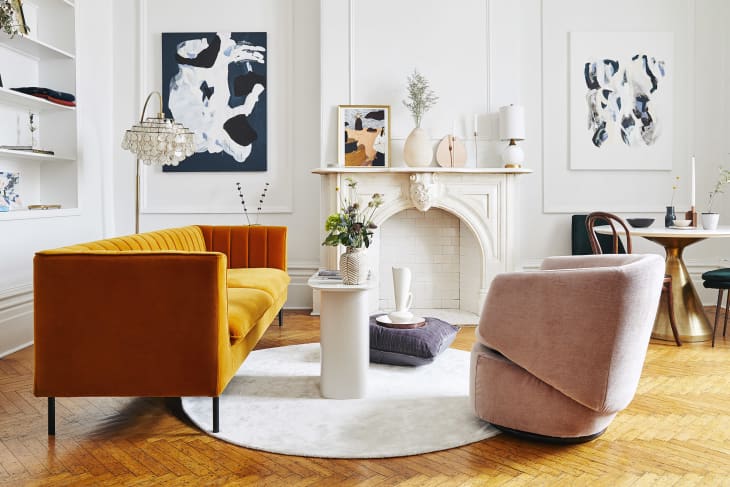
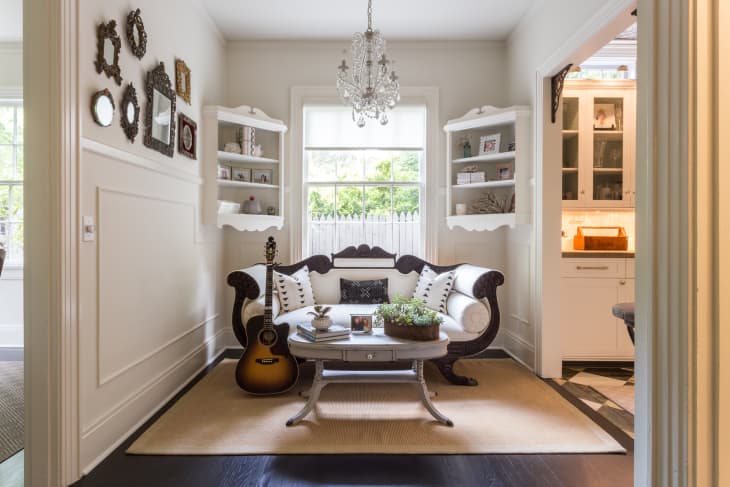
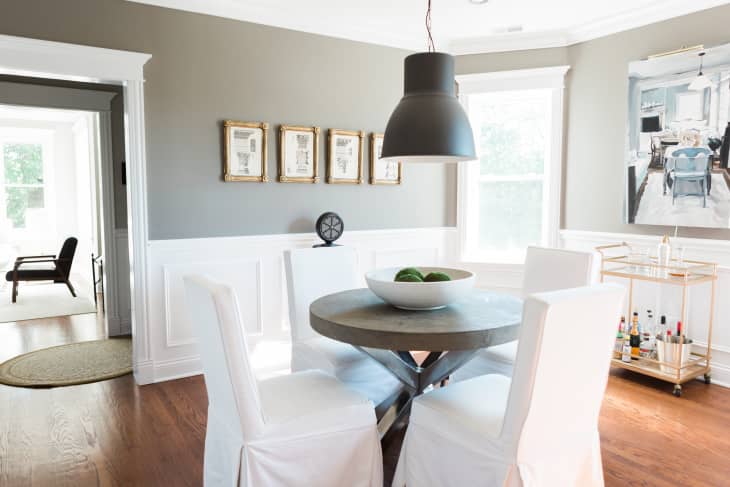
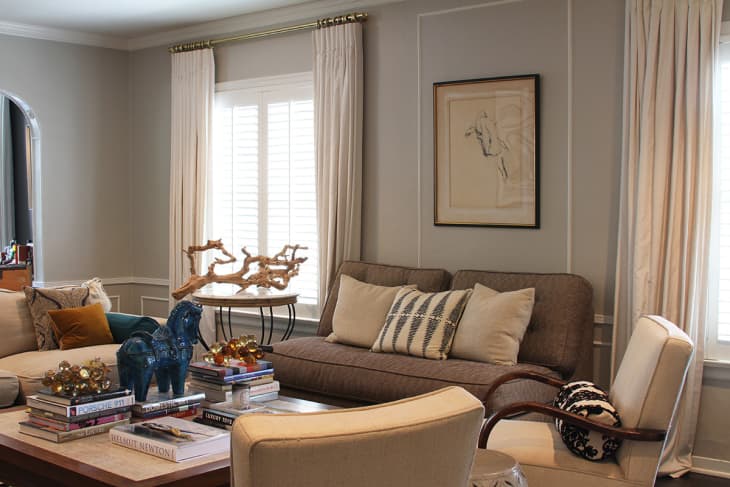
Also called box moulding or Georgian paneling, picture frame moulding rose to popularity in the 18th-century Georgian period. The raised moulding added an opulent feel to the walls of wealthy homeowners, while also suiting the symmetrical and balanced style of the time. Now, it’s popping up in homes — new builds and retro remodels alike — as a way to add elegant character to walls.
The great part of picture frame moulding is that it hits that sweet spot between adding visual interest without being a prominent feature element. It’s the perfect in-between. It can be scaled down to serve as simple partial-wall wainscoting, or it can go from floor to ceiling. It can be painted the same color as the surrounding wall, or a contrasting color for a pop; you can even use it to highlight an artistic wallpaper print. Picture frame moulding lends itself to all sorts of creative designs.
And while this moulding looks high-end, it doesn’t require tons of skill to pull off. In fact, this is a DIY that’s totally doable even with just basic knowledge of how-to. Here’s everything you need to know about installing picture frame moulding in your own home.
Make sure you have the right tools and materials.
To start off any project on the right foot, you’ll need the right tools and materials. While you can make quicker work of this project with power tools, you don’t need them to be able to pull it off. Here are the basics of what you should have on hand:
- Tape measure
- Level
- Miter saw (or miter box)
- Nail gun and brad nails
- Paintable caulk
- Wood filler
You’ll also obviously need moulding. While you can use any half-round moulding — that is, any moulding that’s flat on the back and rounded in front — the traditional pick is picture frame moulding. This moulding style will have some visible fluting, which makes it look a little more luxe than plain half-round moulding.
The most common material is wood, but there are also moulded polystyrene options that are available pre-assembled, making the DIY all that much easier.
Take note that some tutorials use liquid nails in addition to brad nails to hold the picture moulding up. This technique can be helpful if you’re installing long pieces solo, but it isn’t strictly necessary and can damage the drywall underneath if the moulding is ever removed.
Measure carefully (and more than once).
Start by measuring each wall and any windows or doors that could interrupt your design. Sketch out the dimensions and your design on a piece of paper. This will help you make sure there is not only even spacing on one wall, but that there is adequate space between your frames where the walls come together.
Painter’s tape can help you map out your moulding boxes to get a sense of scale, but when it comes to actually installing the pieces, you’ll want to mark directly on the wall with a pencil for accuracy. Make sure to use a level to draw all of your lines — vertical and horizontal — so that your boxes remain parallel.
Cut just enough moulding for one frame before taking on the rest.
It’s tempting to dive right into cutting after you have your measurements in hand, but doing a dry fit — or test run — will help you figure out if there are any measurements that need to be changed.
Use a miter saw or miter box to make crisp 45-degree corner cuts in your moulding so that the pieces can create a rectangular shape. You’ll need to make sure that your angles are going in the right direction to be able to fit together.
Once you’ve cut your first set of moulding pieces, lay them onto a table to make sure they fit together correctly. Don’t worry if there are small gaps between your cuts when you install — you’ll fill those in with wood filler later.
With your first frame’s measurements confirmed, you can cut the rest of the pieces in batches to speed up the process.
Don’t use the ceiling or floor as a guide for determining what’s level.
It’s best not to trust that ceilings or floors are perfectly level, especially in an older home. Instead, create your own reference for making sure your frames are level. Pick a center point on the wall where the top edge of your picture frames will be. Draw out this line across the entire wall with a level. This will ensure your moulding is straight without using your potentially crooked floor or ceiling line as a guide. (A laser level isn’t necessary here, but definitely makes this process easier!)
When it comes to installation, start with your center frame. Attach the top moulding piece with the nail gun, checking that it is level with your drawn level line. Work down the sides, focusing more on keeping them vertically level than getting the 45-degree corners perfectly flush. Finally, install the bottom moulding.
A little extra work will take your moulding from DIY to pro-look.
A few steps make a world of difference in achieving a high-end look. First, fill all nail holes and corner gaps with wood filler. Let dry and sand smooth.
Then, apply paintable caulk between the moulding and the wall. Run a slightly damp lint-free rag or tile sponge over the caulk to smooth it. Once the filler is smooth and the caulk is cured, you can paint the moulding however you like. After the paint, no one will be able to spot any gaps, holes, or dents.
You can do this even if you’re renting.
Even if you don’t own your home, you can still get the look of picture frame moulding. Look for peel-and-stick options, which can take a few different forms.
Option 1: Use wood moulding, with a modified installation.
You’ll follow the same basic steps as above with a few substitutions. First, if you can’t paint your rental walls, you’ll paint the moulding before installing. And instead of a nail gun, you’ll use removable mounting tape and skip caulking altogether. Here’s an example of what that will look like, demonstrated with board-and-batten moulding.
Option 2: Use peel-and-stick PVC moulding.
Instead of wood, reach for peel-and-stick, PVC “moulding strips” that come with adhesive backing already on. These are pliable enough to cut with scissors, so you won’t need the same level of tools. Many of these are paintable as well, so you’re not limited to white.
Option 3: Use peel-and-stick pre-made frames.
Pre-made, peel-and-stick panel frames are the easiest option to install — they come ready-made, so you won’t have to cut anything to fit. However, they do offer the least amount of customization. These are a good option if you want a wainscoting option that can be done without much measuring and with no cutting.