
DIY Upholstery Project: How Make Your Own Custom Fabric Piping (or Welting)
Piping (or welting if you prefer) adds a nice detail to DIY upholstery projects, and gives added tailoring to cushions and headboards. Choose the same color as your main upholstery fabric, or a fun contrasting color for more zip. It’s also easy and quick to make. Here’s how:
What You Need

Materials
- Cotton cord in your desired thickness
- Fabric in desired color
- Thread
Tools
- Sewing machine
- Chalk pencil
- Good scissors
- Pins
Instructions
There are a couple of ways to do these, depending on how perfect you want your piping to be, the amount of fabric you have (or want to spend money on) for the project, and how much time you have. This is the quick and easy way…
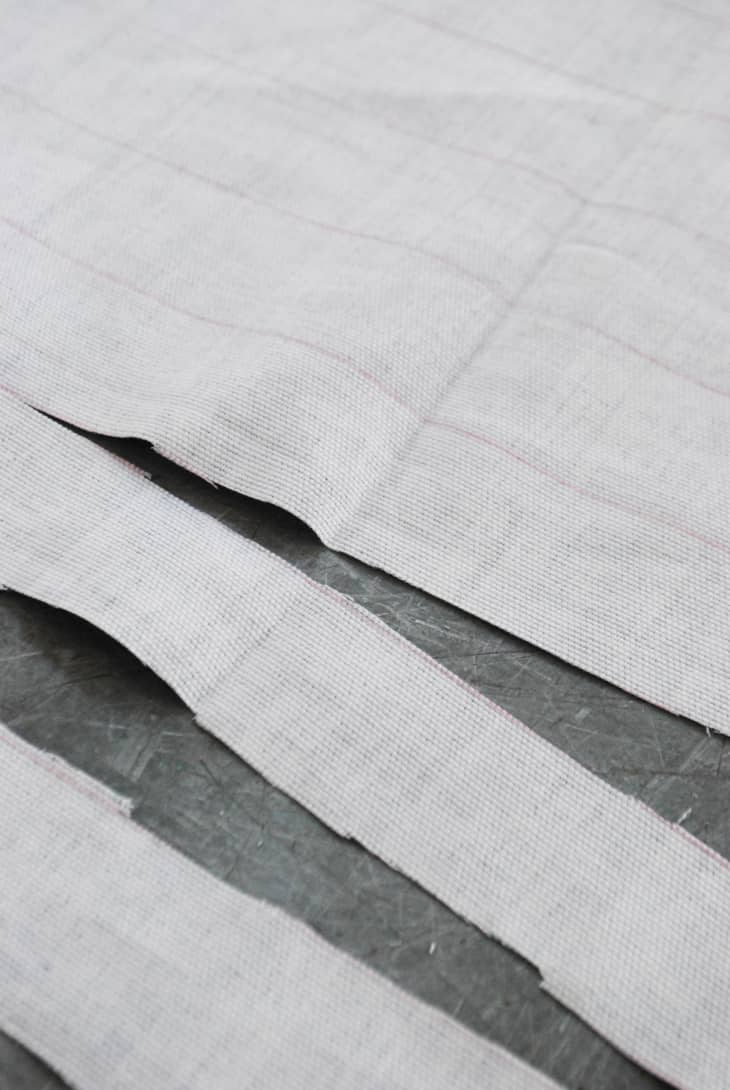
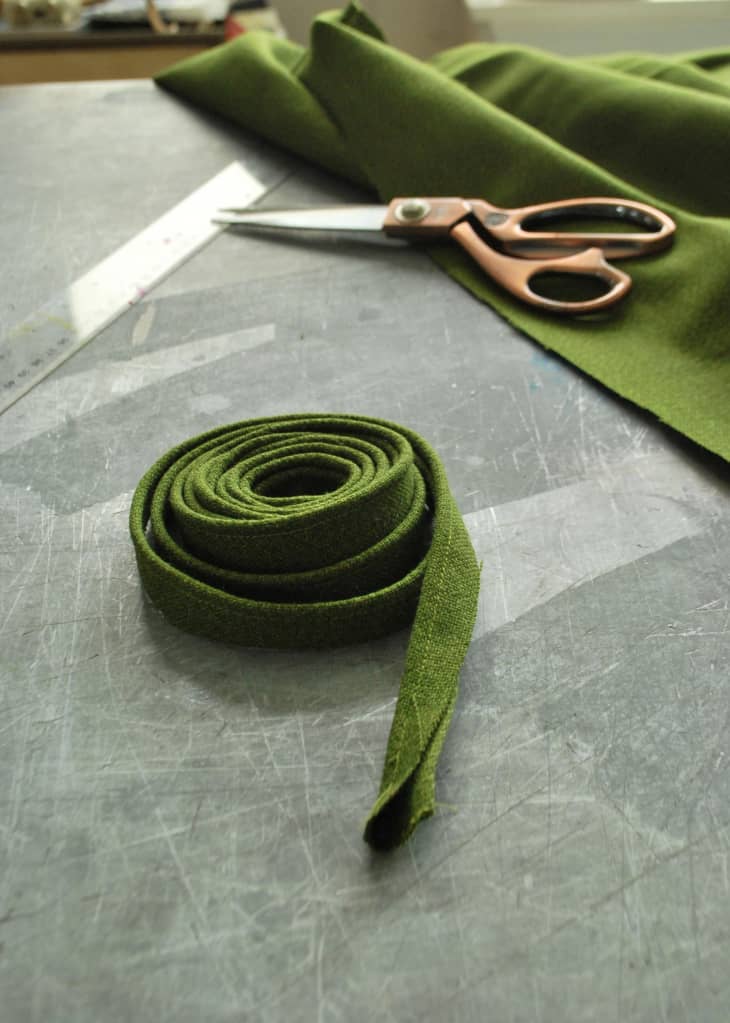
Start by cutting a series of 1″ fabric strips. You should technically cut those at a bias (or diagonally on the fabric) so there’s more stretch to the final welting. I don’t do this. As you can see above, I cut straight across. However, you should do whichever method you prefer.
3. Next, make your welting. Place two strips, right sides together, so the tops line up.
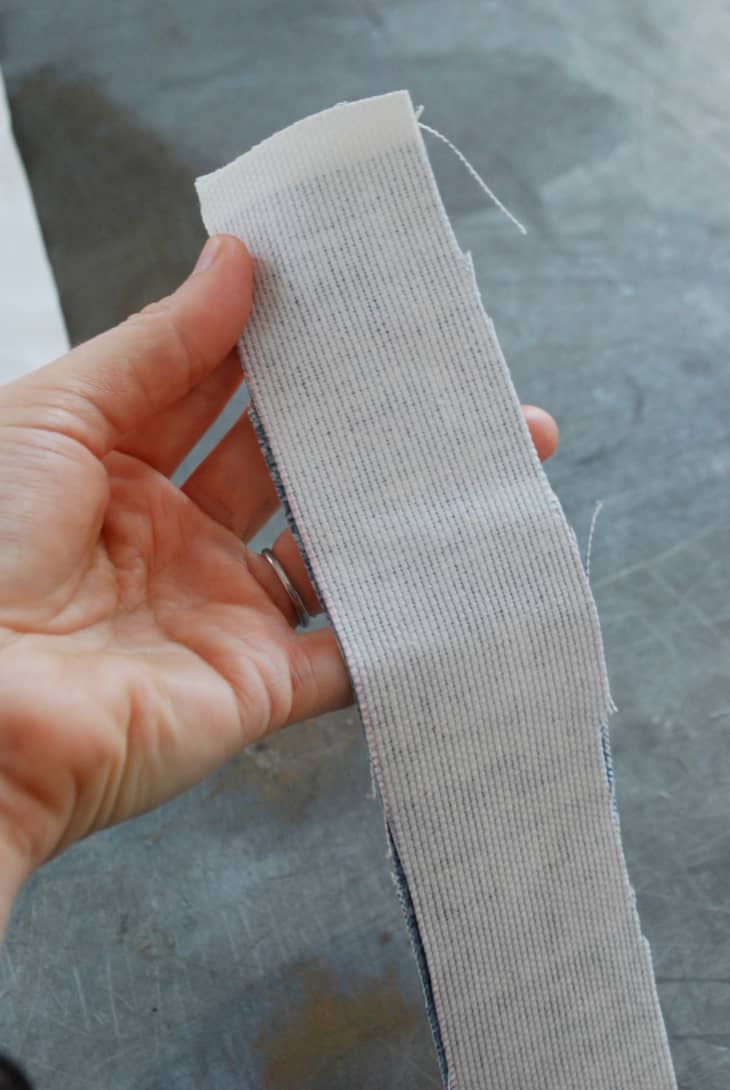
4. Sew across the top to secure the two pieces together, then repeat the process with all the strips, so you get one long strip of connected fabric. Press the seams if you like.
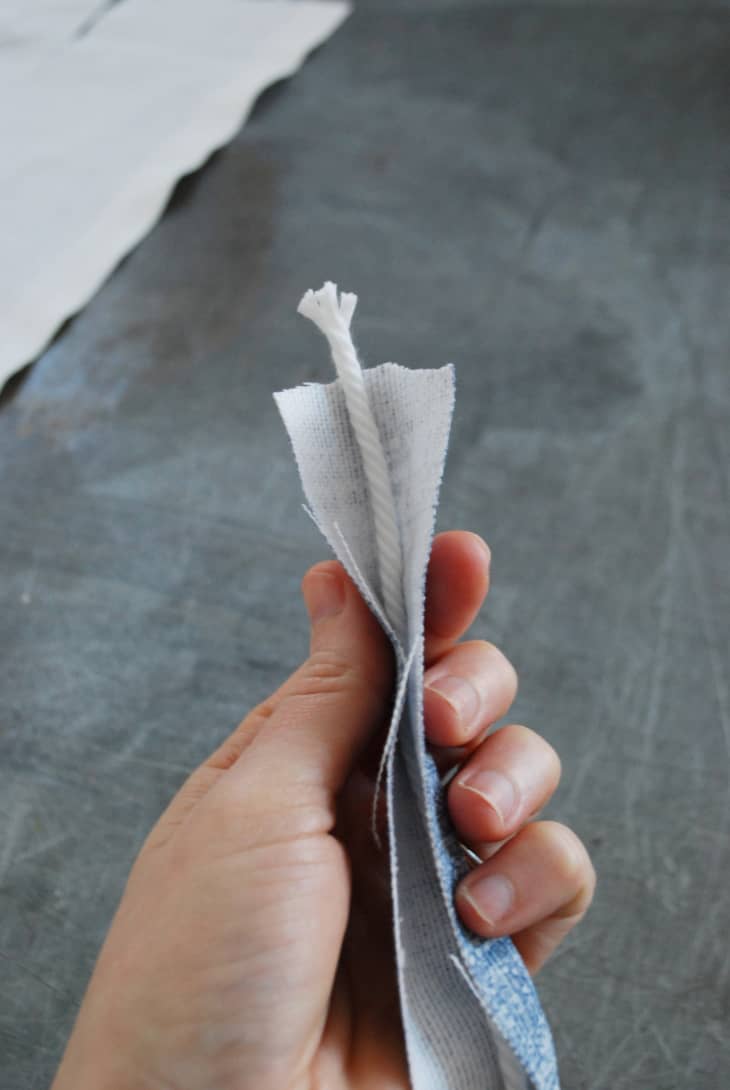
5. Nestle your cord inside the folded strip (against the wrong side of the fabric) like a hot dog in a bun.

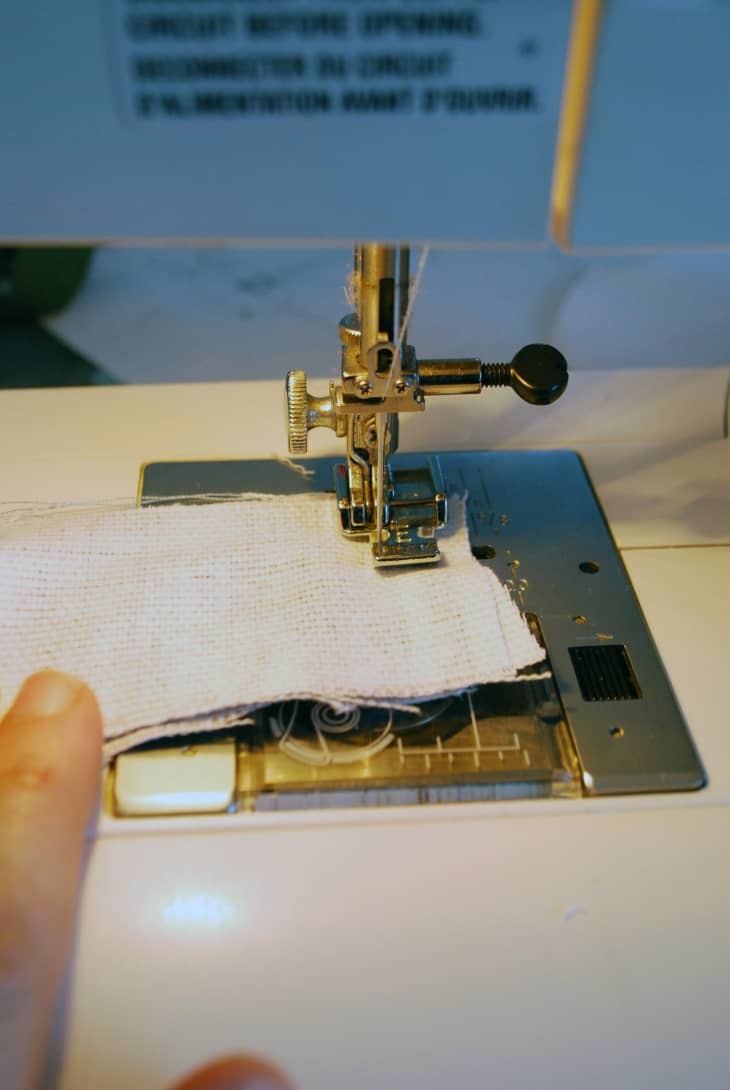
6. Using a zipper foot, start sewing along the edge of the cord. Note how the zipper foot rests on top of the cord so the stitch can get as close as possible.
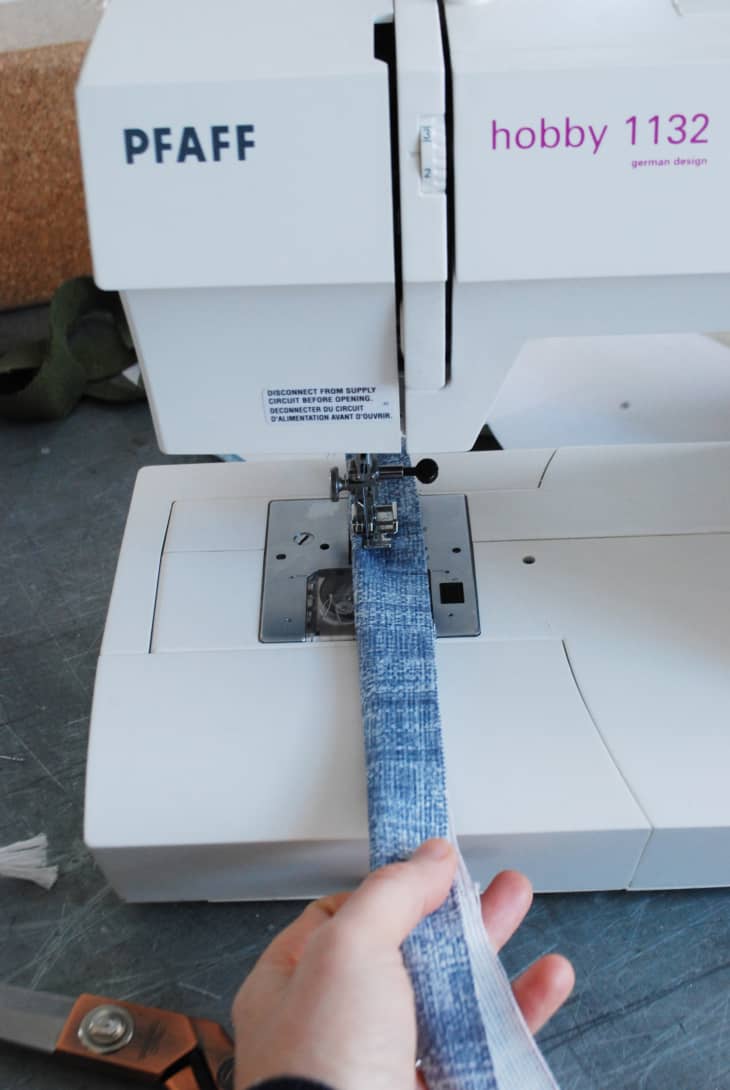
Tip: Once you start sewing, fold the fabric (with the cotton cord inside) over as you go and feed it into the sewing machine. There are also special welting feet for this purpose, but this method works well too.
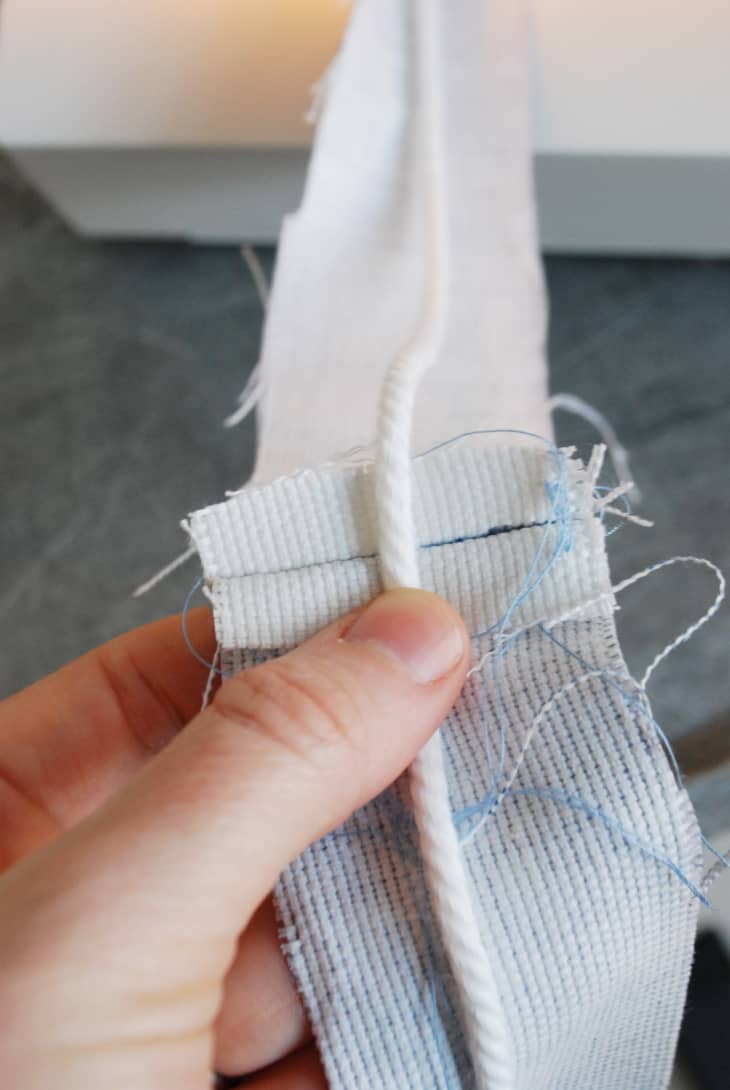
7. When you get to a seam, make sure it is open and flattened, before you fold it over and sew it.
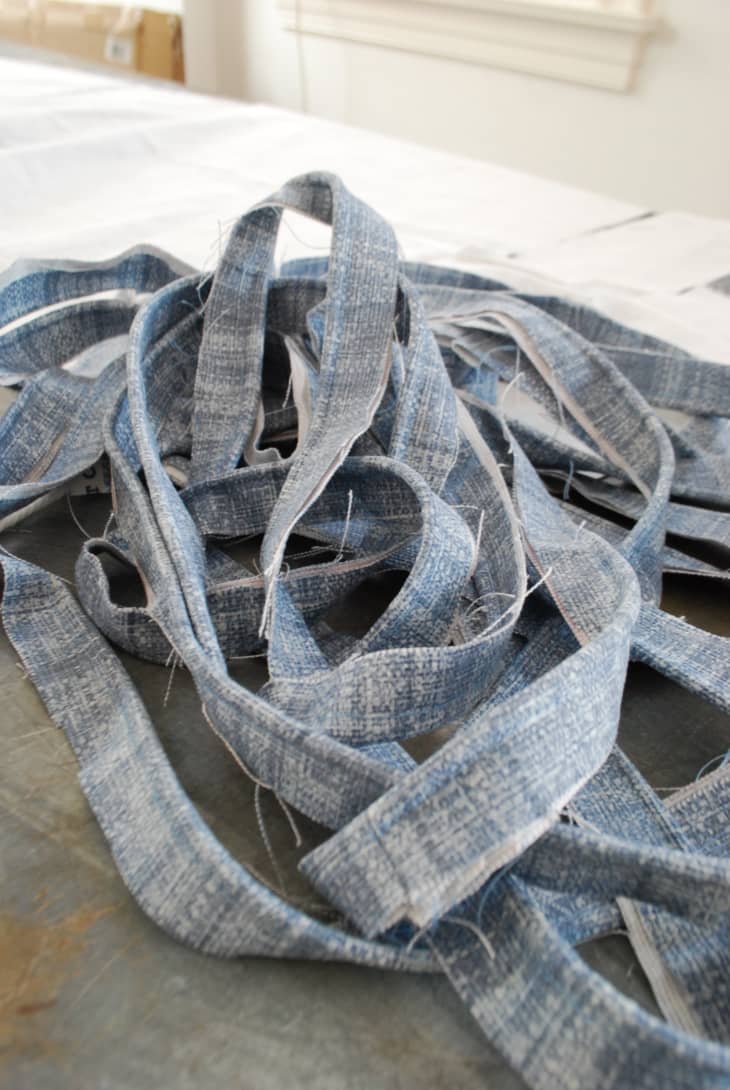
8. Continue sewing until you have one continuous stream of piping.
Have a really great DIY project or tutorial that you want to share with others? Let us know! We love checking out what you’re making these days, and learning from our readers. When you’re ready, click here to submit your project and photos.