
My Sad, Dark Dining Nook Went from Bland to Grand Thanks to This Easy Hack
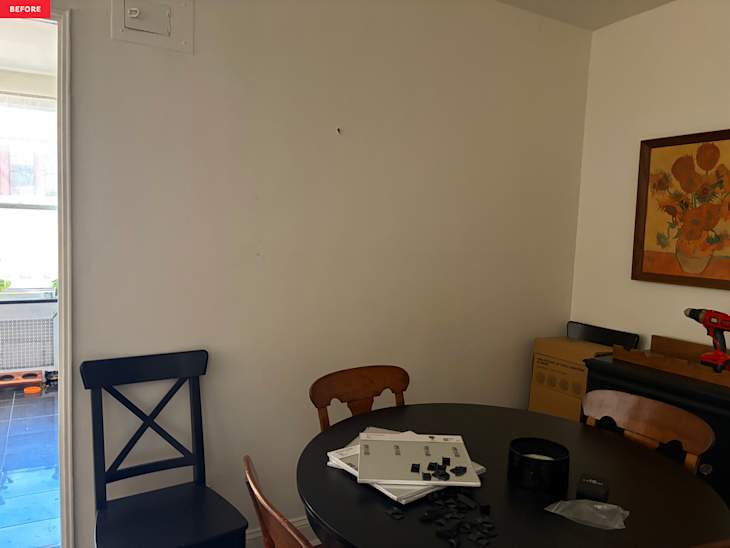
My apartment’s biggest eyesore also happens to be the first thing you see when you walk through the door: the dining nook. I know — I’m lucky to even have room for a dining table in Brooklyn. Sadly, though, the space had become a design afterthought. It’s the darkest corner of the apartment, and I live alone, so I don’t eat there often. Plus, the fact that I don’t have an entry means this area’s become a dumping ground for mail and packages. Beyond all of these issues, I’ve always felt the dining nook’s big, blank wall was in desperate need of some statement wall art.
Originally, I’d envisioned a big dramatic mirror on that wall, but mirrors are heavy and expensive. So instead I hung a simple circular mirror from my last apartment and called it a day. But it was way too small, and it actually just made the whole space look worse. Then two weeks ago, that mirror just fell off my wall and shattered in the middle of the day. I took it as a sign to upgrade my sad, dingy dining nook. So I began looking for a new mirror — and when I came across these mirror connectors on Etsy, I knew I’d found the answer.

What Are IKEA BLODLÖNN Mirror Connectors?
Designed to work with the BLODLÖNN mirrors from IKEA — frameless, 12×12” mirror “tiles” sold in packs of four — these simple mirror connectors are genius. With them, you can turn those separate mirror tiles into one giant, statement mirror on the cheap. You simply slot the mirror tiles into the corners of these 3D printed pieces, and when arranged together, the connectors look like little star-shaped adornments.
You can choose from several connectors in different shapes, but I went with a classic four-pointed cross design. After viewing all of the different layout options and measuring my wall, I decided on a configuration of fifteen mirrors, arranged in three rows of five. So I bought four packs of the BLODLÖNN mirrors and placed the order for my connectors. I went with the square configuration, which accommodates up to sixteen mirrors, and chose the color black. The bronze color is beautiful, too, if you’re going for a more vintage look, but I wanted a bit of a modern touch.


How to Install the BLODLÖNN Mirror Connectors
Though the IKEA mirrors come with adhesive tape for hanging, the instructions recommend using something stronger. So I picked up some Scotch double-sided mounting tape. I also used a laser level, and I highly recommend it. Once you stick the connectors to the wall, they are hard to remove, so it’s best to make sure they’re straight the first time. I only had to do this once, but it took time and concentration to get it right.
In the reviews, other customers warned not to begin with the corners, so I started in the middle. Once I had that first tile placed, the rest flew by. Row by row, I started with a middle tile and worked my way out to the edges. The laser level helped guide me as I went. My other tip for a smooth application process is to add the tape to the back of all of the connectors in the beginning, that way you don’t have to pause in between installing tiles.


This High-Impact IKEA Hack Was *So* Worth It
All-in-all, it took me just about 45 minutes from start to finish to complete this project, making it one of the easiest IKEA hacks I’ve ever done. It totally eliminates the logistical nightmare and physical strain that comes along with hanging a giant oversized mirror, but it gives you the same high-impact look. Between the connectors, the mirrors, supplies and shipping costs, I spent just about $170, which is a great deal for a three-by-five foot mirror.
Now, my dining room is totally transformed. Not only does the space feel much more intentional now that the mirror fits the size of the wall, the nook feels a bit lighter, too — and larger! Mirrors can have that effect, since they reflect light around the space. I’m glad I trusted my gut by sticking to the vision I had for the space, and I feel so lucky to have found such an easy,affordable way to get the look I’d wanted all along. My only regret is not doing this sooner. Now, I can’t wait to give this space more of the TLC it deserves.