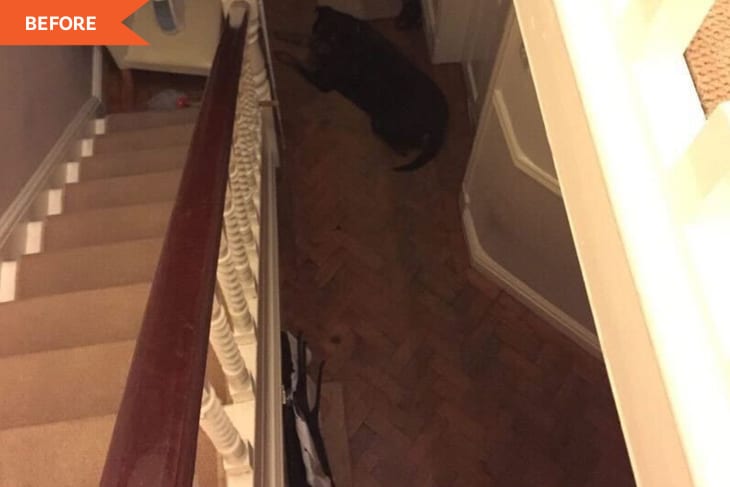
Before and After: A Circa-1911 Entryway Refresh Has Great Tips for Hanging Artwork

Sometimes, it takes time (and trial and error) to develop the confidence to go bold with color and pattern in your home. Take it from UK-based homeowner Andrea Walton (@embracing_the_bold).
“When we first decorated our home, we were more cautious and stuck to neutrals,” Andrea explains. “As we grew in decor/color confidence, we started to use bolder/more vibrant colors.”
Her entryway when she first moved in to her historic house was “50 shades of beige,” she remembers. “Very uninspired!”
She wanted to add more personality to the space, so she decided to go darker and add a gallery wall. First up in her transformation was paint. On the walls, she used two deep blue-gray paint colors, Valspar’s Made in the Shade and Toy Soldier.
“Gray is still quite a neutral, but we went for deep grays that let color pop against them,” Andrea says.
One of her favorite parts of the entryway revamp was picking out prints for her new gallery wall. Originally, she had hung a gallery wall of mirrors there but decided to go the framed print route instead. “We loved the color of the prints and knew the mirrors were too small and not making the most of the space,” Andrea says.
“The process of spotting and buying prints I loved was all too easy! Not buying every single one I loved was the hard part,” Andrea recalls.
Her recommendation for picking out prints is to take your time and to pick out artwork that you identify with. “It’s more than just randomly choosing standard prints from the usual stockists that could be in so many homes,” she says. “I kept seeing prints that appealed to me with some sort of relevance to either me or meant something to my partner and I — love of New York, music, street art, a print about a spinal condition that I have. We curated the collection over a few years.”
Once purchased, Andrea laid the prints out on the living room floor. She used parchment paper to make templates and taped them on the wall to get an idea of what it would look like before hammering or nailing anything.
“We could also then move them around without having made any hole in the wall if we didn’t like the way it looked,” Andrea explains. “I then marked the paper with where the tack and picture hook should be, and that made placement easier and stopped us putting holes in the wrong places. The whole process took the best part of a Saturday and Sunday, but it was so worth it.”
She says that the frames and prints were relatively affordable refresh. “The most expensive print was around £35, the rest were either prints ranging from approximately £10 to £20 and posters and wrapping paper for a few pounds,” Andrea says.
Her only regret from the whole project is not hanging them sooner, she adds. “The prints were sat in frames piled up against the living room wall for longer than they should have been!”
But now, she loves her new moody, color-packed stairway. “I just love the pops of color against the gray!” she says. “It makes me smile still when I walk into the hallway.”
Inspired? Submit your own project here.
