
Before and After: An Old IKEA HEMNES Dresser Gets a Designer-Worthy Look for $130
There are lots of IKEA hacks and makeovers out there that will have you reacting the same way furniture flipper Kristen Coulson (@something.renewed) wanted people to react to one of her recent dresser flips: “I wanted people to be absolutely stunned that this was an IKEA dresser,” she says.
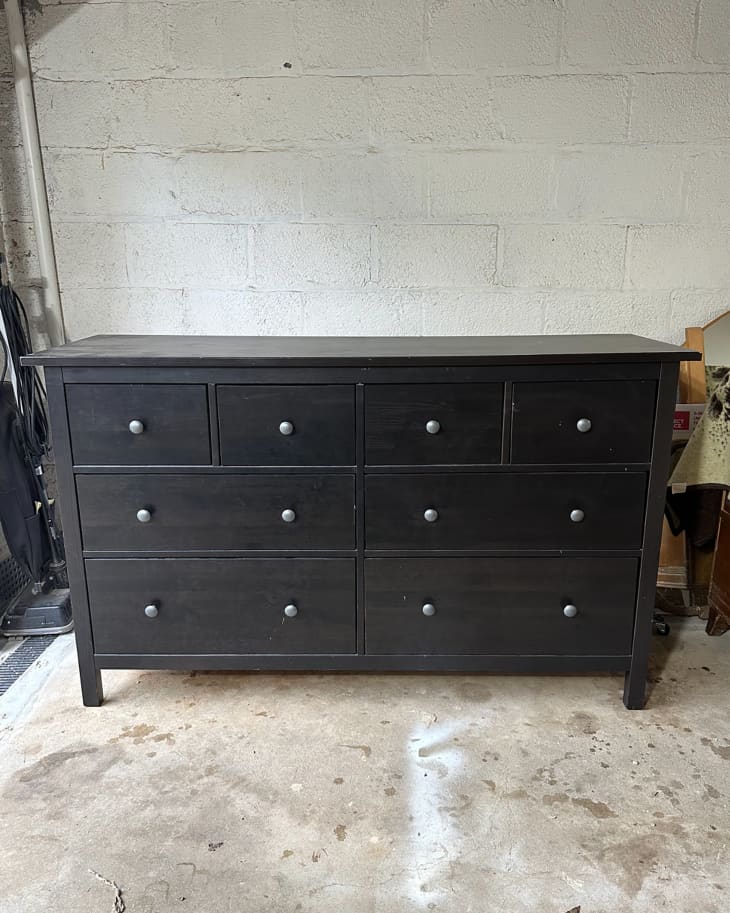
And her results are pretty stunning. Kristen took an IKEA HEMNES from Facebook Marketplace and turned it into something that might retail for much more at a high-end boutique.
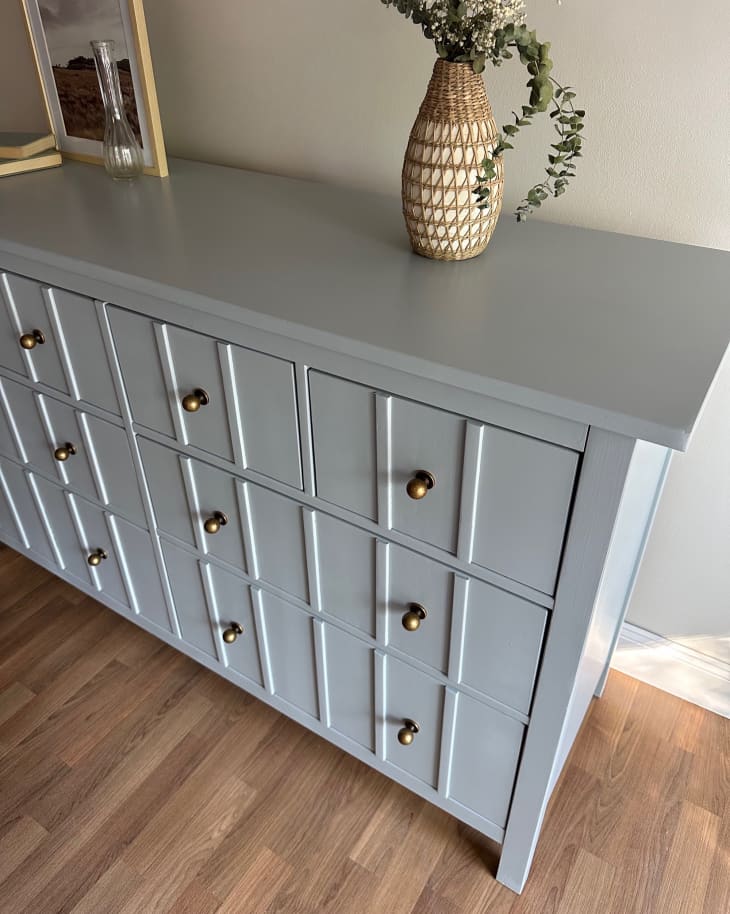
“This was an IKEA HEMNES piece made of pine that was stained or painted in a dark gray/black color,” Kristen says of the before. Her goal was to add some trim pieces for a modern, fluted look.
The most involved part of this process was the planning.
Before doing anything else, Kristen planned out where the trim pieces would go. She says planning out the placement of her trim pieces took the longest, as she’d never done a project where the fluting was so wide-set and modern. She used chalk to mark where each trim piece would go. “It would have been such an eyesore if one was off even the slightest bit,” Kristen says.
For those wanting to create a similar look, “Make sure to look at the spacing while the drawers are in place,” Kristen advises. “They could line up differently than when you simply measure with the drawers out.”
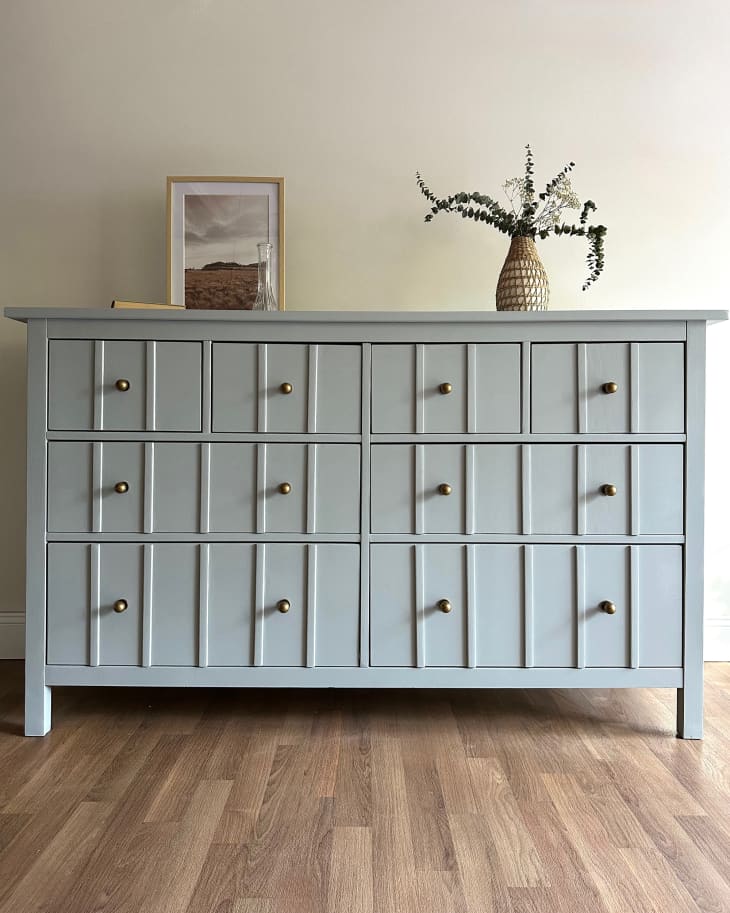
The dresser and trim pieces got a coat of blue-gray paint.
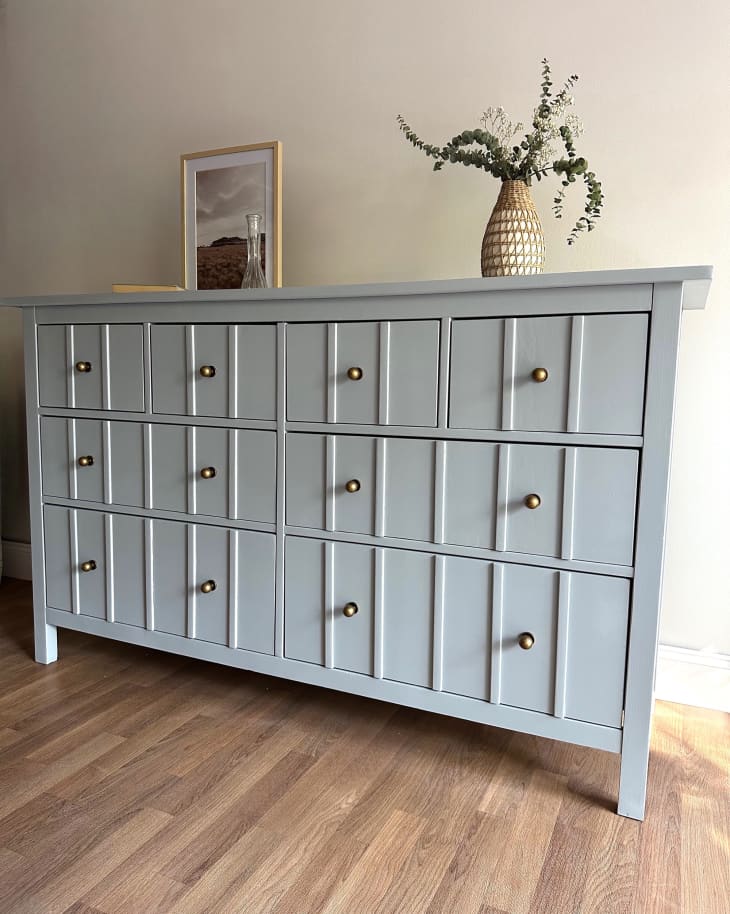
Kristen attached her trim pieces (which cost her about $24 total), cut to size with a miter saw, with wood glue. And then it was time for paint.
“You always want to scuff sand so paint has something “rough” to adhere to,” Kristen says; she used 220-grit sandpaper to prep her piece. But, she notes, “I next made the mistake of painting on a color right away, when I should have primed first.”
Without primer, the paint was scratching right off when Kristen touched the dresser. So she removed that coat of paint, primed, and then painted again in Wise Owl Paint’s Renovation Gray. Lastly, Kristen added new hardware from Amazon.

The furniture flipping takeaways? Start small, and always prime.
“I am in love with the ‘after’ look!” Kristen says. “In my opinion, it looks straight out of a magazine.” And as a professional furniture flipper, she has a few bits of advice for others looking to get started.
First, you have to be prepared to claim a cool secondhand piece right away if you really want it. “My husband, Kyle, always helps me pick up my pieces at any crazy hour of the day!” she says. “Sometimes you need to go ASAP before you miss out!”
And second, don’t be afraid to start. “If you aren’t ready to tackle a project quite this big, just painting a dresser and changing the knobs can do wonders,” Kristen says. “But don’t forget to prime first.”
Inspired? Submit your own project here.
Get all the IKEA UPDATES
Sign up for The IKEA Edit, our twice-weekly newsletter with the latest IKEA finds, deals, and hacks.