
This Kitchen Makeover’s Secret to Taming Orange-Toned Cabinets Is Genius
When you hear the phrase “college rental,” you’re probably not thinking of the most glamorous space. But Hillary Clausen and her husband managed to turn a townhouse that was once college housing into a space that felt like home — especially in the kitchen.
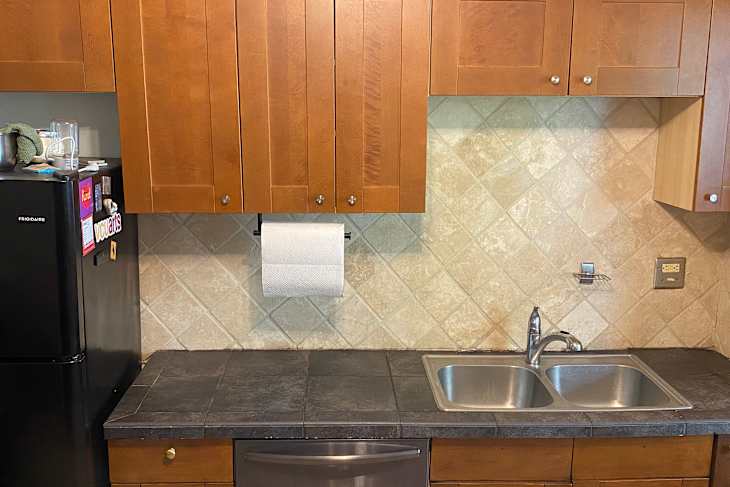
The one thing the kitchen had going for it was the stained-glass transom window, but the rest Hillary didn’t like. “It was an eyesore and grubby,” Hillary says. “It had layers and layers of grease, and counters, floors, and a backsplash that rarely looked clean despite trying.”
“A dingy, slumping ceiling fan that didn’t even work hung from the ceiling,” Hillary adds. “The cabinets were 2010-era IKEA cabinets, and while I felt they weren’t horribly offensive, the orange stain was not my favorite. The kitchen faces west and does not get a ton of sunlight, so it just felt dark and dingy.” She and her husband transformed the kitchen for about $10,000.


About $2,000 of the budget went to new flooring.
Hillary and her husband replaced the tan speckled tiles that never felt clean with vinyl floors that look like wood, and the demo and materials cost about $2,000. “I think the floors and counters gave it the biggest upgrade,” Hillary says of the kitchen. And she’s also thankful that she worked on the kitchen and in stages.
“I think … going slow and somewhat piecemeal is actually cheaper than hiring someone to do everything,” Hillary says. “At the very least it allows you to sit with a change and respond, as opposed to guessing how everything will look all together and hoping for the best. For instance, I thought I wanted black hexagon tile floors, but after sitting with the darkened cabinets and counters and appliances, I realized it would be way too dark and am glad I opted for a lighter floor.”

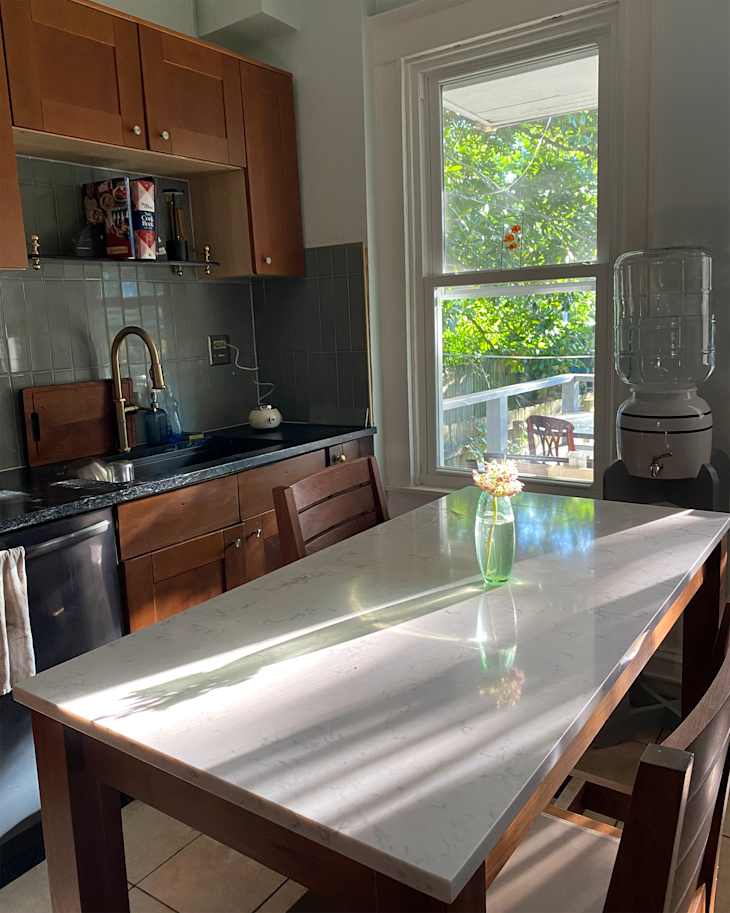
The orange-toned cabinets were toned down a notch.
One of the main elements Hillary disliked about her kitchen before was the cabinetry, so she darkened them with a cool-toned Minwax gel stain in a DIY project. “I had never stained cabinets!” she says. “Using the gel stain was somewhat easy after watching a few different videos, but you can tell when I got lazy: It’s streakier on some more than others. I also tried to install an apparatus to make them soft-close cabinets, but that totally failed.”
Hillary says if money were no object, she would have gotten new cabinets that stretch all the way to the ceiling — maybe in white. “I love bright kitchens, but this was never going to be that, so I feel like it has reached the best version of itself!” she says. Instead, she decided to add artwork above the cabinets to make the space look more intentional.

The revamped kitchen has more storage.
The new kitchen has several additions that make it look more intentional — and more functional. Hillary and her husband added a Room & Board island and a Wayfair hutch for their toaster and coffee machine.
“I love the island,” Hillary says. “It’s the exact island I’d seen and wanted from Room & Board that I got 60% off on Facebook Marketplace. It’s nice to have a place to eat other than the dining room.” And the hutch “really helps with storage and counter space,” she says.

Discount appliances saved on budget.
Hillary and her husband also got a big discount on their appliances because they turned to the scratch-and-dent section. “Our fridge was brand-new, just with a small dent on the side you can’t see, and it was 50% off!” she says.

The backsplash countertops got a glow-up.
Lastly, Hillary selected leathered granite countertops, a green tile backsplash from Floor & Decor, Amazon hardware, and a vintage shelf above the sink. “Once I had a vision, I just needed to see it through,” she says of the kitchen transformation.
For more kitchen makeovers where the floor plan stays the same, check out this striking blue kitchen and this bold red one.
Inspired? Submit your own project here.