
Before and After: An $800 DIY Wood Project Gives This Just-OK Dining Room a Gorgeous New Look
Accent walls — especially ones that are homemade — are great because they often represent the design trends du jour. (Hello, slat walls, plant walls, peel-and-stick florals, painted supergraphics, etc.)
A small accent wall is a fun canvas to switch up in your home as trends come and go, or more importantly, as your own design style evolves. For inspiration for how to switch things up easily, check out these four wall makeovers and this list of renter-friendly, non-permanent materials that can help you pull it off.
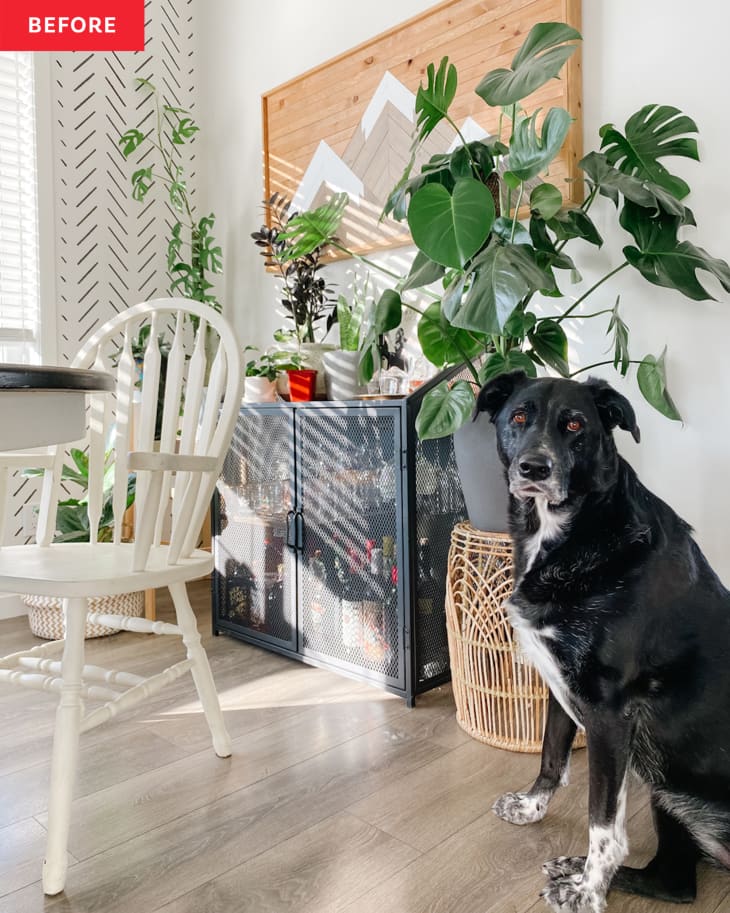
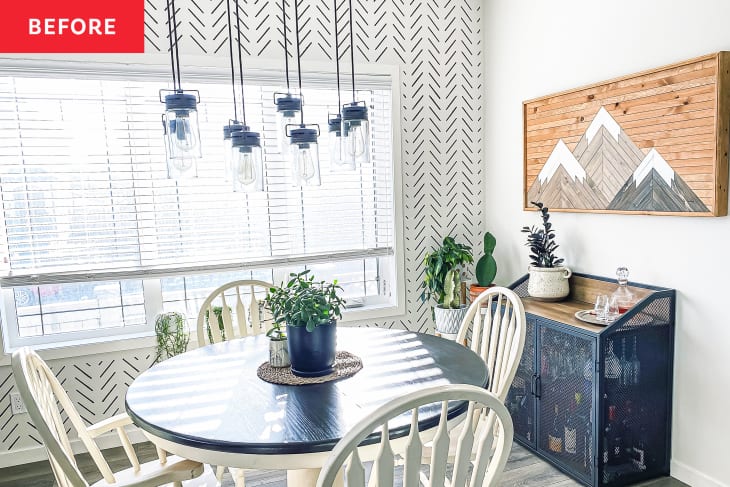
For a prime example of an accent wall changing with the times, check out Bailey Powell’s (@baileyathome) dining room. “Before, our builder-grade space was mostly untouched except for a stencil wall I did as an early DIY project,” Bailey says. “The space was nice, but felt a little too boho to really represent my true style.”
Bailey swapped out her black and white DIY stencil wall for something that felt more fitting of her style: wood slat walls. “I wanted something different and unique and thought of the slat wall as a great way to achieve that!” Bailey says, adding that she also wanted to utilize a darker, more daring color in the space.
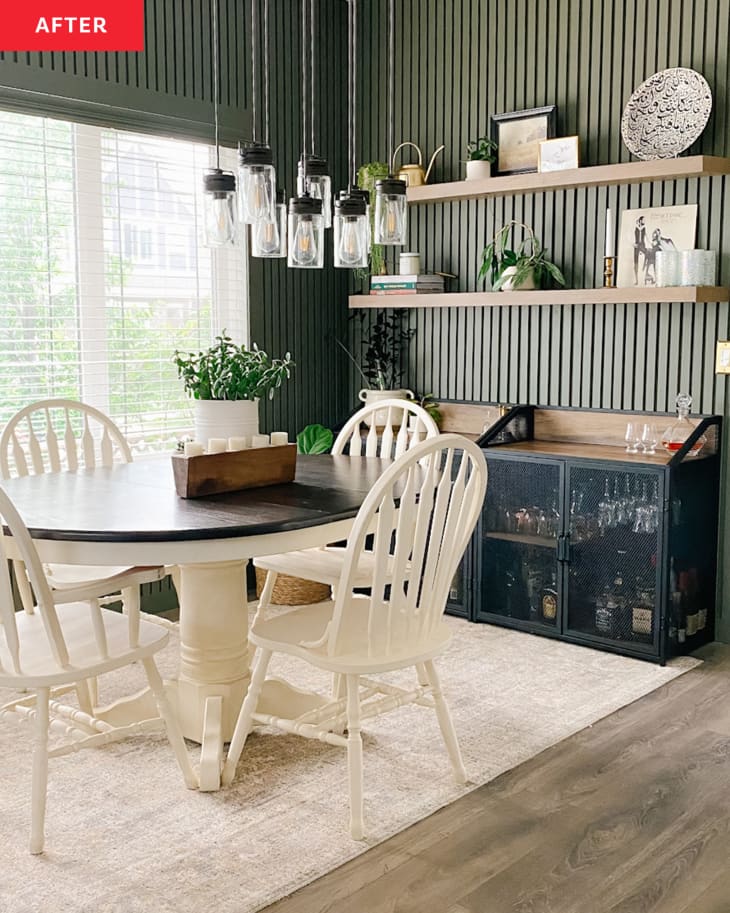
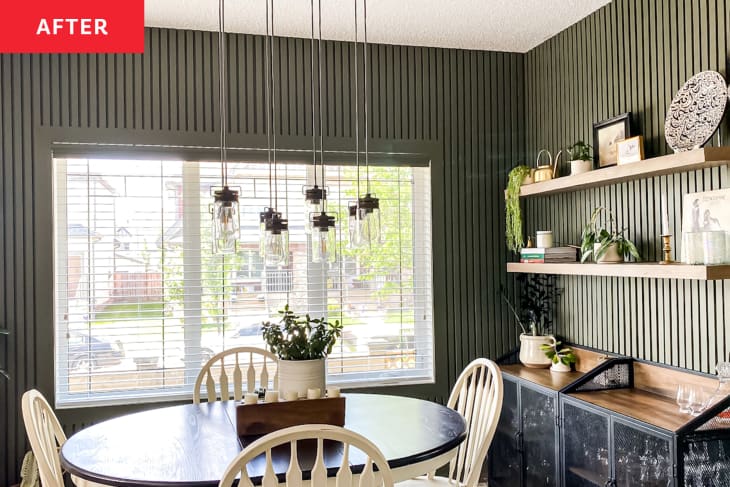
“This room has a giant south-facing window so I knew that I could get away with bringing a really moody color into the space,” she says. The color she went with: Benjamin Moore’s Sharksin, a grayish olive that she used for both the walls beneath the wood slats and for the 1 1/2-inch-wide slats themselves. “I pre-painted all the slats with my color as I knew it would be difficult to paint between the slats afterwards,” Bailey says.
The slats were the result of a budget-friendly DIY. “We had lots of MDF baseboards left over from a previous project, so we decided to cut those down to size,” Bailey says. On her blog, she adds why she loved her 10-pack of baseboards so much. “If you were to buy these boards individually, it would be over DOUBLE the price,” she says. (Her cost for the MDF was about $54 per pack, and her total cost for the project was $800.)
Another reason she loves the MDF pieces she used? They were pre-primed. “You don’t have to sand it before painting it,” Bailey says.
Bailey and her husband used a table saw to cut their green slats — it took 236 (!!!) pieces total to cover the dining room. “I also had to wood-fill every single nail hole as well as every place where the slats met the baseboards and window casing,” Bailey adds.
To make the wood slat treatment look more complete, Bailey and her husband also added new baseboards and window casing so that it was all flush. “I knew I wanted the slats to line up exactly with the edges of the window casing,” Bailey explains. “Once we dry-fit the arrangement, we used our air nailer to nail each slat in place, ensuring it was level all the way down. We repeated this throughout the entire space.”
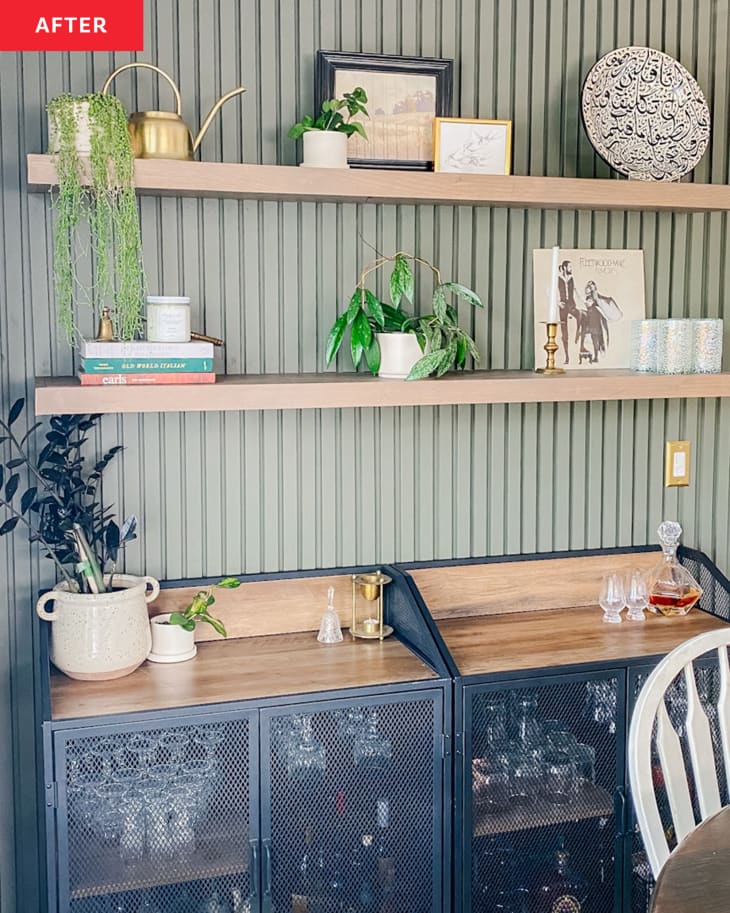
Bailey and her husband also made new floating shelves for their dining room, stained with a mixture of two brown shades and finished with a matte sealer. “I’m most proud of the fact that we built those shelves ourselves,” Bailey says. “They are completely custom to our space. I got a quote from a company who makes custom shelves and they would’ve been over $1000. We made them for less than $200, and honestly I think they look better than the ones I could’ve ordered. I love the open shelving that I can style things on as well as the bar cabinets below.
On the whole, Bailey loves the new look and feel of the space. “I love the moodiness and the uniqueness of the after,” Bailey says. “I can confidently say that our dining room looks like no one else’s. In the day, this space is still so light and bright even with the dark paint color. And in the evening it’s perfectly cozy and moody.”
Inspired? Submit your own project here.