
We’ve Accepted that Hat Galleries are a Thing. Here’s How to Make One
I own so many sun hats—well, three—and wear them so often that when my toddler niece wants to do an impression of me, she simply plonks a wide-brimmed hat on her head. My hats are currently in a teetering pile in the closet, but perhaps one of these tutorials will finally inspire me to display them properly.
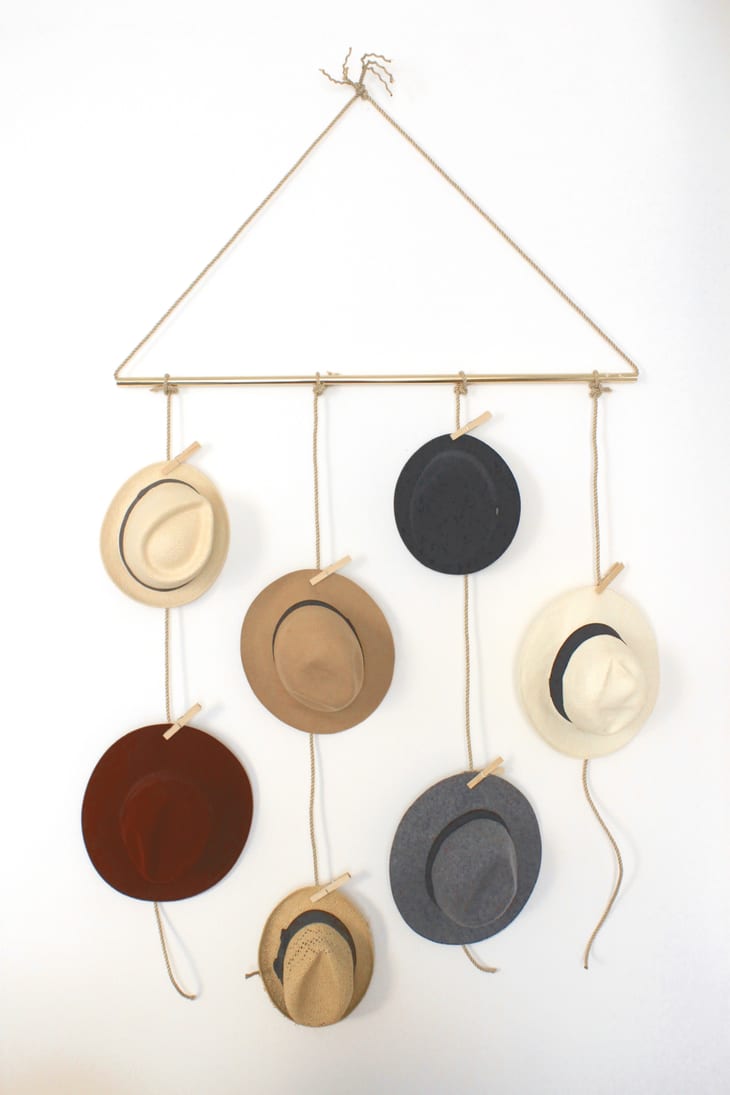
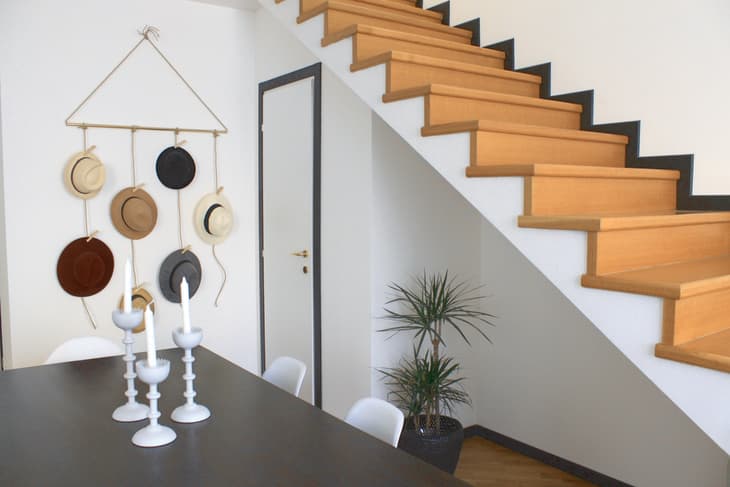
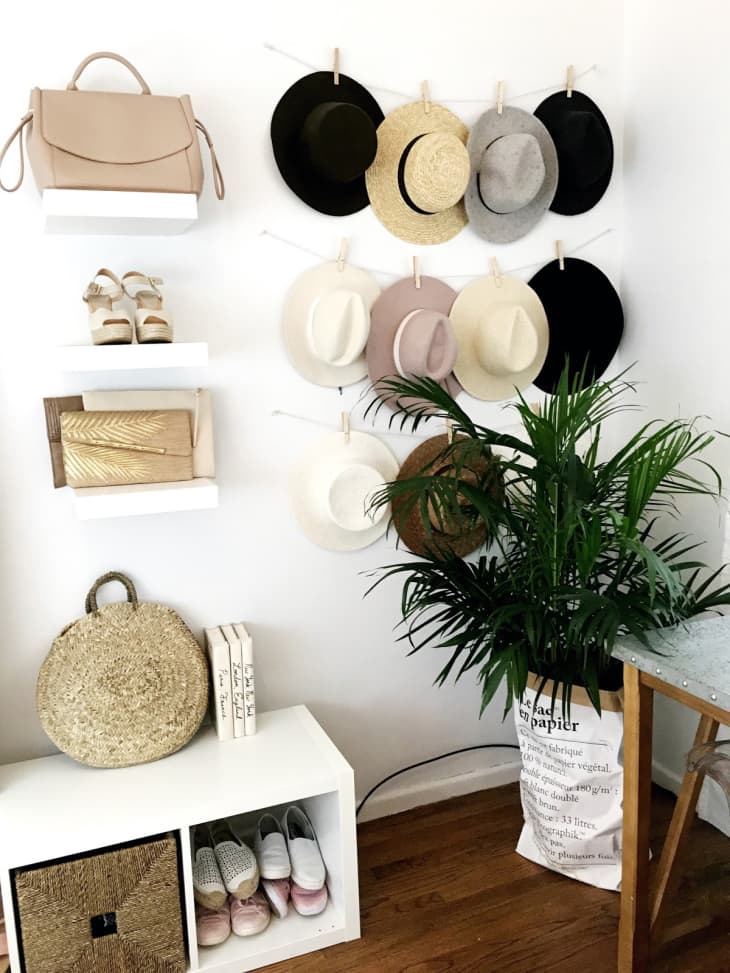
All you need to make this are clothespins, twine, and a length of brass tubing. This setup is great because you can easily add and subtract hats without doing any reconfiguring. Below is the tutorial that inspired them…

DIY Hanging Copper Hat Rack by A Pair & A Spare
You could probably figure it out for yourself, but why not learn from someone who’s already done it? This display utilizes right angles and a copper pipe, but the principles are the same.
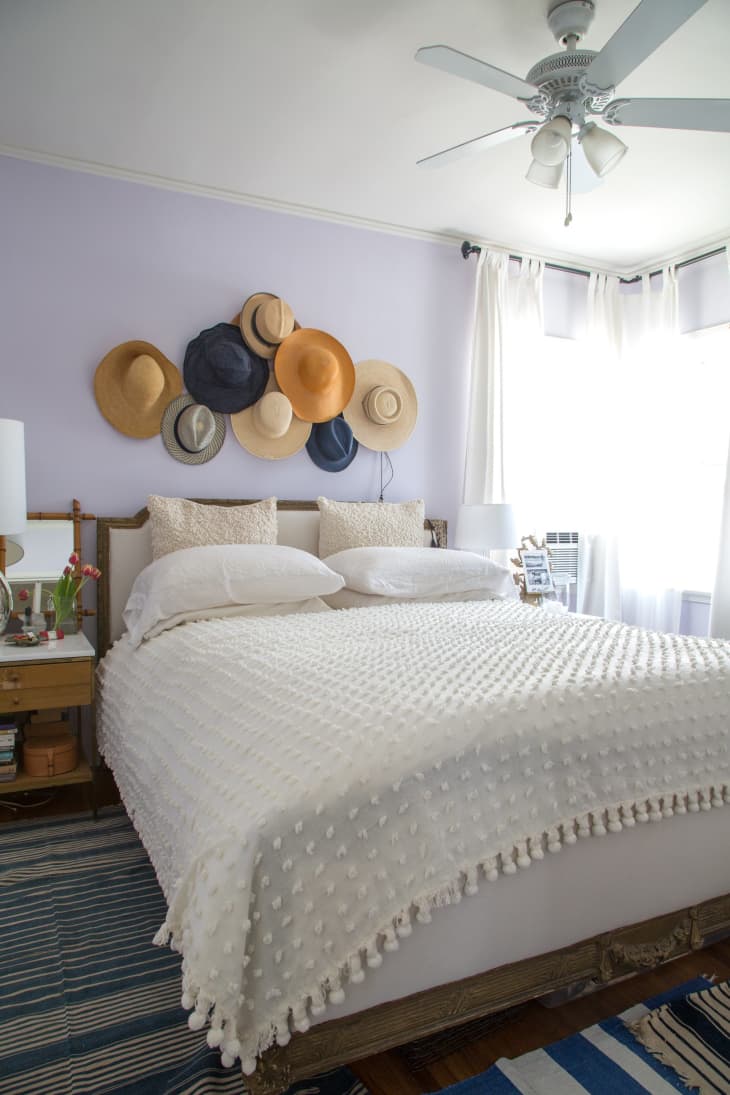
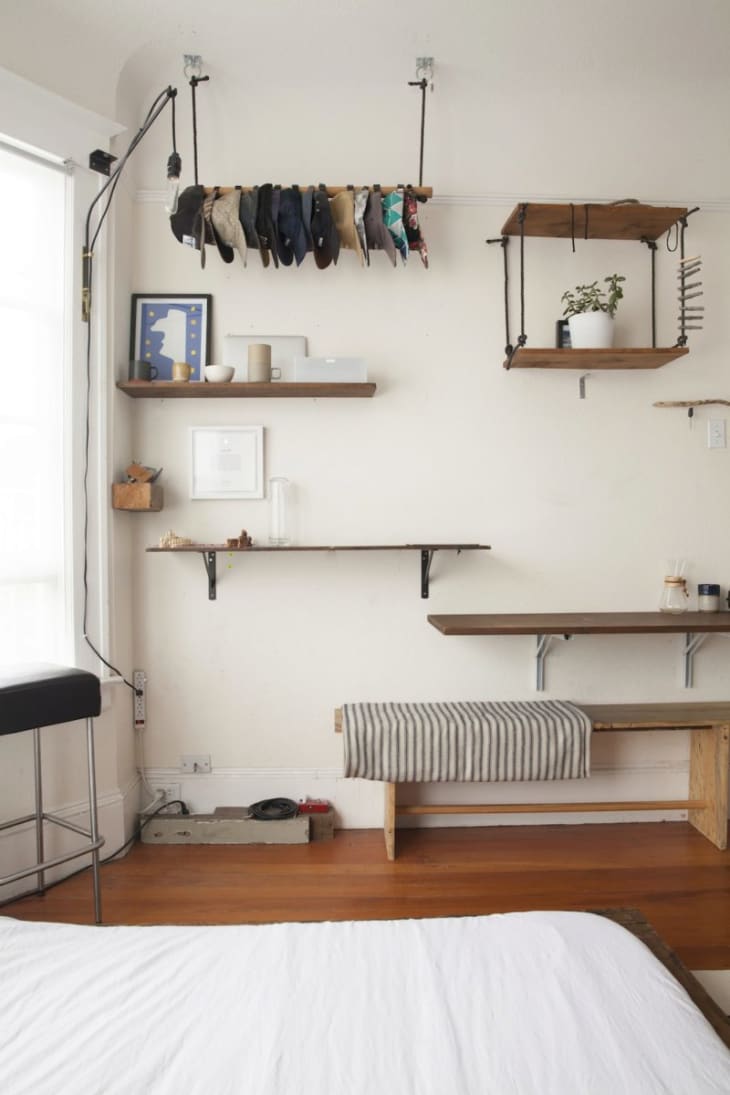
Here’s how Savannah described her hat headboard:
Proudest DIY: The hat display above my bed. It is centered on this amazing ring I found, but it was a delicate balance between placement and hats staying on pegs and nails. Every time I want to wear one of them there is a moment of holding my breath as I pull it down. One of these days the whole thing is going to come down and I will have to start again.
Up next is a tutorial that will allow you to recreate this look, with none of the worry…

DIY Hat Rack by A Pair & A Spare
Attach ropes to the wall with hooks, and attach hats to the ropes with clips! And if you use adhesive hooks, this project is super renter-friendly.

This arrangement is similar to the two preceding displays, but it is centered around a painted branch. A branch with sturdy twigs would provide plenty of spots on which to hang hats. Or simply tie on each hat with leather cording.
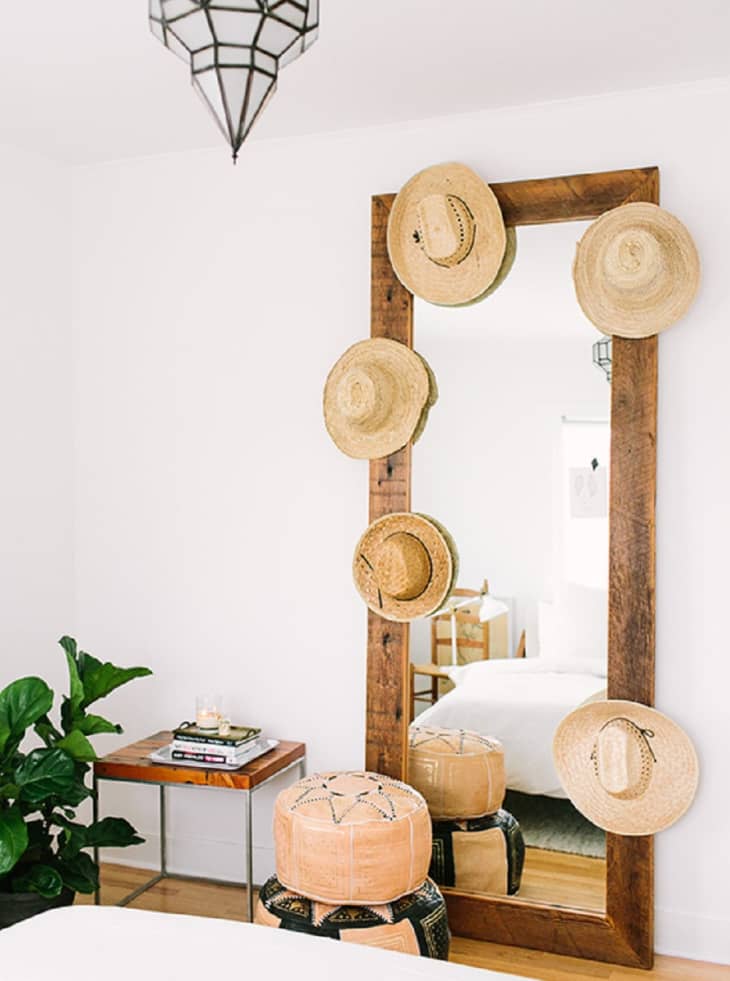
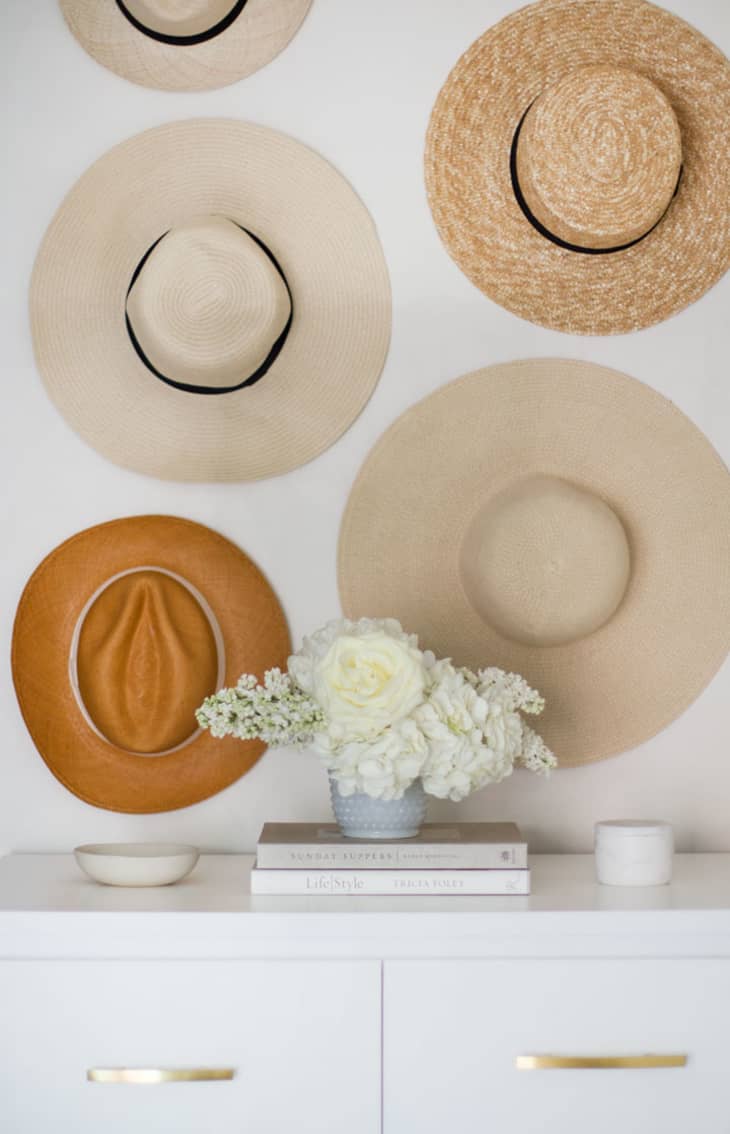
Mirror Hat Display from SF Girl By Bay
On a rustic, weathered mirror, little nails on which to hang hats would just add to the look. But if you have a large mirror that you’d like to use without damaging, use adhesive hooks instead. Just be sure to test them on a hidden spot first, to be certain they won’t leave a mark.
Vintage Hat Display by Fancy Fine in Teen Vogue
Here’s how the creator of this hat wall describes it:
“Any vintage collector worth her salt has a hat wall these days. Mine was born mostly out of necessity because I didn’t have any other place to store these beauties, and who would want to hide them!? I still wear a few—like the large yellow straw hat and the navy one with the three bows—but most of them have become decoration only.”
This look could be yours with adhesive pegs and some hardcore thrifting.
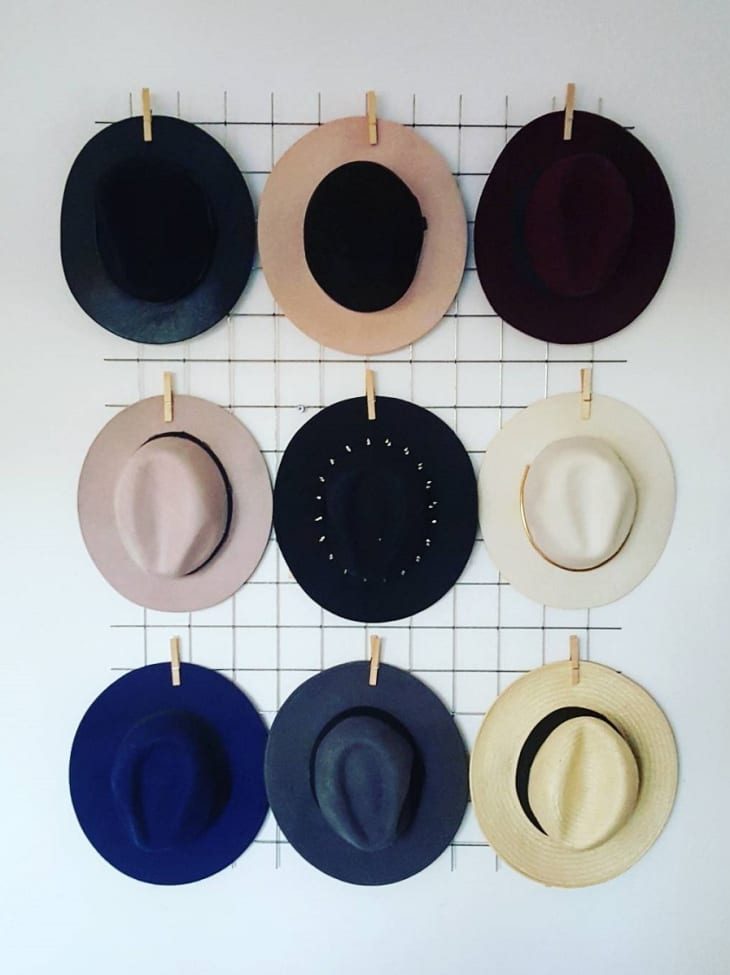
Wire Hat Rack by @lindahstyle
You could recreate this highly flexible, adaptable display using a steel wire remesh sheet from Home Depot. The gridded background helps this arrangement feel clean and graphic, in contrast with some of the more whimsical ones in this roundup.
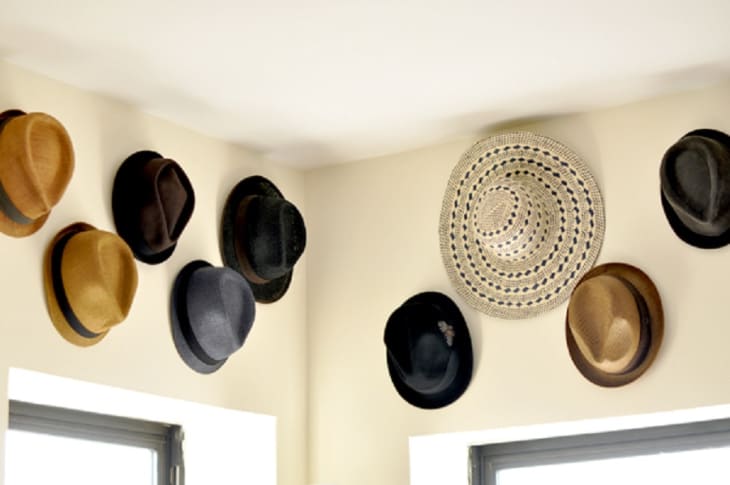
Hanging Hats by Eat / Sleep / Wear
Make the most of that wasted space above windows by turning it into Hat Central. Start with one wall, then expand as needed.
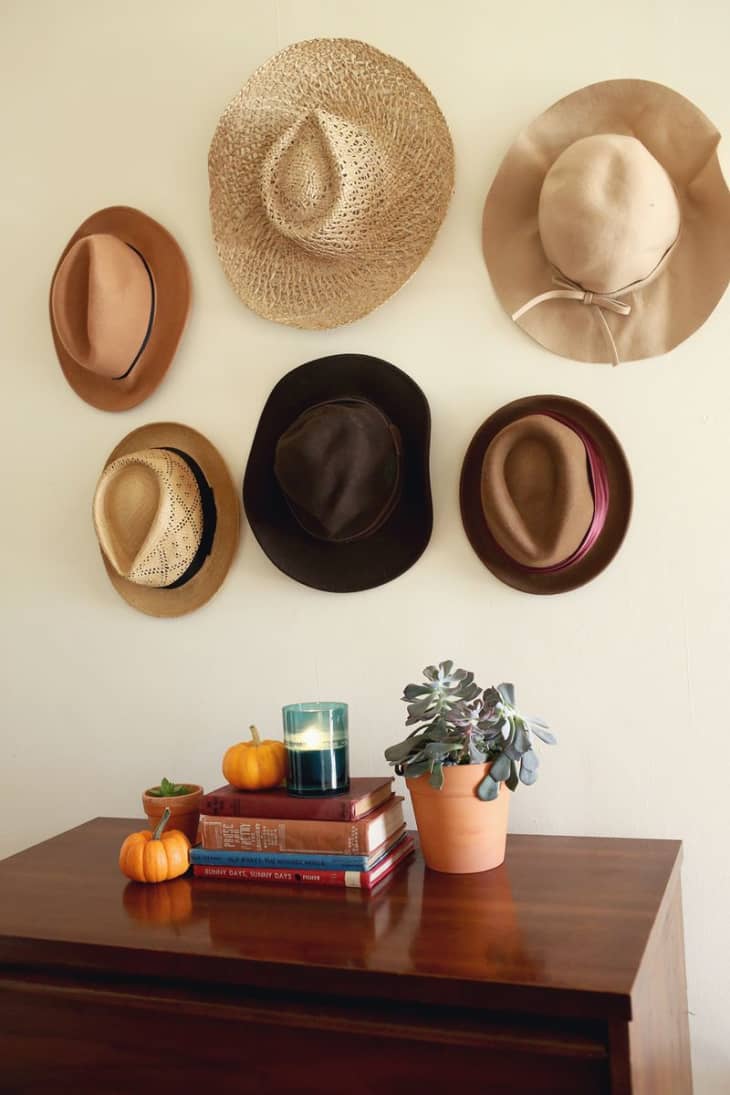
Hats In Place Of Art by A Beautiful Mess
Take it away, A Beautiful Mess!
In our entryway we have a tall dresser that stands alone on a big wall. For the past six months we’ve had one of my mom’s giant abstract paintings there… Recently we swapped out a few and she took that piece home. Our entry was feeling a little sad and empty for a week or two. I planned to make something, but since my project list is unusually long right now I chose a temporary (and seasonal!) solution to buy some time. Enter: Hats as artwork. Use your own hat collection to create a gallery wall look with just a few thumbtacks! It’s too easy to even call this a project, but it made a huge impact in our entry. I love the cozy and casual vibe.
You could even use wood thumbtacks, milk glass ones, or even owls.
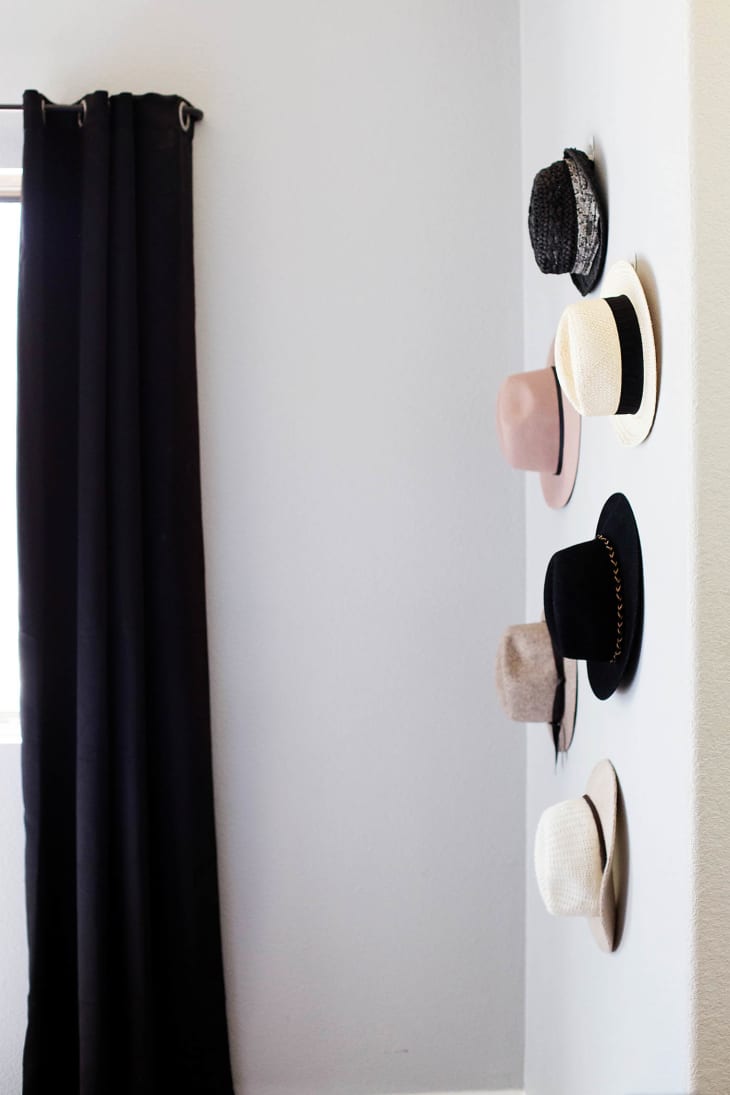
How To Make A Hat Wall by The Blondielocs
Instead of pinning your hats to the wall—definitely something to be avoided if you plan to actually wear your hats—take the advice of Blondielocs:
I also found using very thin nails that stick out a bit further from the wall to be a very practical way to hang my hats. they easily slide on and off which is definitely something to note when making your wall.
Baseball Hat Rack on the UO Blog
Baseball hats need a home, too! This attractively industrial rack can be yours, thanks to D-ring plates, a dowel, a drill, and rope. Note: This rack wouldn’t work with fitted caps.
Easy DIY Hat Wall by All For The Memories
All For The Memories made this lovely wall, that “took all of 3 minutes,” and also made a great point about hooks:
I used the cheapest wall hooks but you could get the more decorative ones if you think you’ll be looking at the hooks often (or if you have a lot of baseball caps).
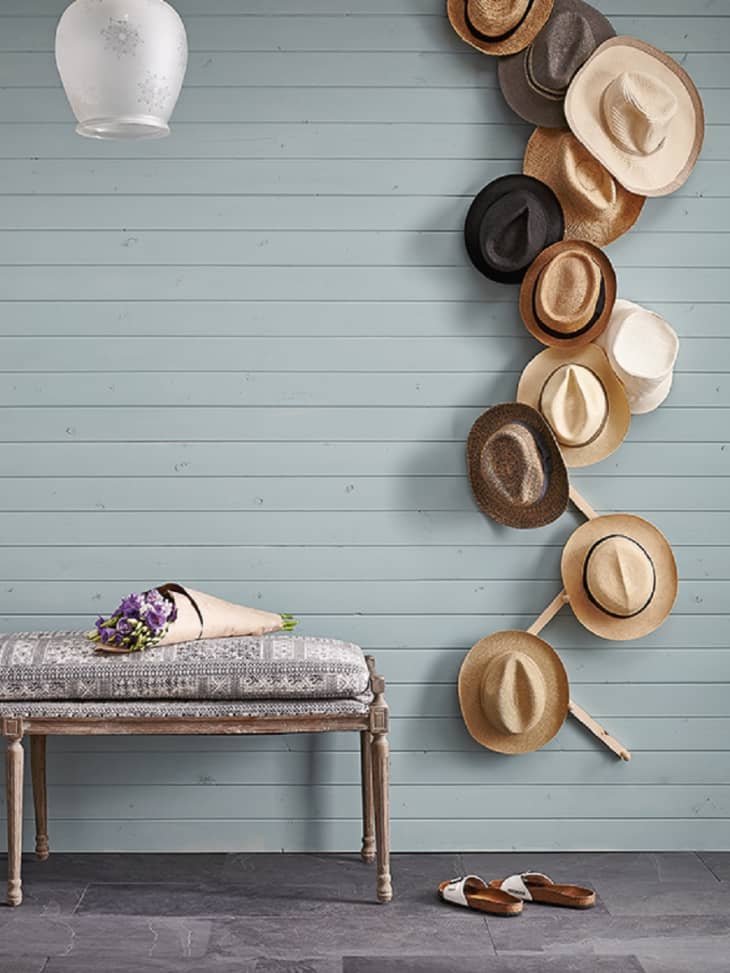
Wall-Mounted Hat Rack by House & Home
In the mood for some real building? This wall-mounted zigzag is the project for you, and you can add more zigs and zags as your collection grows.
You’ll need unfinished 1″ x 1″ lumber (I used maple), wood pegs, picture hangers, wood glue, drill, screws, screwdriver, ruler and a pencil.
Closet Hat Display by Stiletto Beats
This hat arrangement is part of the most fabulous closet I have ever seen (30 pairs of sunglasses in their own display case?!?), but it would be simple to reproduce. All you need are nails, string, and clothespins, but you could easily upgrade to fancier versions of each.
DIY Wall Decor Display by A Beautiful Mess
Clothespins are cleverly attached to the wall with adhesive strips! For an extra bit of finish, take your hat hanging to the next level:
Now this next step isn’t necessary, but if you want to secure floppy hats, you may want to have a clip at the bottom of your hat as well. If you are a perfectionist and want your clothespins hung straight, mark the bottom of your hat with a pencil on the wall, and then remove the hat.