
How To Clean Suede Shoes
If you’ve ever owned anything suede you know how much of a hassle it can be to keep clean—but you also know how durable and long-lasting the fabric is. So if you’ve tucked away furniture or clothing because you’re stumped as to how to clean up those stains, get up and gather these three tools, because DIY suede stain removal is easier than you could ever imagine.
The first step in stain removal is to identify your stains. If you catch a liquid stain right as it happens, grab a clean cloth and try to soak up as much of the liquid as you can. A clean towel dampened with a bit of vinegar will work wonders on a fresh stain.

If your stain happens to be oil-based, soak up as much of it as you can, then cover the area with corn starch and let it set for 10 minutes. The corn starch will absorb the oil so it won’t soak into the suede. Follow up with a clean towel dampened with a bit of vinegar, then brush the surface.
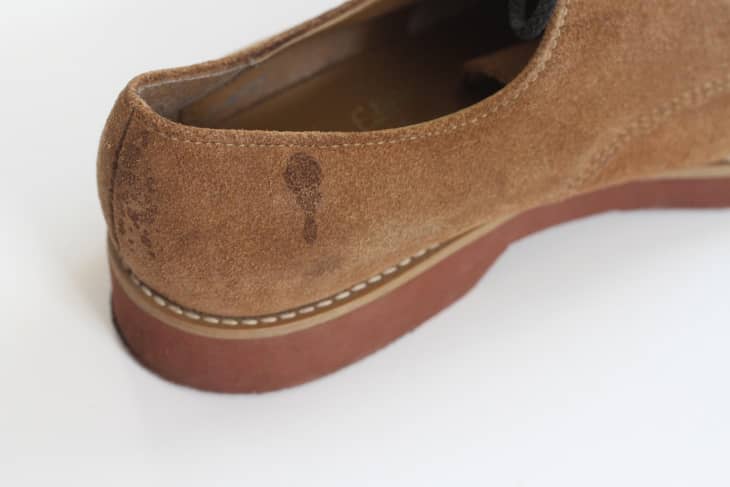
The shoes I worked on were a fun little vintage find that needed some TLC. I had no idea what the stains were (besides very old), so I tried three of the most popular DIY suede stain removal techniques. Not only are the tools needed for these processes easy to find (don’t worry about making a special trip to the big box store, almost all convenience stores will carry these items!), they can be found for less than $1 each. And let me tell you, $3 is a whole lot less than what you’ll pay at your dry cleaner!
Note: Depending on your stain, these methods might not totally remove your stain, but will definitely make them appear lighter and less noticeable.
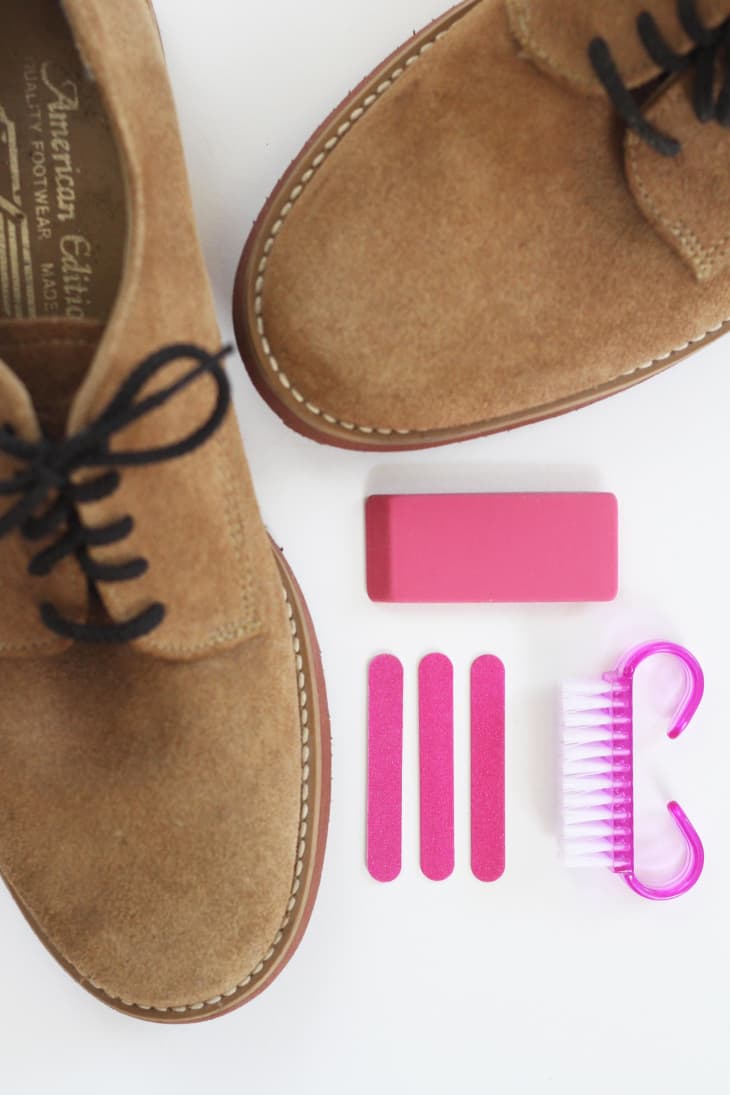
What You Need
Tools
- Emory board
- Rubber eraser (grab a white one if possible)
- Manicure brush (a toothbrush or scrub brush works in a pinch)
Instructions
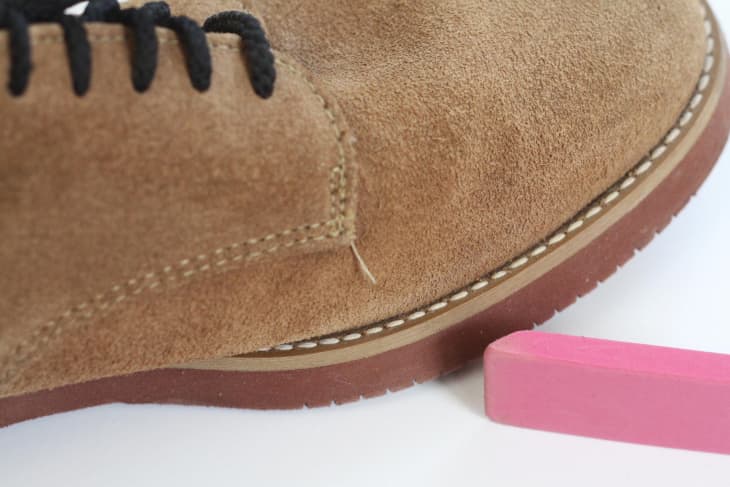
Eraser technique: Before
Just like you would a mistake written in lead, “erase” the stained area. Be sure to work beyond the stain, blending, so that the area won’t look blotchy. If the stain doesn’t come out the first time around, try it again, this time applying more pressure when erasing.
Eraser technique: After
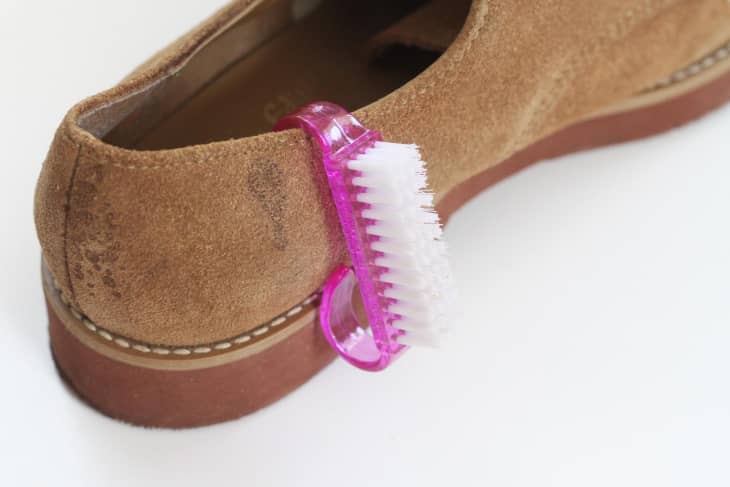
Manicure brush technique: Before
Skim the brush across the surface working in the same direction, try to blend in to the surrounding area as you go.
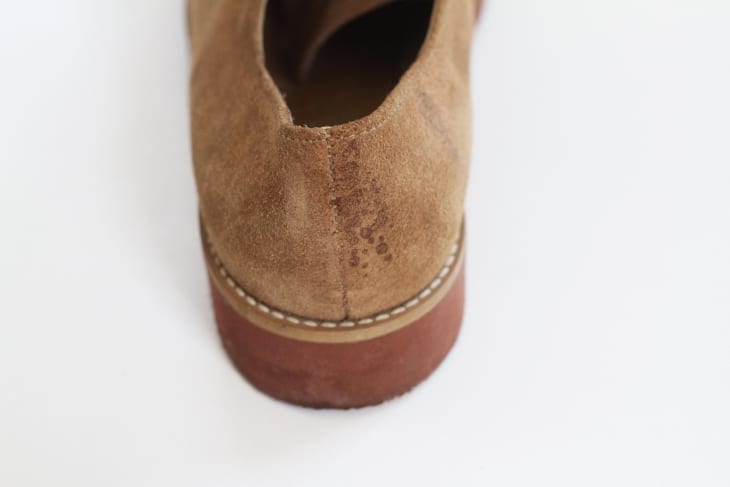
Manicure brush technique: After
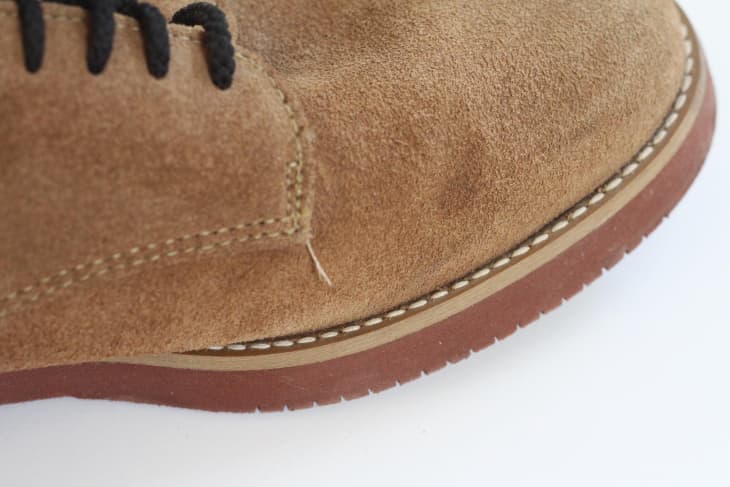
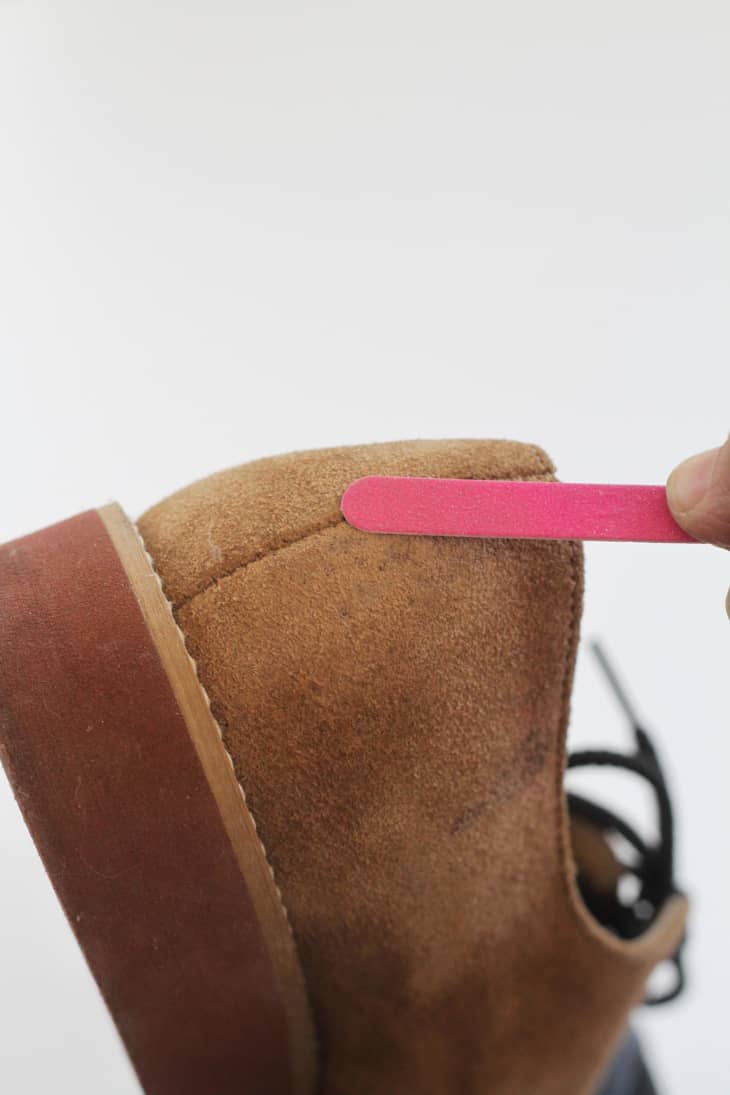
Emory board technique: Before
Just like you would file your nails, use this same action across the surface of your stain. The emory board is more abrasive than the eraser or manicure brush, so start off very lightly, checking your progress as you go so you don’t end up filing a hole through the fabric.
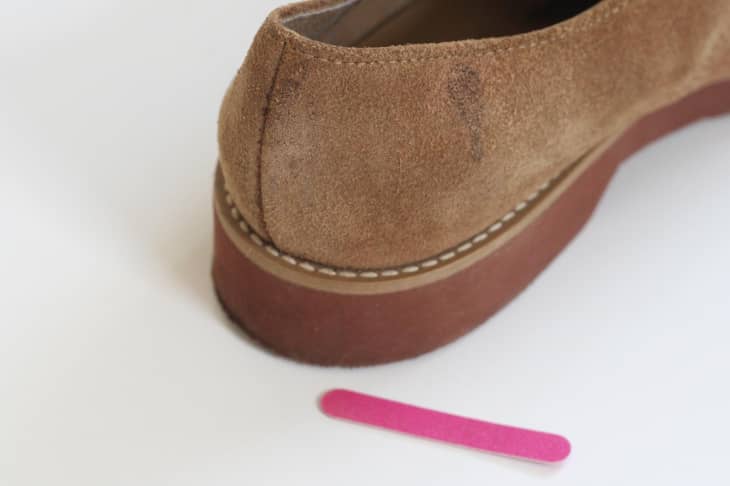
Emory board technique: After
I found that using a combination of techniques worked best on getting stains out of the shoes. My best results by far came by first brushing the area to work as much dirt as possible out of the stain, then following up with the eraser. I was a little shy with the emory board because if you press too hard you can start to bald your suede.
As with any new process, be sure to test out an inconspicuous area on your suede first.
Good luck!
Have a really great DIY project or tutorial that you want to share with others? Let us know! We love checking out what you’re making these days, and learning from our readers. When you’re ready, click here to submit your project and photos.