
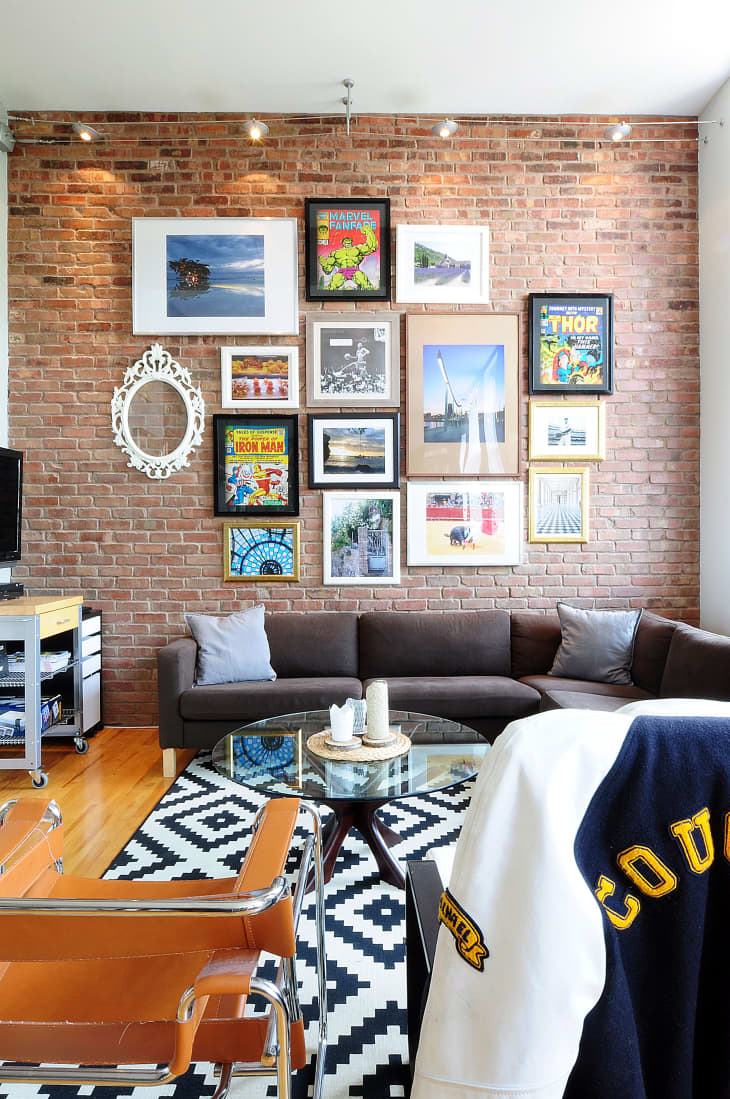
5 Budget-Friendly Ideas for Creating Your Own Gallery Wall
Putting together a gallery wall can be tricky—and not just because of the measuring and hanging! It can be difficult to source the perfect pieces for your space, especially at an affordable price.

But we promise that creating a gallery wall is possible even if you’re on a major budget—it’s all about showcasing your personality, memories, and creativity all at once. Check out our tips for a creating your own fab display below.
Frame Your Favorite Things
Your gallery wall is going in your home, not a museum, which is all the more reason to include pieces that speak to you. The best part about this tactic is that you don’t even need to go shopping at all. Search your home for items that deserve to be displayed properly—a favorite graduation photo, a postcard from a friend, a love note, or even a special cocktail napkin from your wedding are all great items to frame and then hang. You can never go wrong when you go the sentimental route! A friend of mine met her now-husband at a concert and they eventually framed one of their tickets and hung it on their gallery wall, which I think is the absolute sweetest (and it tells a great story to guests, too!).
Print at Home
You can save major dough on artwork when you opt to print files at home or at a local copy store. Etsy is known for offering tons of digital downloads, but other artists often provide the same option at checkout, so be on the lookout as you shop. The best part about this option: If you’re impatient (hi, me!) or on a time crunch, you can get your prints within a matter of hours.
Shop Online
Society6 is one of our go-to shops for amazing artwork—there’s truly something for everyone. Like sassy or humorous sayings? There are plenty of options! If you err on the more traditional side, you can also find many stunning pieces at great price points. Better yet, Society6 seems to always be having some sort of sale. Sign up for their emails so that you don’t miss any of their major markdown events—they’re known to frequently offer 25 or 30 percent off the site! Oh, and if you want to skip a step at home, you can also ordered framed artwork off the site. The price point is a bit higher, but all in all you’re paying way less than you would working with a professional framer.
Minted also offers an extensive selection of gorgeous prints at a range of prices. Generally, their items are a bit more expensive than those from Society6, but they’re oh-so-stylish and the quality is excellent. Artfully Walls is another one of our online faves. I personally own this delightful little piece and she garners tons of compliments and looks great in a variety of spots.
Don’t forget about Etsy for prints, canvases, and framed pieces—or for more unexpected picks, like vintage pennants or antique-looking maps.
Repurpose Those Books
If you stumble upon a cool coffee table book with a spine that’s seen better days, don’t disregard it entirely. Even if pages are literally falling out of the book, you can give it a brand new life by turning your favorite images into stunning wall art—affordable and eco-friendly! For inspiration, try searching “framed book pages” on Pinterest.

Give Your Own Photography the VIP Treatment
You don’t need to be a pro photographer for your snapshots to be frame-worthy, promise. In fact, even Instas deserve to be in the spotlight! We’re big fans of Framebridge’s Instagram frame option, which allows you to upload a favorite photo from your account and choose the frame that best suits your style. The final product will arrive to you in the mail and is ready to hang—not a bad deal for $39!