
How To Grow Garlic
Growing garlic is very easy and very rewarding. It grows well in small spaces, a perfect specimen for a container garden, and also prospers in large garden beds. It’s a staple on most weekly grocery lists and has amazing health benefits, plus it keeps those pesky vampires away, making it one of the most valuable plants in your garden.
Find a sunny spot with well-drained, rich soil for your garlic, and it will be very happy and fruitful. If you’ve got an area with partial shade that will work too -but your yield might not be as mighty. If you have the option, raised beds are the best bet. Plant your garlic in the fall so they’ll pop up in the springtime.
What You Need
Materials
- Garlic bulbs
- Compost
Tools
- Gardening tools
- Watering can
Instructions
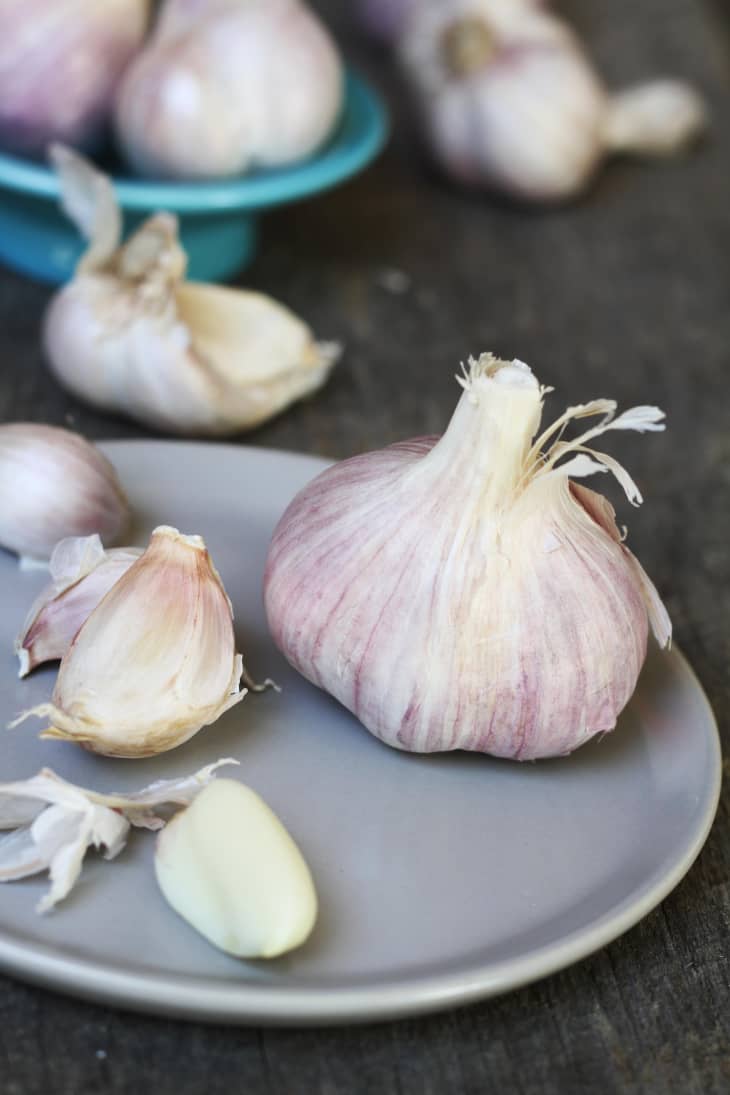
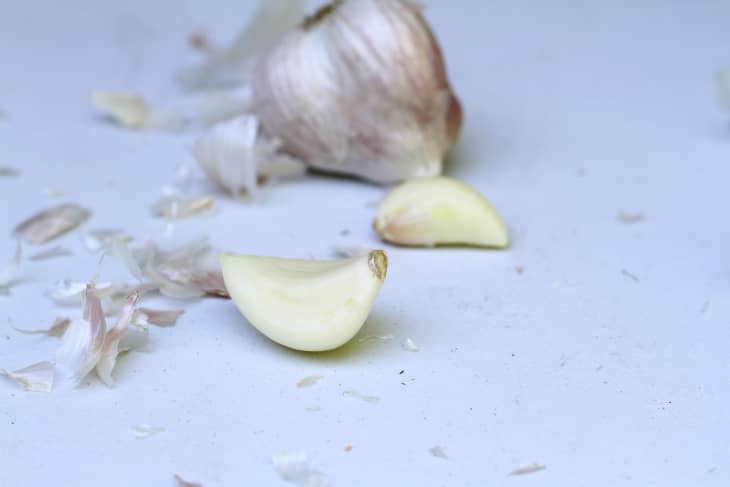
Remove each part of the bulb to reveal the individual cloves. Larger cloves yield bigger bulbs, so if that’s what you’re going for, plan to plant the biggest cloves from each bulb.
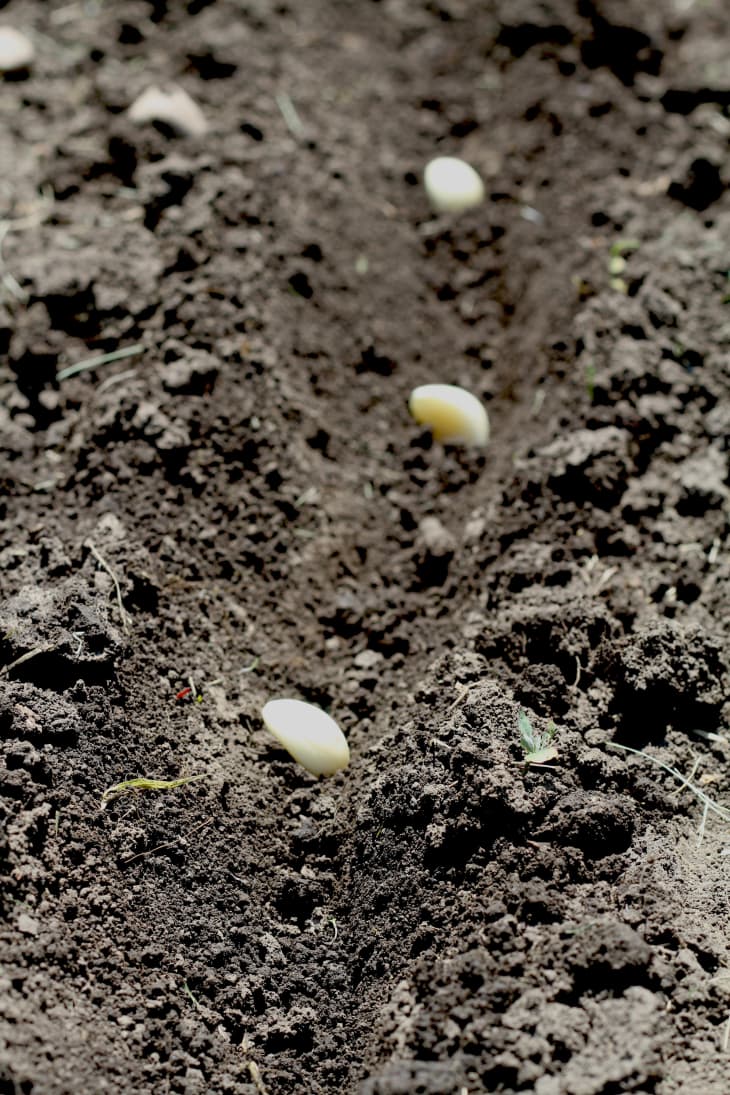
Plant the cloves 8″ apart, flat end (root end) down, pointed end up, bury with 2″ of soil. Cover with 4″-6″ of mulch. A great way to remember planting depth/width: Plant as deep as the length of your thumb, space apart as long as the length of your hand.
Label your newly planted crop, corks, bamboo skewers and popsicle sticks are great options!
Your garlic may start growing during the fall, but it will stop over the winter and start up again in the spring. Once spring arrives, give the garlic at least 1″ of water per week. Stop watering in early June, or when the leaves yellow so the bulbs can have a chance to get firm.
You’ll start to see your garlic sprout mid-late June. The stems might get curly and will have a little flowery top, these are the “scapes”. Removing the scales will allow your bulbs to grow larger. Don’t just toss ’em in the trash –eat them! They are delicious in stir-fry, pestos, and soups.
Once almost all the leaves have started to brown towards the bottom, it’s time to harvest. Depending on your climate this might occur in mid-late July. Wait for an overcast day and carefully dig up each bulb, leaving the stalks attached.
Lay the plants in a single layer and leave them to cure in a dark, dry area for 4-6 weeks. A basement or barn is ideal, make sure the temperature is between 55-70 degrees.
After the garlic is dry, trim the roots and cut the stalks about 2″ above the bulb. If you plan to braid the bulbs, do it around before the leaves get too dry so they don’t crack.